
Docker Compose lets you deploy multiple Docker containers and configure them easily.
With the Docker Compose build pack, you can use your own Docker Compose file (i.e. docker-compose.y[a]ml) as the single source of truth, giving you full control over how your application is built and deployed on Coolify.
How to use Docker Compose?
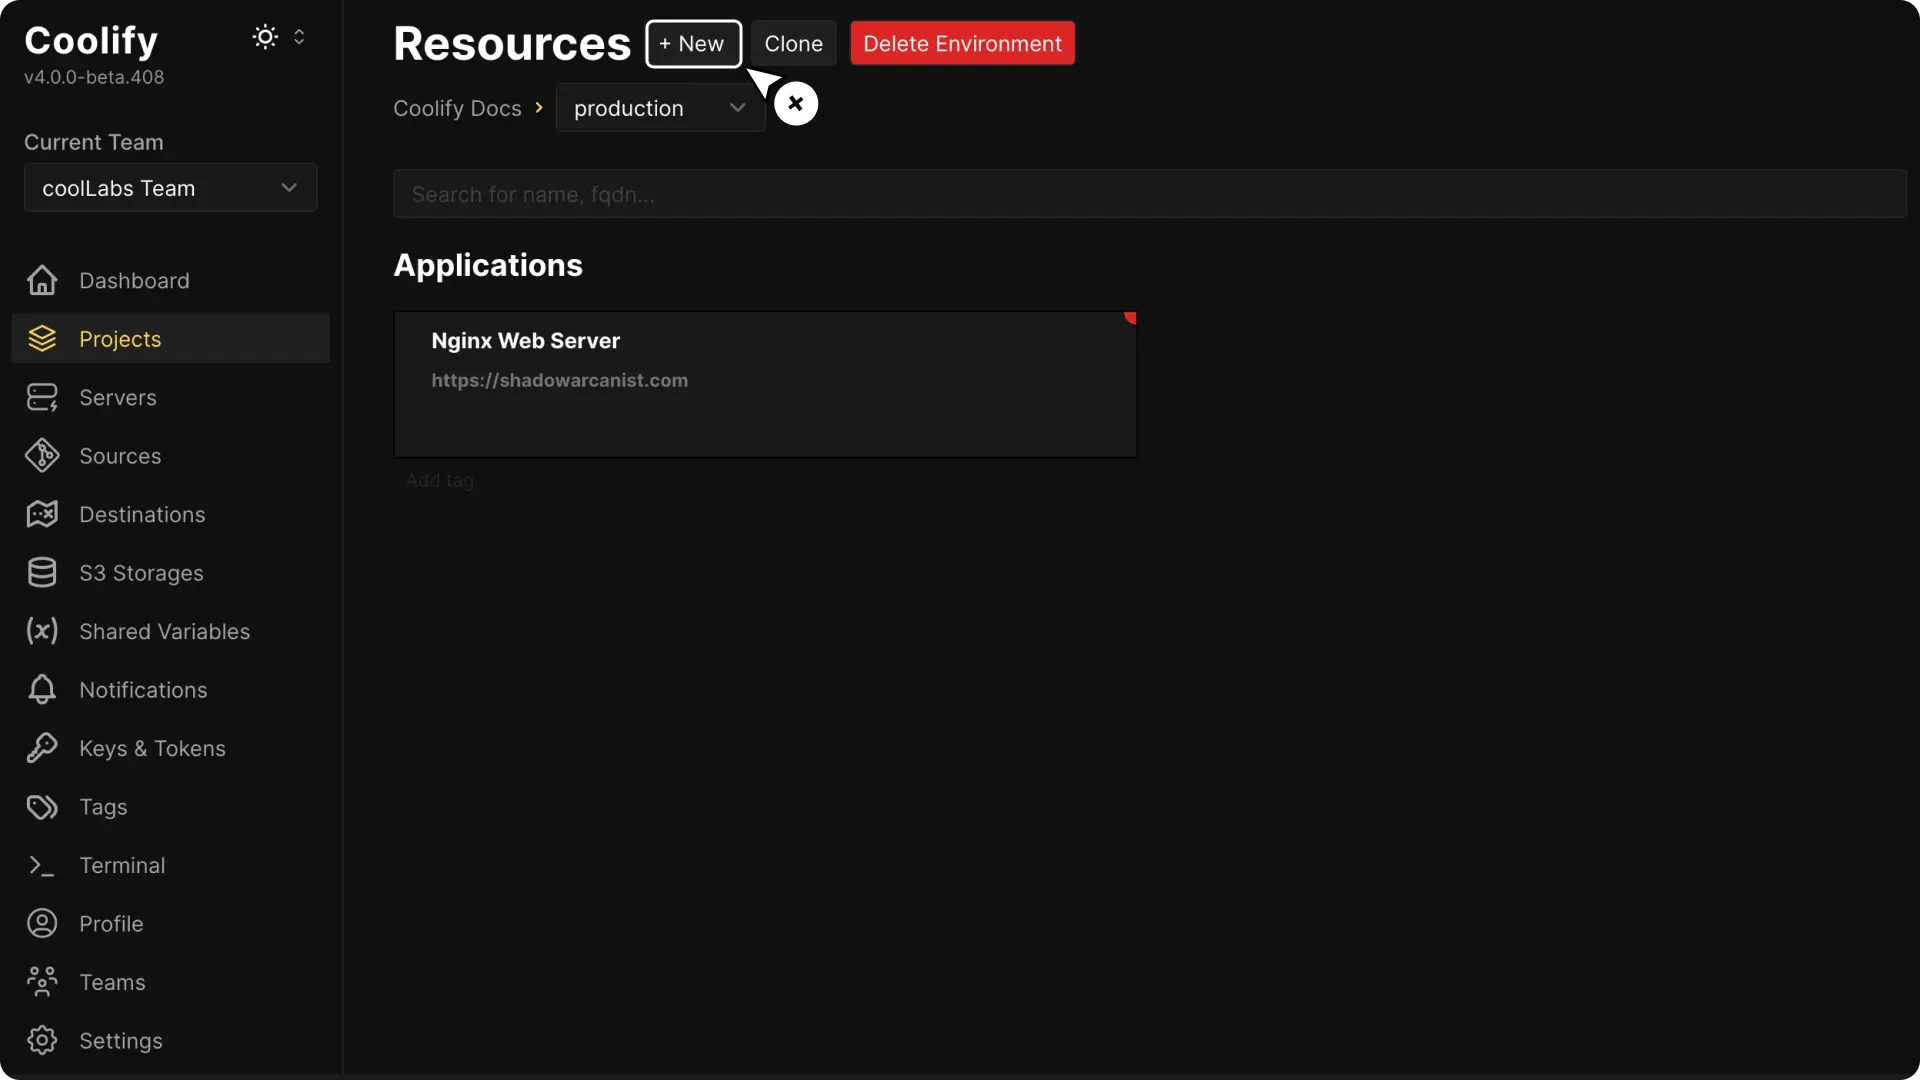
1. Create a New Resource in Coolify
On the Coolify dashboard, open your project and click the Create New Resource button.
2. Choose Your Deployment Option
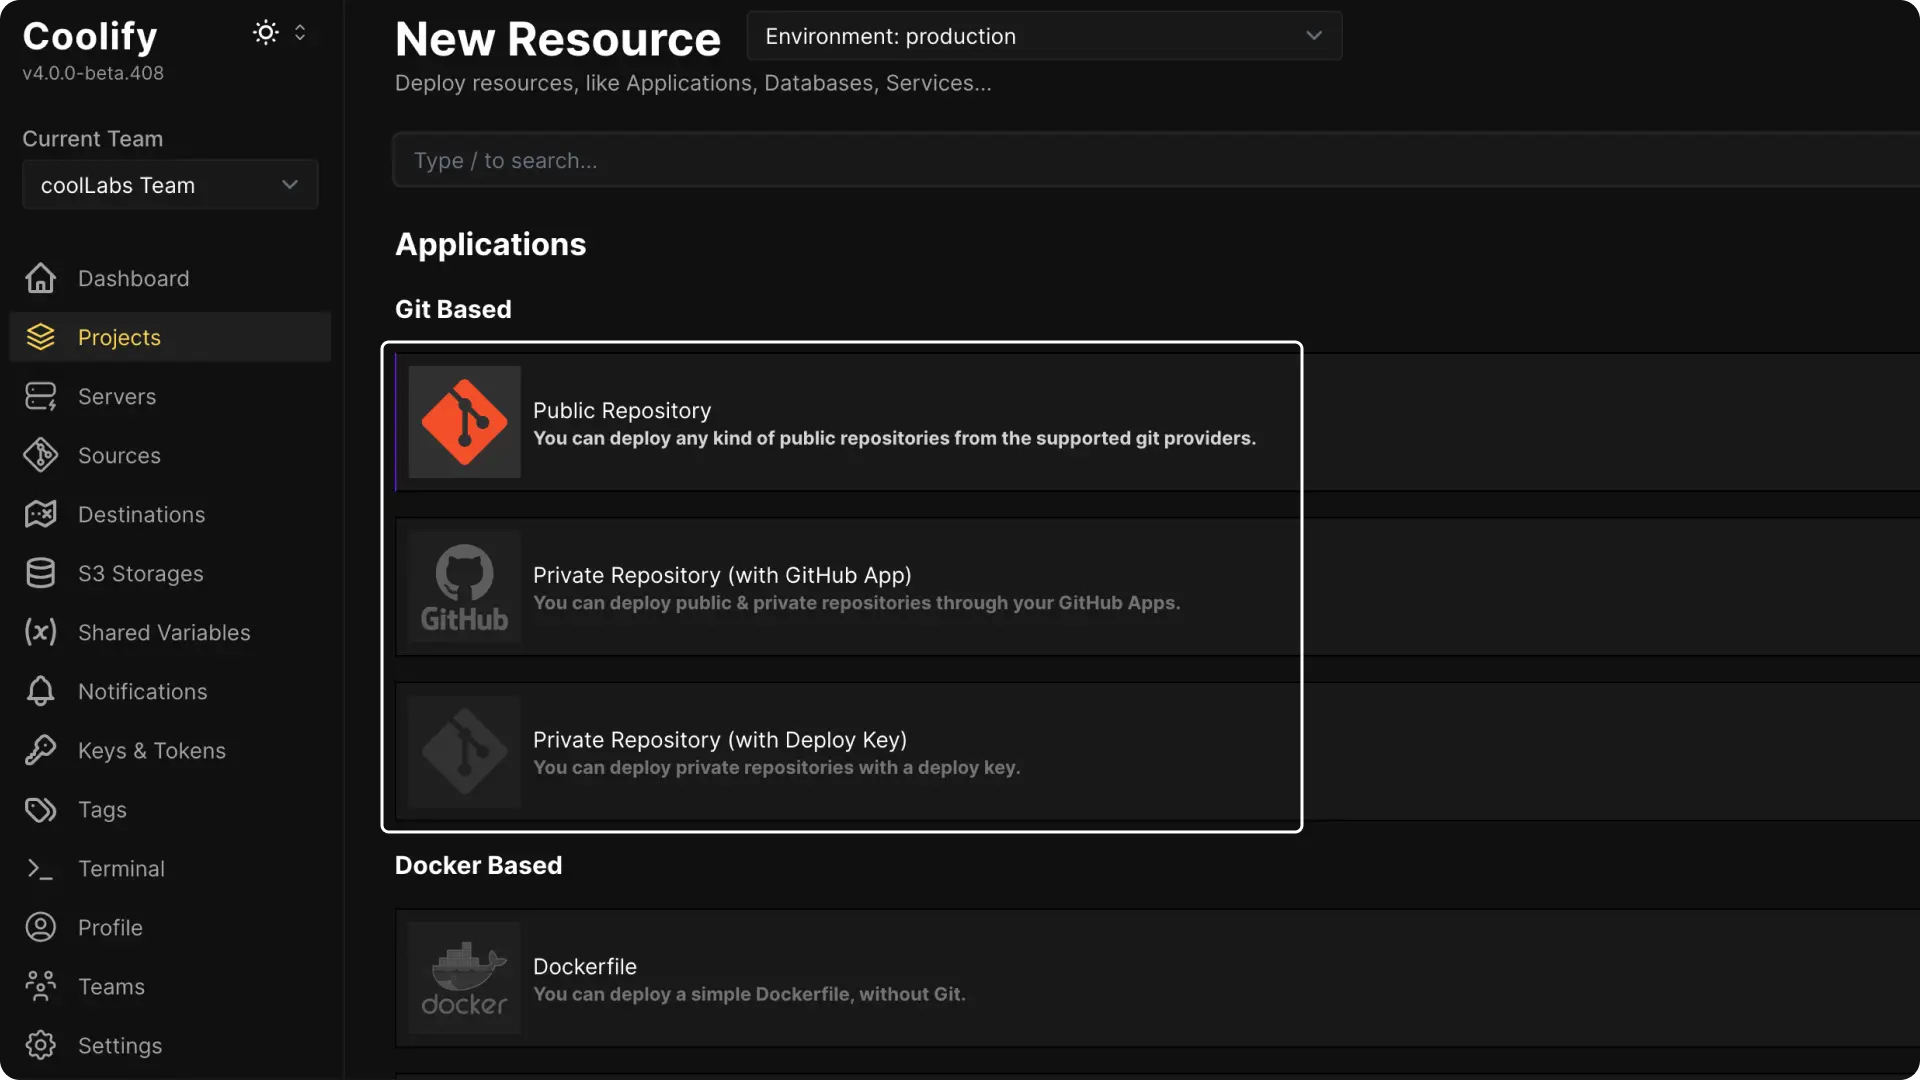
A. If your Git repository is public, choose the Public Repository option.
B. If your repository is private, you can select Github App or Deploy Key. (These methods require extra configuration. You can check the guides on setting up a Github App or Deploy Key if needed.)
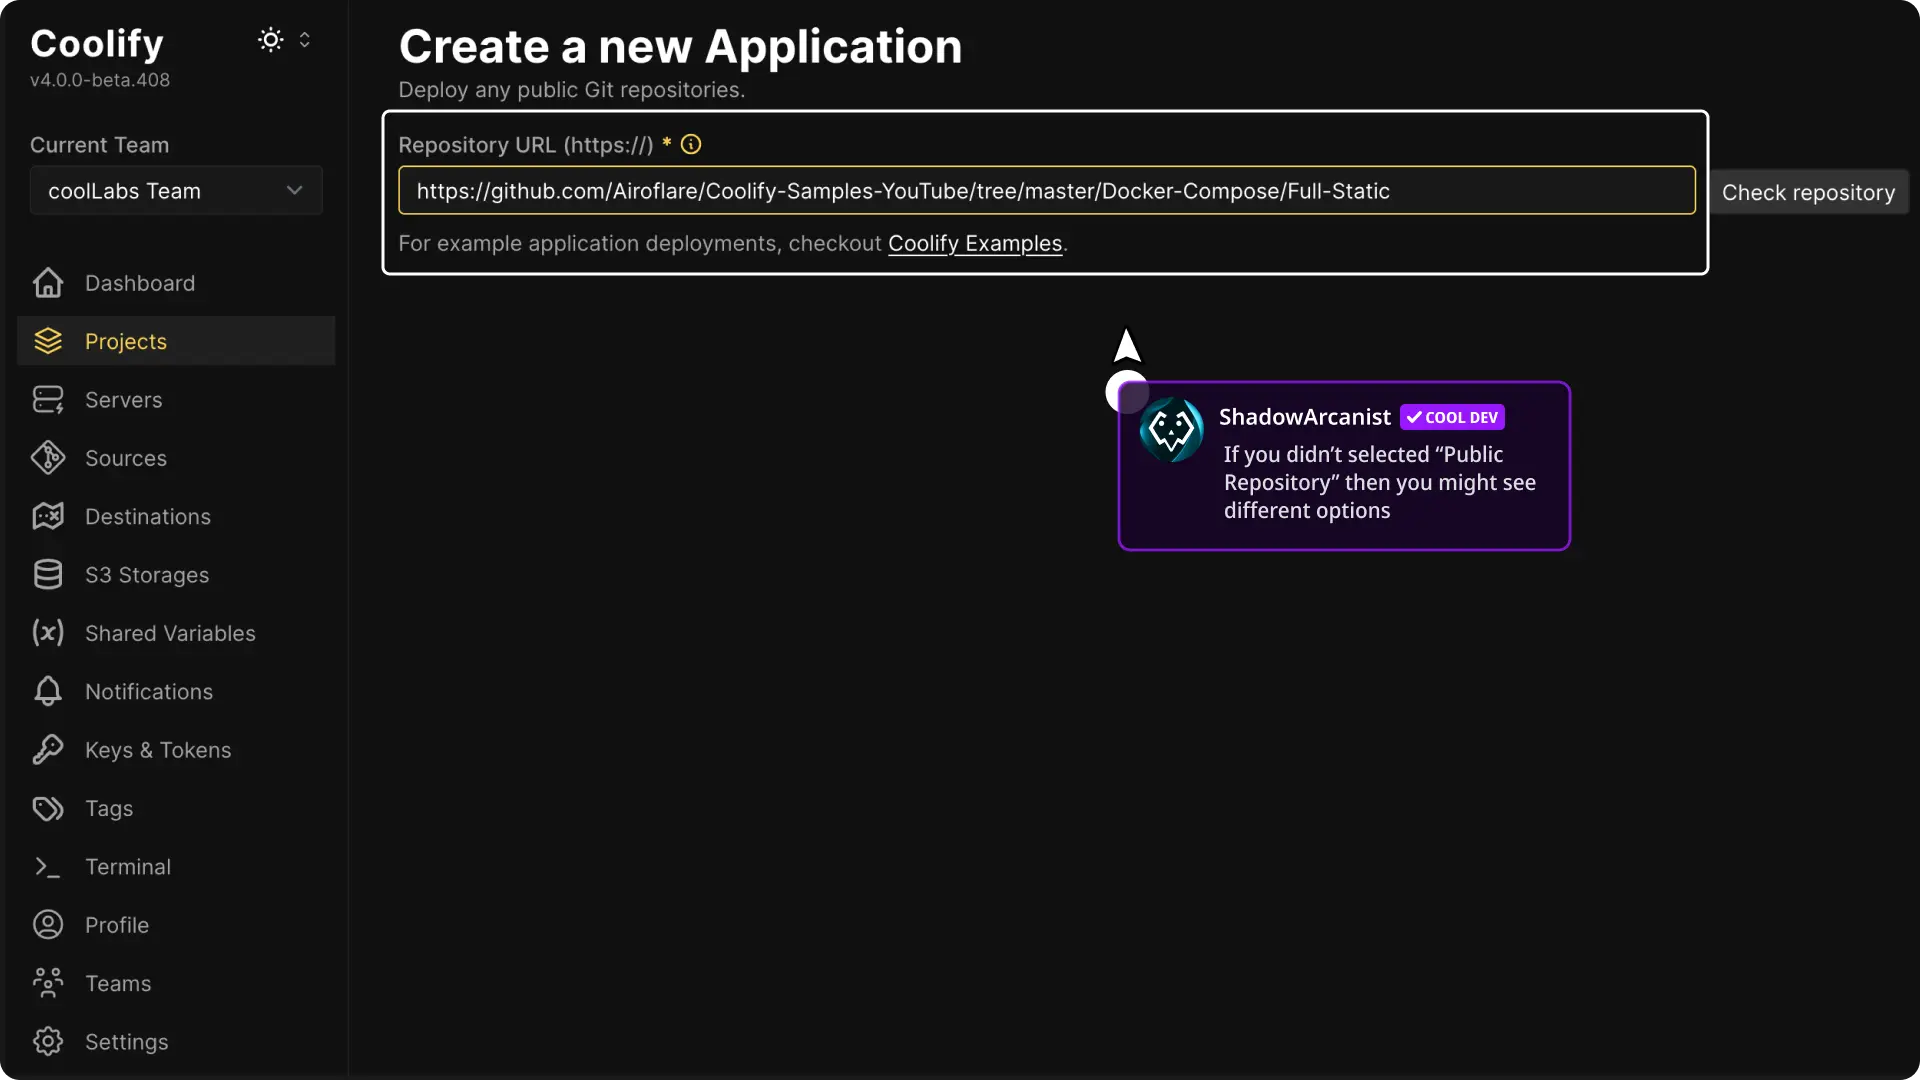
3. Select Your Git Repository
If you are using a public repository, paste the URL of your GitHub repository when prompted. The steps are very similar for all other options.
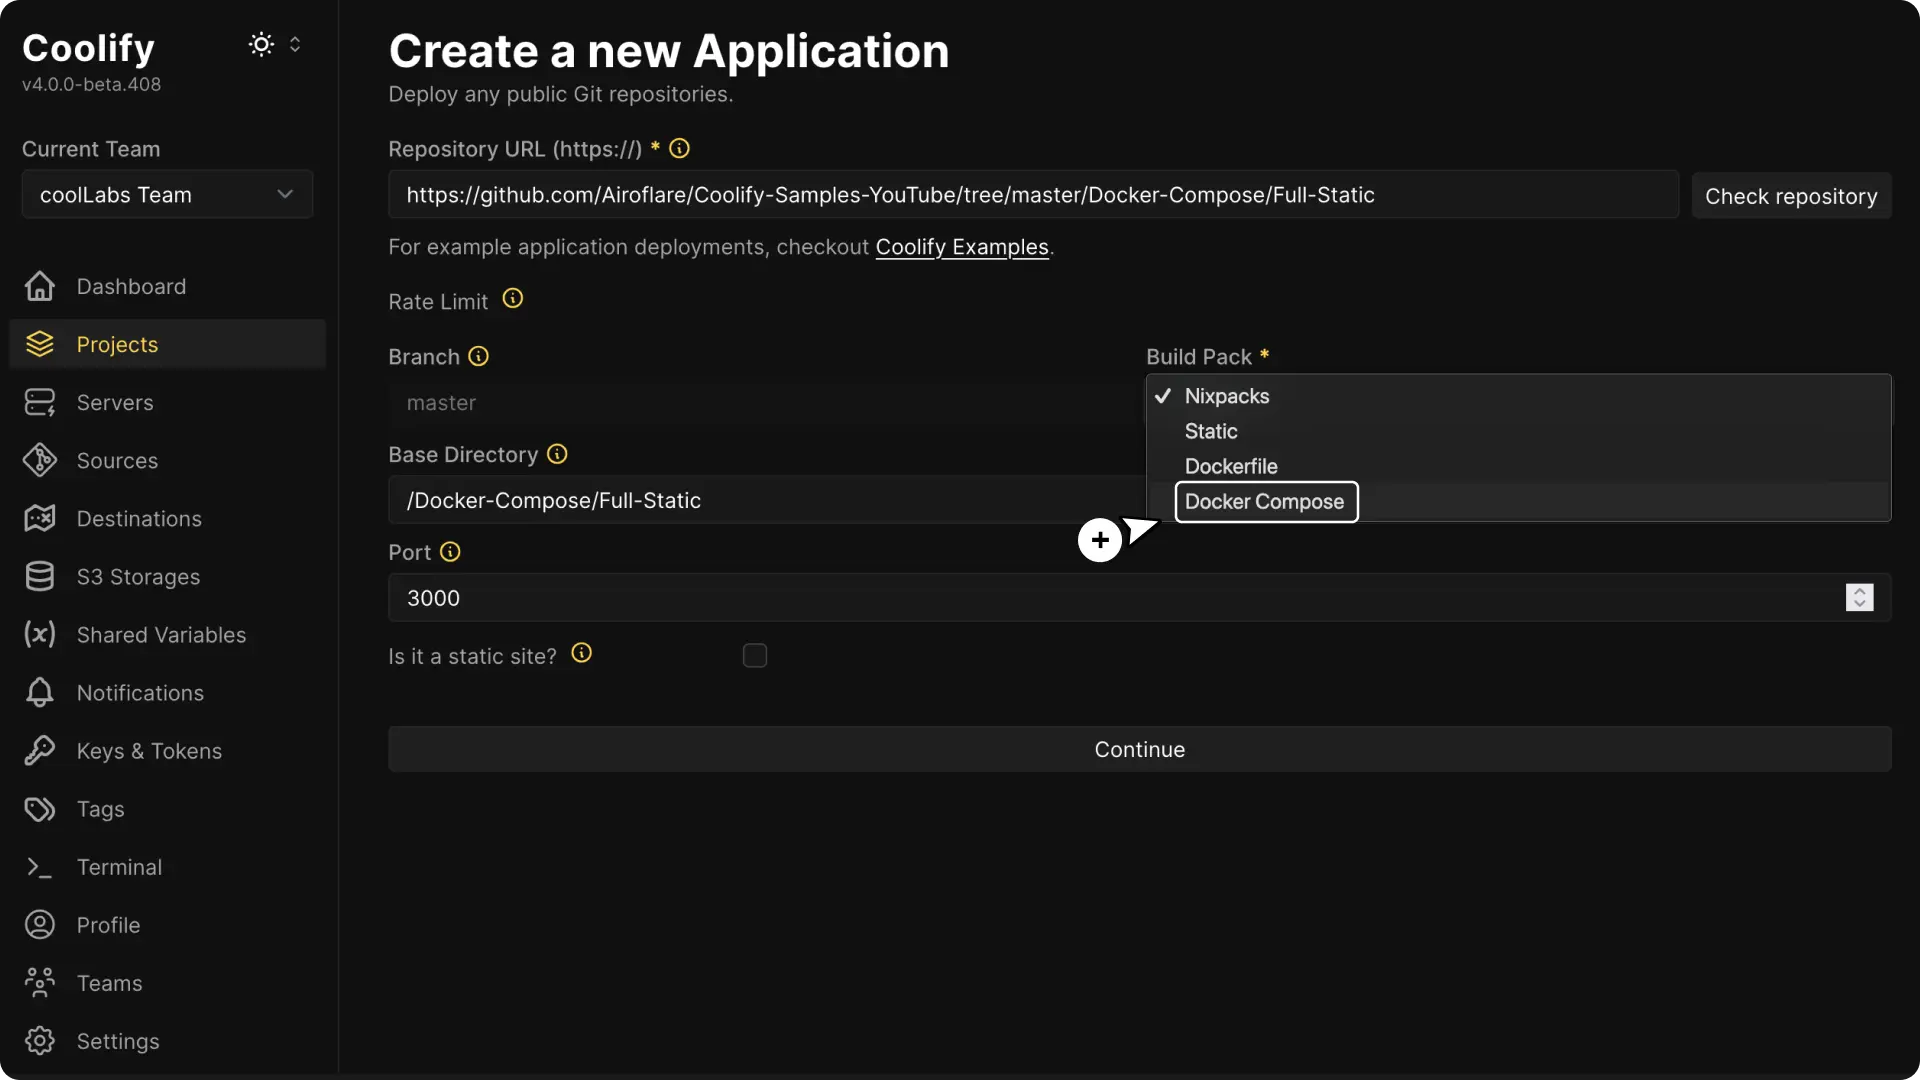
4. Choose the Build Pack
Coolify defaults to using Nixpacks. Click the Nixpacks option and select Docker Compose as your build pack from the dropdown menu.
5. Configure the Build Pack
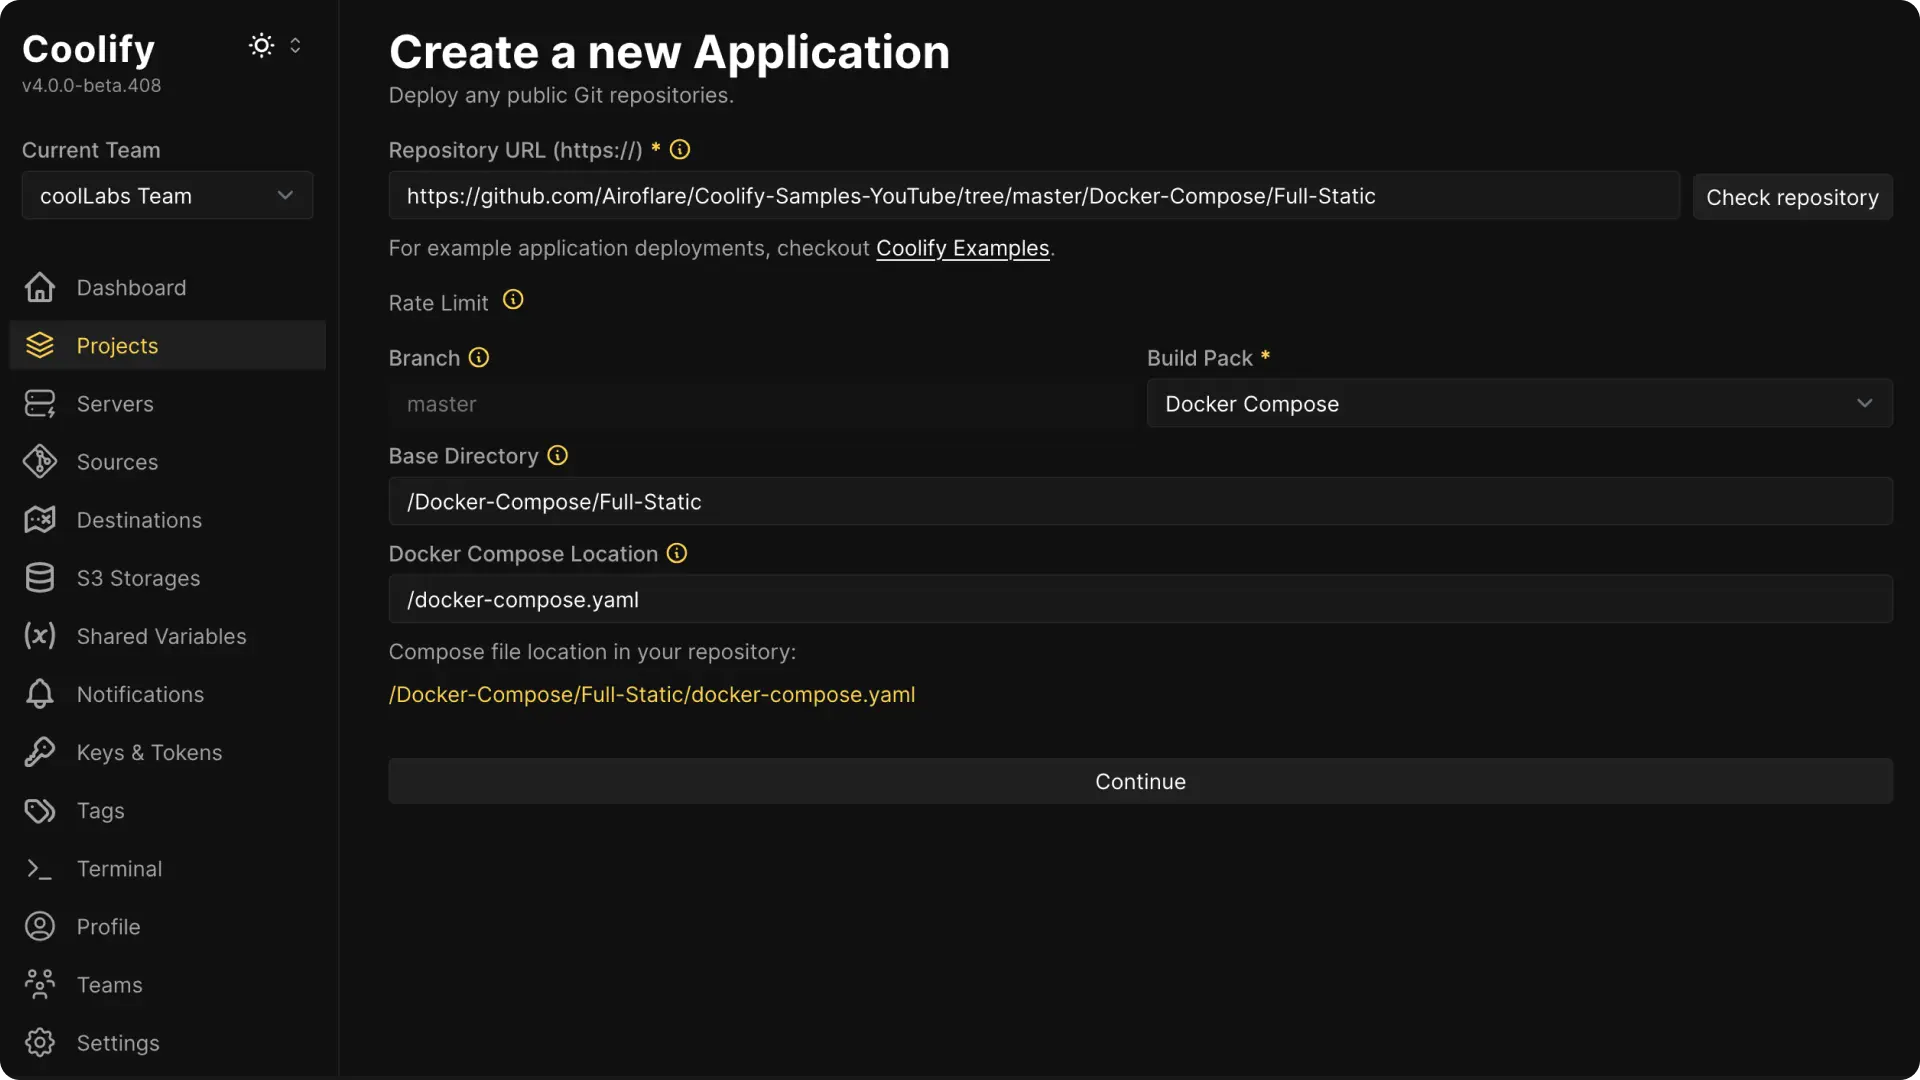
- Branch: Coolify will automatically detect the branch in your repository.
- Base Directory: Enter the directory that Coolify should use as the root. Use
/if your files are at the root or specify a subfolder (like/backendfor a monorepo). - Docker Compose Location: Enter the path to your Docker Compose file, this path is combined with the Base Directory. Make sure the file extension matches exactly, if it doesn’t then Coolify won’t be able to load it.
Click on Continue button once you have set all the above settings to correct details.
Making services available to the outside world
Read more about Exposing Services to the Internet in the Knowledge Base.
Advanced Configuration
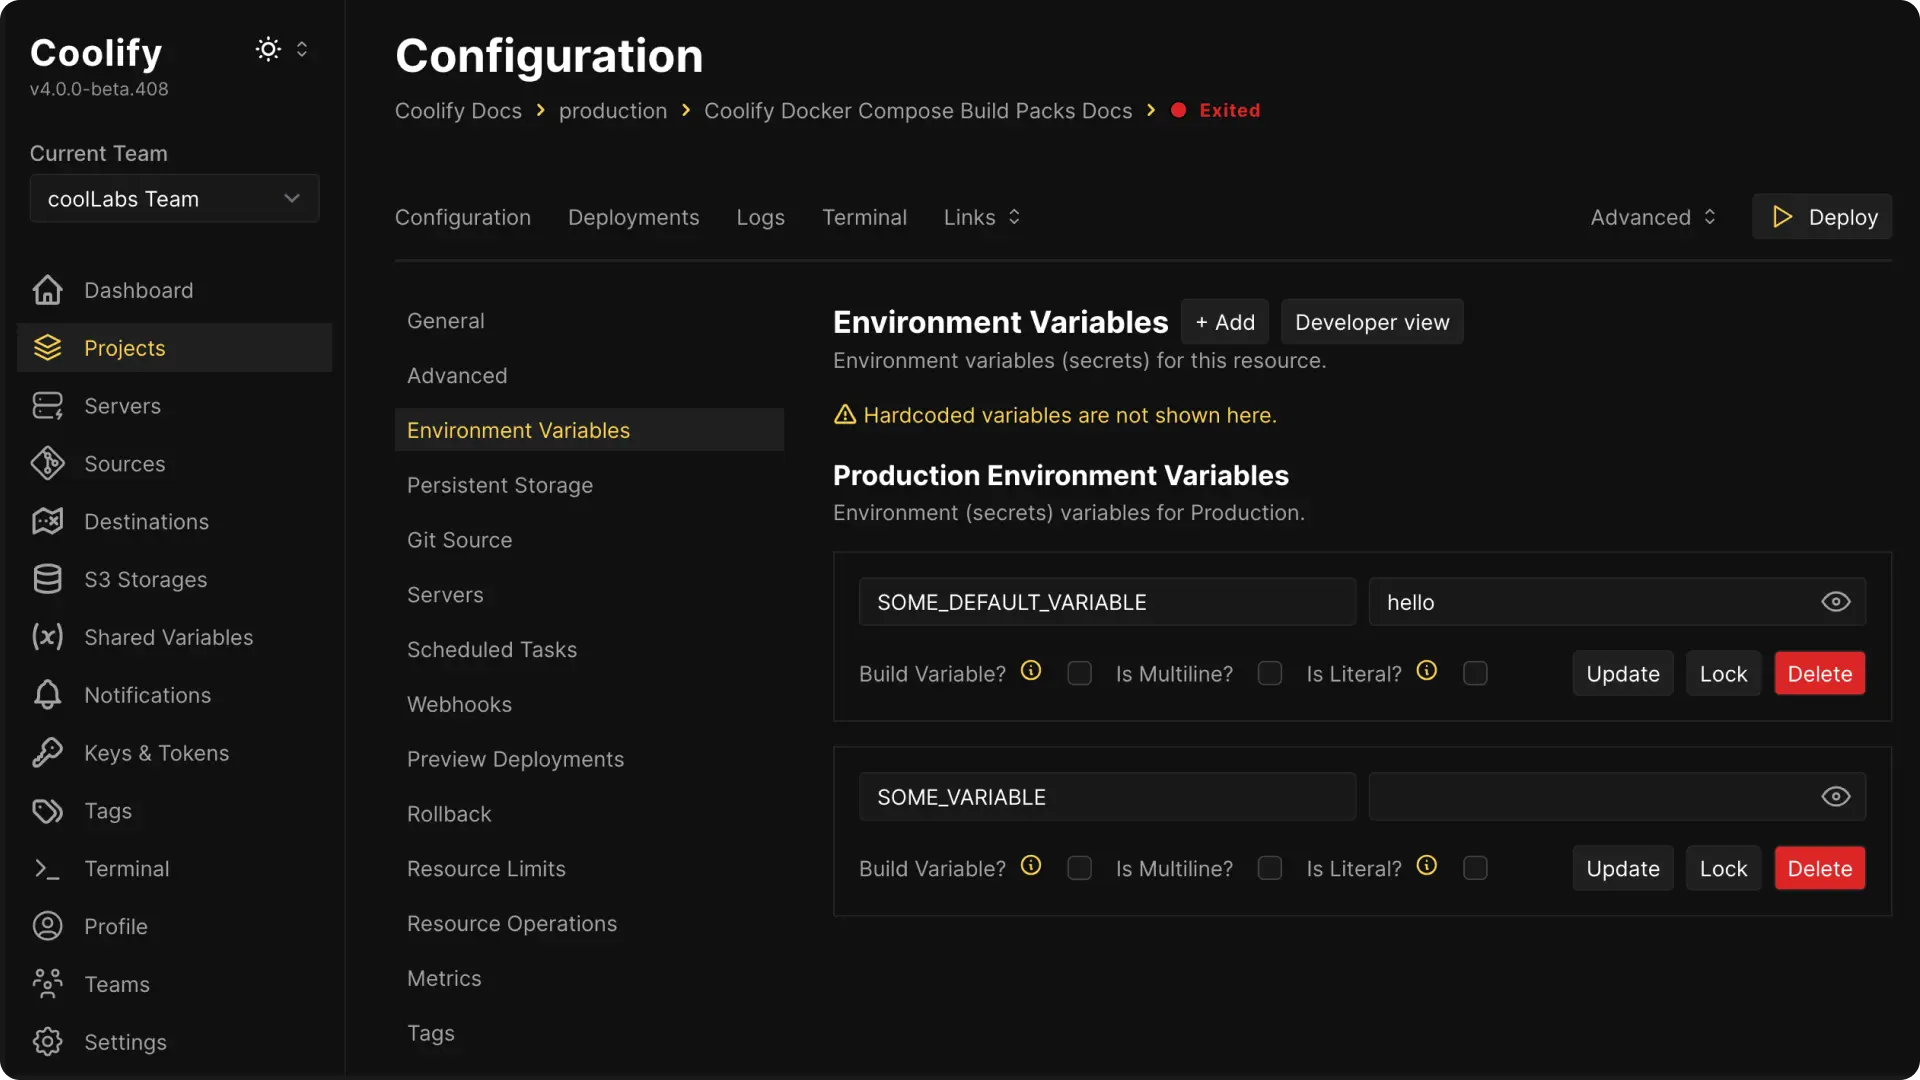
Using Environment and Shared Variables
Within Coolify you can configure these easily following the details found in the Knowledge Base for Docker Compose.
Storage
You can set up storage in your compose file, with some extra options for Coolify.
Create an Empty Directory
Define directories with host binding and inform Coolify to create them:
services:
  filebrowser:
    image: filebrowser/filebrowser:latest
    volumes:
      - type: bind
        source: ./srv
        target: /srv
        is_directory: true # Instructs Coolify to create the directory.
Create a File with Content
Specify a file with predefined content and even include a dynamic value from an environment variable:
services:
  filebrowser:
    image: filebrowser/filebrowser:latest
    environment:
      - POSTGRES_PASSWORD=password
    volumes:
      - type: bind
        source: ./srv/99-roles.sql
        target: /docker-entrypoint-initdb.d/init-scripts/99-roles.sql
        content: |
          -- NOTE: Change these passwords for production!
           \set pgpass `echo "$POSTGRES_PASSWORD"`

           ALTER USER authenticator WITH PASSWORD :'pgpass';
           ALTER USER pgbouncer WITH PASSWORD :'pgpass';
Exclude from Healthchecks
If a service should not be part of the overall healthchecks (for example, a one-time migration service), set the exclude_from_hc option to true:
services:
  some-service:
    exclude_from_hc: true
    ...
Networking
When you deploy a Docker Compose stack, Coolify automatically creates an isolated bridge network (named after your resource UUID, e.g. ewc08w0) for all services in your stack. All services can communicate with each other using their service names as hostnames (e.g. http://backend:8080).
Coolify also connects its reverse proxy (Traefik) to this network so it can route external traffic to your services.
Do Not Define Custom Networks
WARNING
If your docker-compose.yml defines custom networks, remove them. Defining custom networks causes intermittent outages where your app becomes unreachable over HTTPS.
For example, do not do this:
services:
  frontend:
    networks:
      - my-network
  backend:
    networks:
      - my-network

networks:
  my-network:
    driver: bridge
When you define a custom network, your containers end up on two networks simultaneously — the Coolify-managed one and your custom one. Traefik is only on the Coolify-managed network, but non-deterministically picks which network IP to route to. If it picks the custom network IP, it cannot reach your container and requests will hang indefinitely or return 504 Gateway Timeout.
This behavior is intermittent — it may work after one deploy and break after the next, depending on which IP Traefik selects. See #4483, #6215, #6153.
Instead, simply remove the networks: sections entirely:
services:
  frontend:
    ...
  backend:
    ...
Coolify's auto-created network already provides inter-service communication.
Connect to Predefined Networks
By default, each compose stack is deployed to a separate network named after your resource UUID. This setup allows each service in the stack to communicate with one another.
If you want to connect services across different stacks (for example, linking an application to a separate database), enable the Connect to Predefined Network option on your Service Stack page.
Note that you must use the full name (like postgres-<uuid>) when referencing a service in another stack.
Raw Docker Compose Deployment
For advanced users, Coolify offers a "Raw Compose Deployment" mode. This option lets you deploy your Docker Compose file directly without many of Coolify's additional configurations.

CAUTION
This mode is intended for advanced users familiar with Docker Compose.
Labels
Coolify automatically adds these labels to your application (if not already set):
labels:
  - coolify.managed=true
  - coolify.applicationId=5
  - coolify.type=application
To enable Coolify's Proxy (Traefik), also include these labels:
labels:
  - traefik.enable=true
  - "traefik.http.routers.<unique_router_name>.rule=Host(`shadowarcanist.com`) && PathPrefix(`/`)"
  - traefik.http.routers.<unique_router_name>.entryPoints=http
Build Arguments
When building images with Docker Compose, Coolify can inject build arguments into your build process. You can configure these settings in the Advanced menu of your application.
Inject Build Args to Dockerfile
Controls whether Coolify automatically injects build arguments during the build. Disable this in the Advanced menu if you want full control over build arguments in your Dockerfile.
- Enabled (default): Coolify automatically injects build arguments
- Disabled: You manage
ARGstatements yourself in the Dockerfile
Include Source Commit in Build
Controls whether the SOURCE_COMMIT variable (Git commit hash) is included in builds. Disabled by default to preserve Docker's build cache between commits. You can enable this in the Advanced menu if your build process requires the commit hash.
- Disabled (default):
SOURCE_COMMITis not included, improving cache utilization - Enabled:
SOURCE_COMMITis included as a build argument
Build Cache Optimization
If build cache is not being preserved between deployments, ensure "Include Source Commit in Build" is disabled. The SOURCE_COMMIT value changes with every commit and will invalidate the cache.
Known Issues and Solutions
Dockerfile Build Pack
Build Docker images from your custom Dockerfile with Coolify supporting Git repositories, environment variables, and pre/post-deployment commands.
CI/CD with Git Providers
Learn how Coolify applications integrate with Git providers for continuous deployment. Understand the difference between Git-based applications and Docker Compose services.