Access All Resource via Cloudflare Tunnels
Accessing All Resource deployed on Coolify using a Cloudflare Tunnel allows you to securely reach your app without exposing your server’s IP address or without having a Public IP address for the server.
Who this is for?
This setup is ideal for people who:
- Don't have a public IP for their server (could be a laptop, raspberry pi etc..).
- Are unable to port forward (e.g., using home internet or on a private network).
- Want to keep their server’s IP address private and avoid exposing it to the public internet.
- Have an resource already deployed on Coolify and need an external method to access it securely.
Setup Requirements
To follow this guide, you'll need:
- A free Cloudflare account.
- You need a domain that has it's DNS managed by Cloudflare.
Before We Start
- We assume you have Coolify running on your server.
- If your app requires HTTPS for functionality like cookies or login, then you need to follow the Full TLS HTTPS guide after following this guide. This is because in this guide, Cloudflare will manage HTTPS externally, while your app will run over HTTP within Coolify.
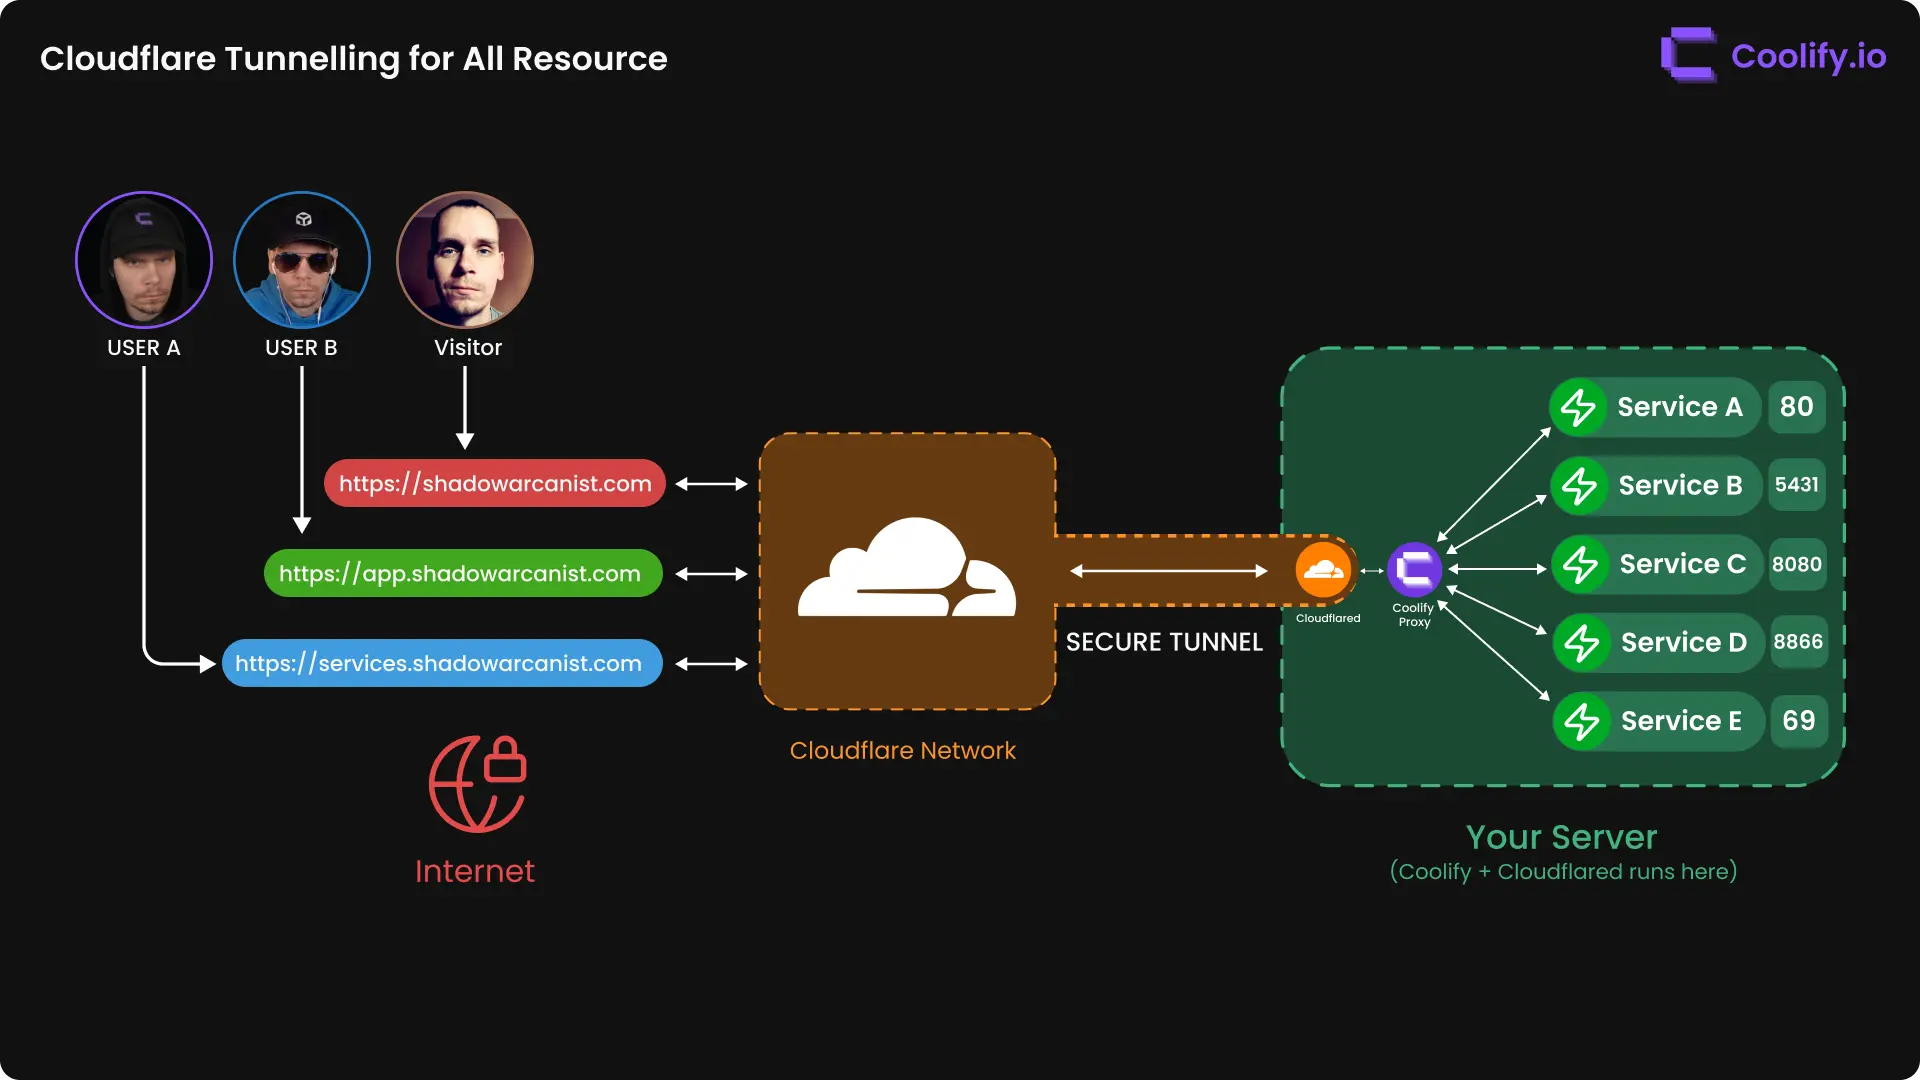
How It Works?
A simple high-level overview diagram to give you a visual idea of how this works:
Example Data
The following data is used as an example in this guide. Please replace it with your actual data when following the steps:
- Domain Name:
shadowarcanist.com
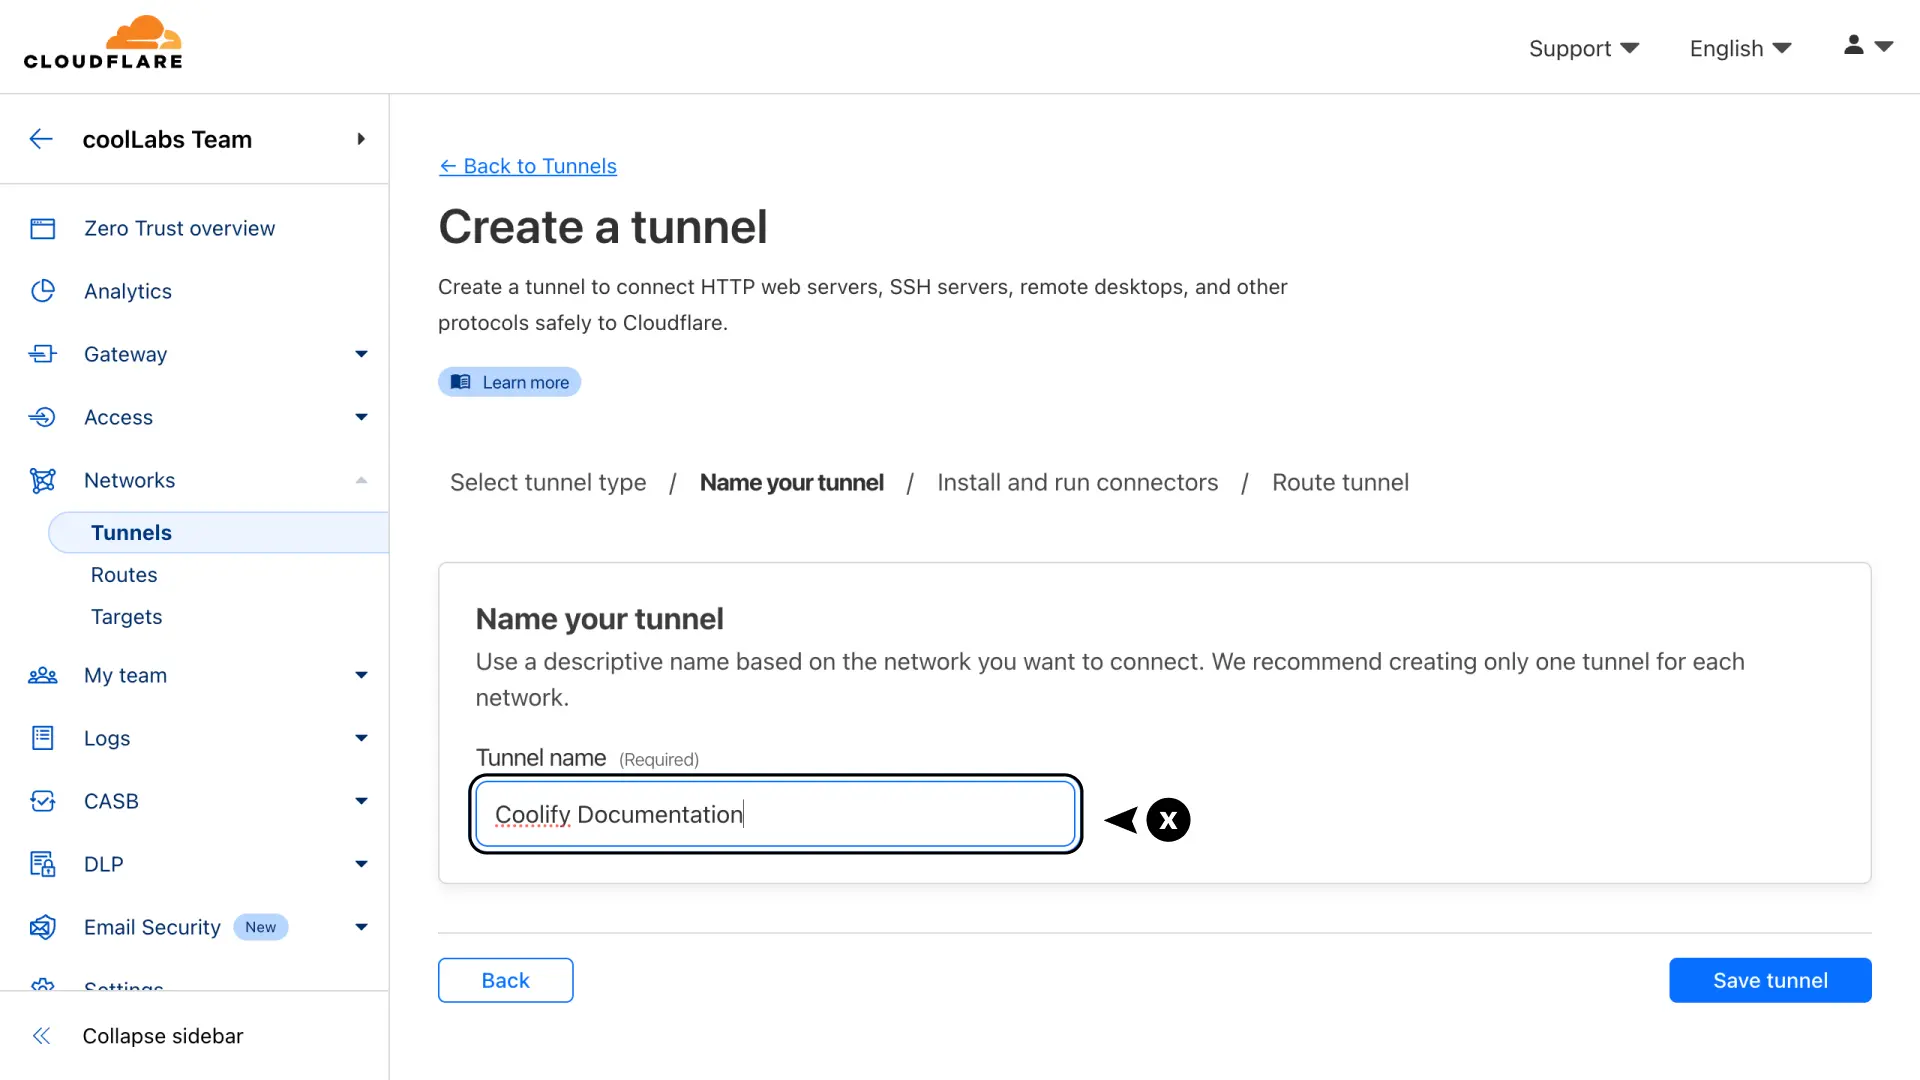
1. Create a Cloudflare Tunnel
To create a Cloudflare Tunnel, first log in to your Cloudflare dashboard
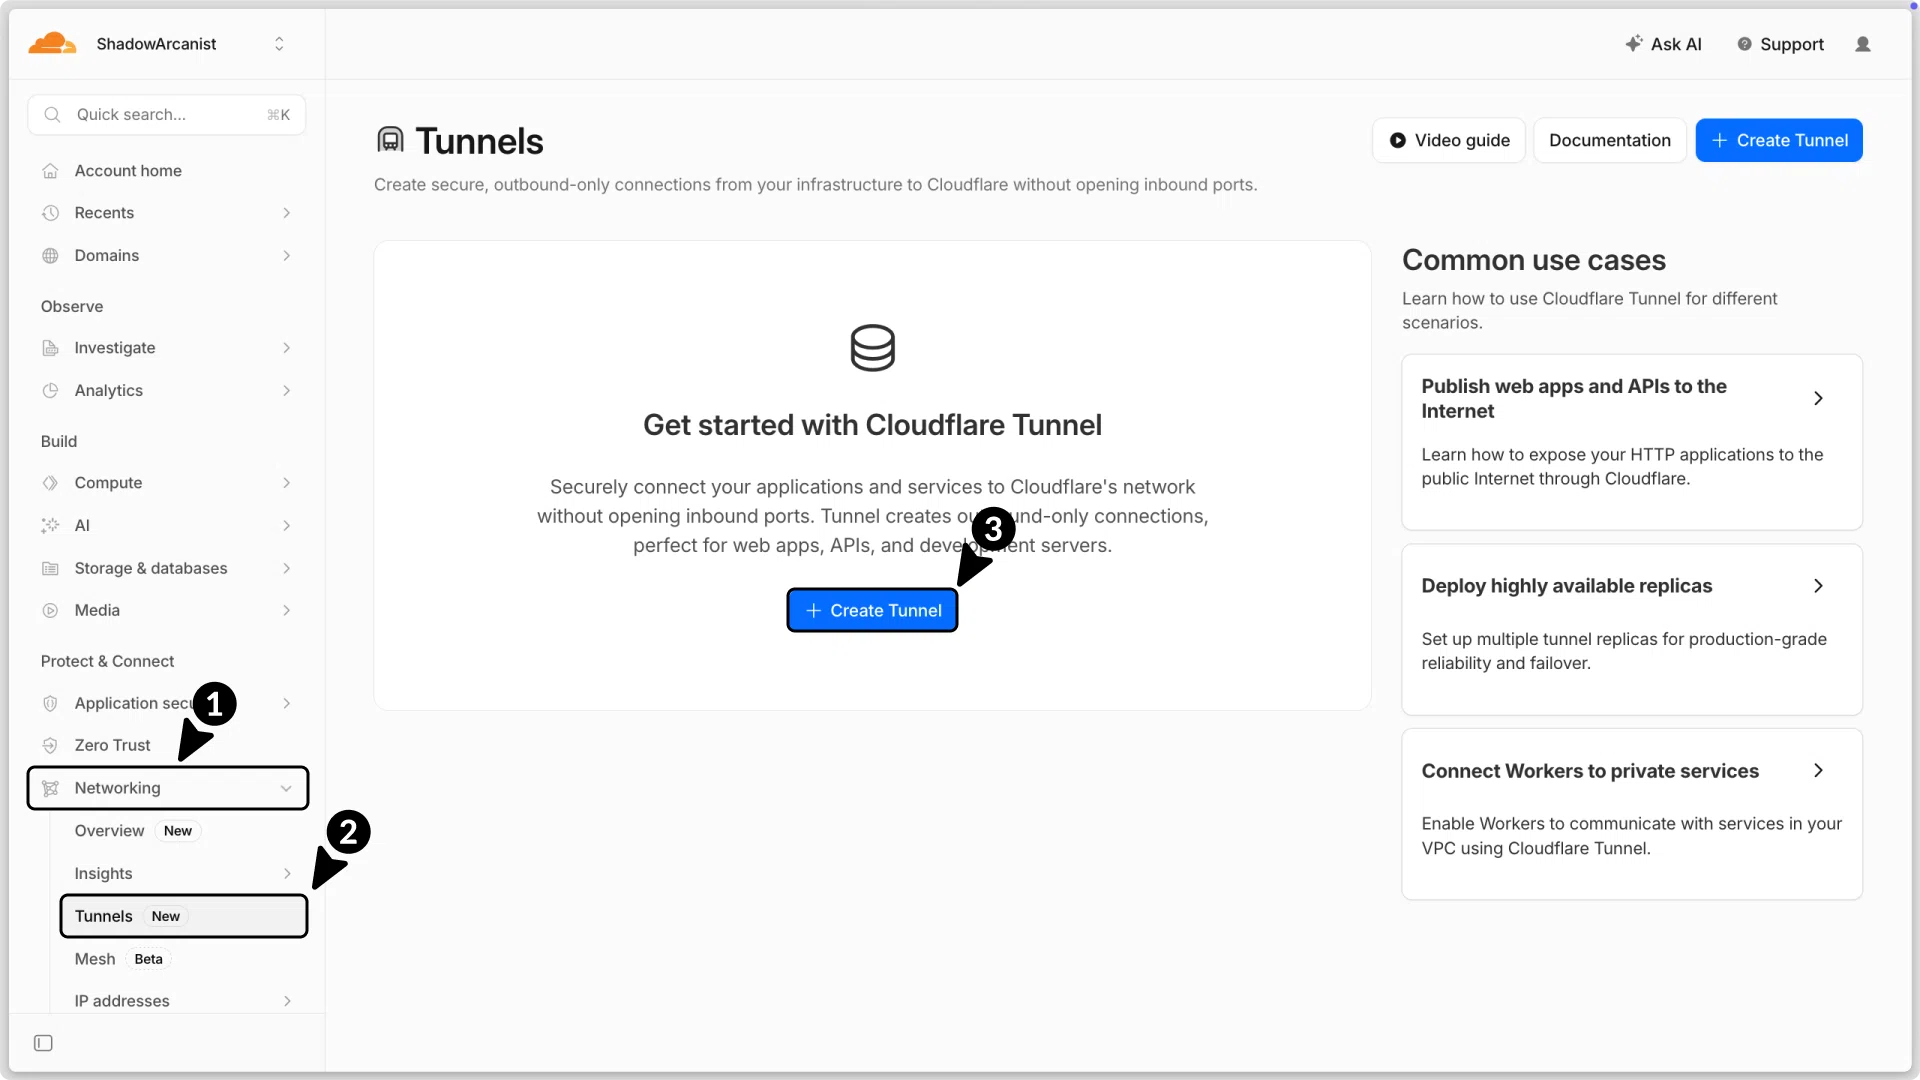
- Go to Networking in the sidebar.
- Click on Tunnels
- Click on Create tunnel button
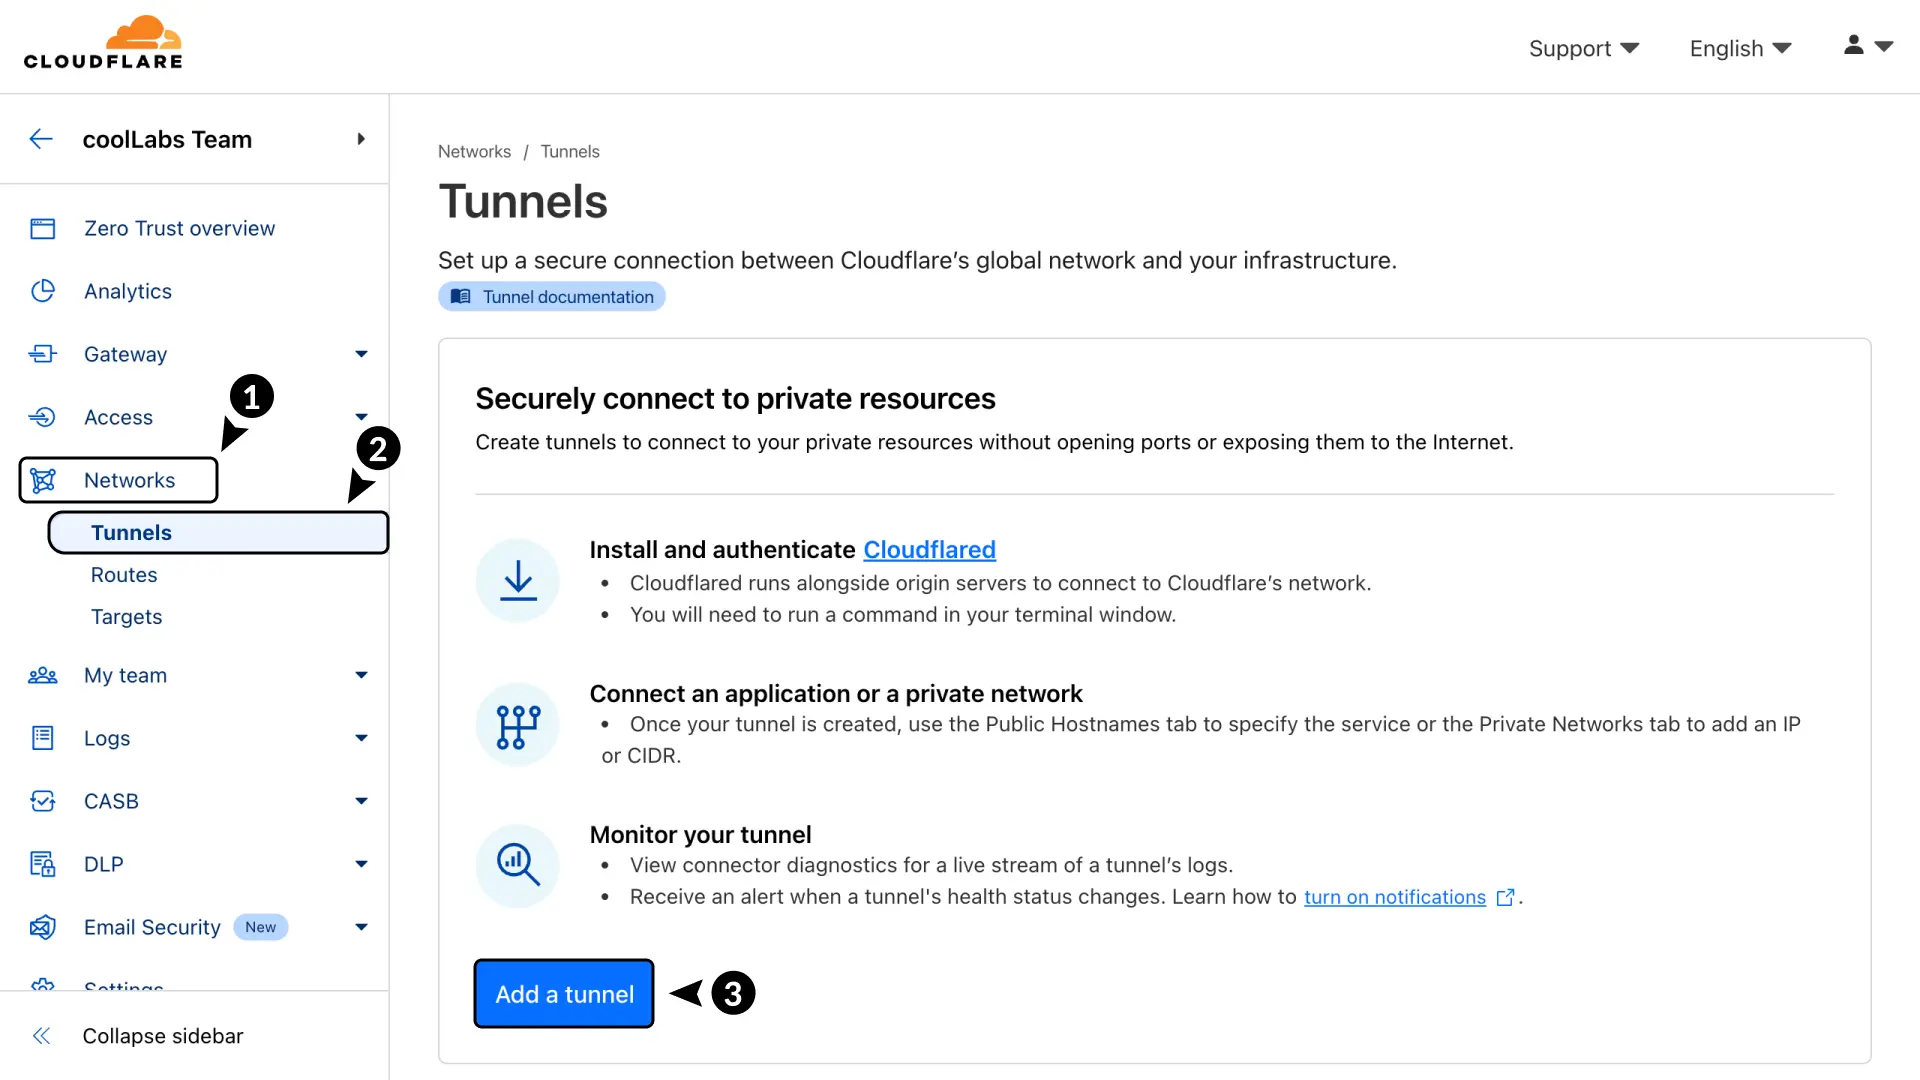
You will be prompted to enter a tunnel name. Enter a name that you prefer and click on Create tunnel button.
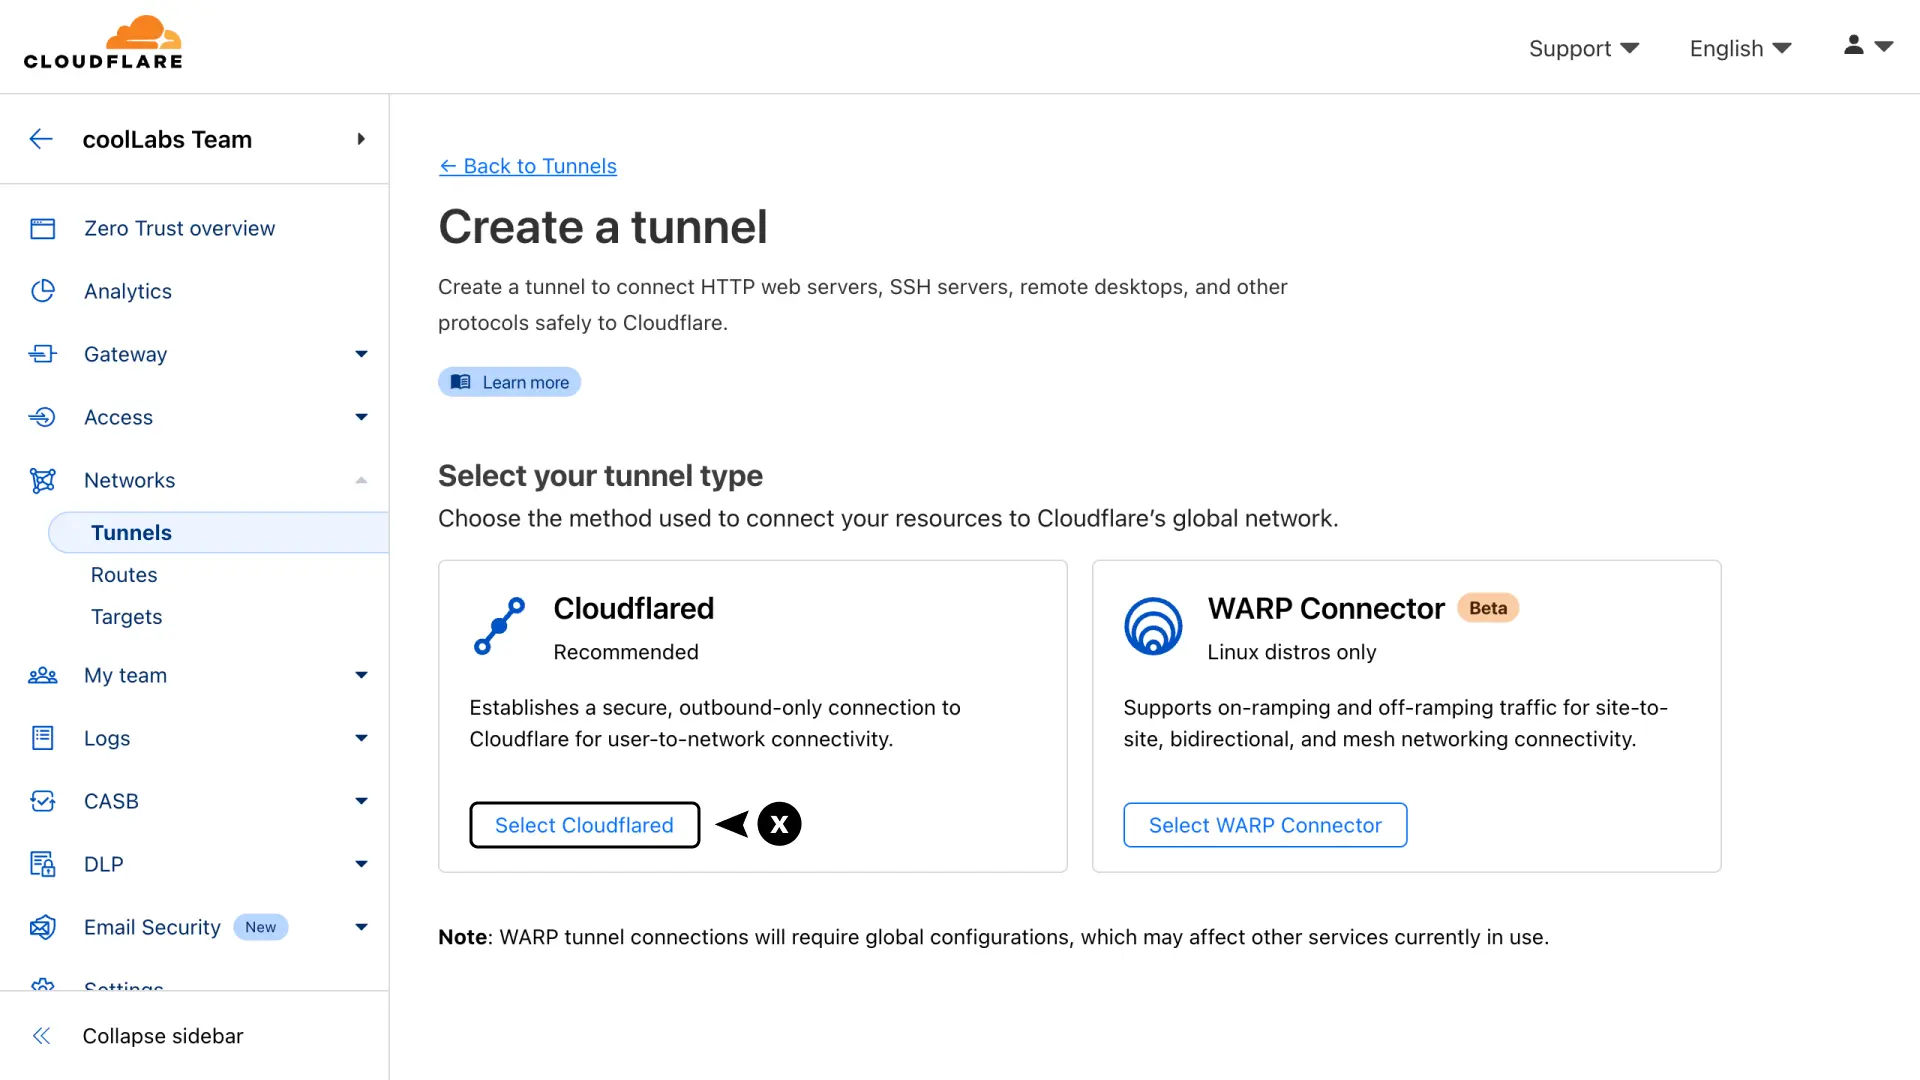
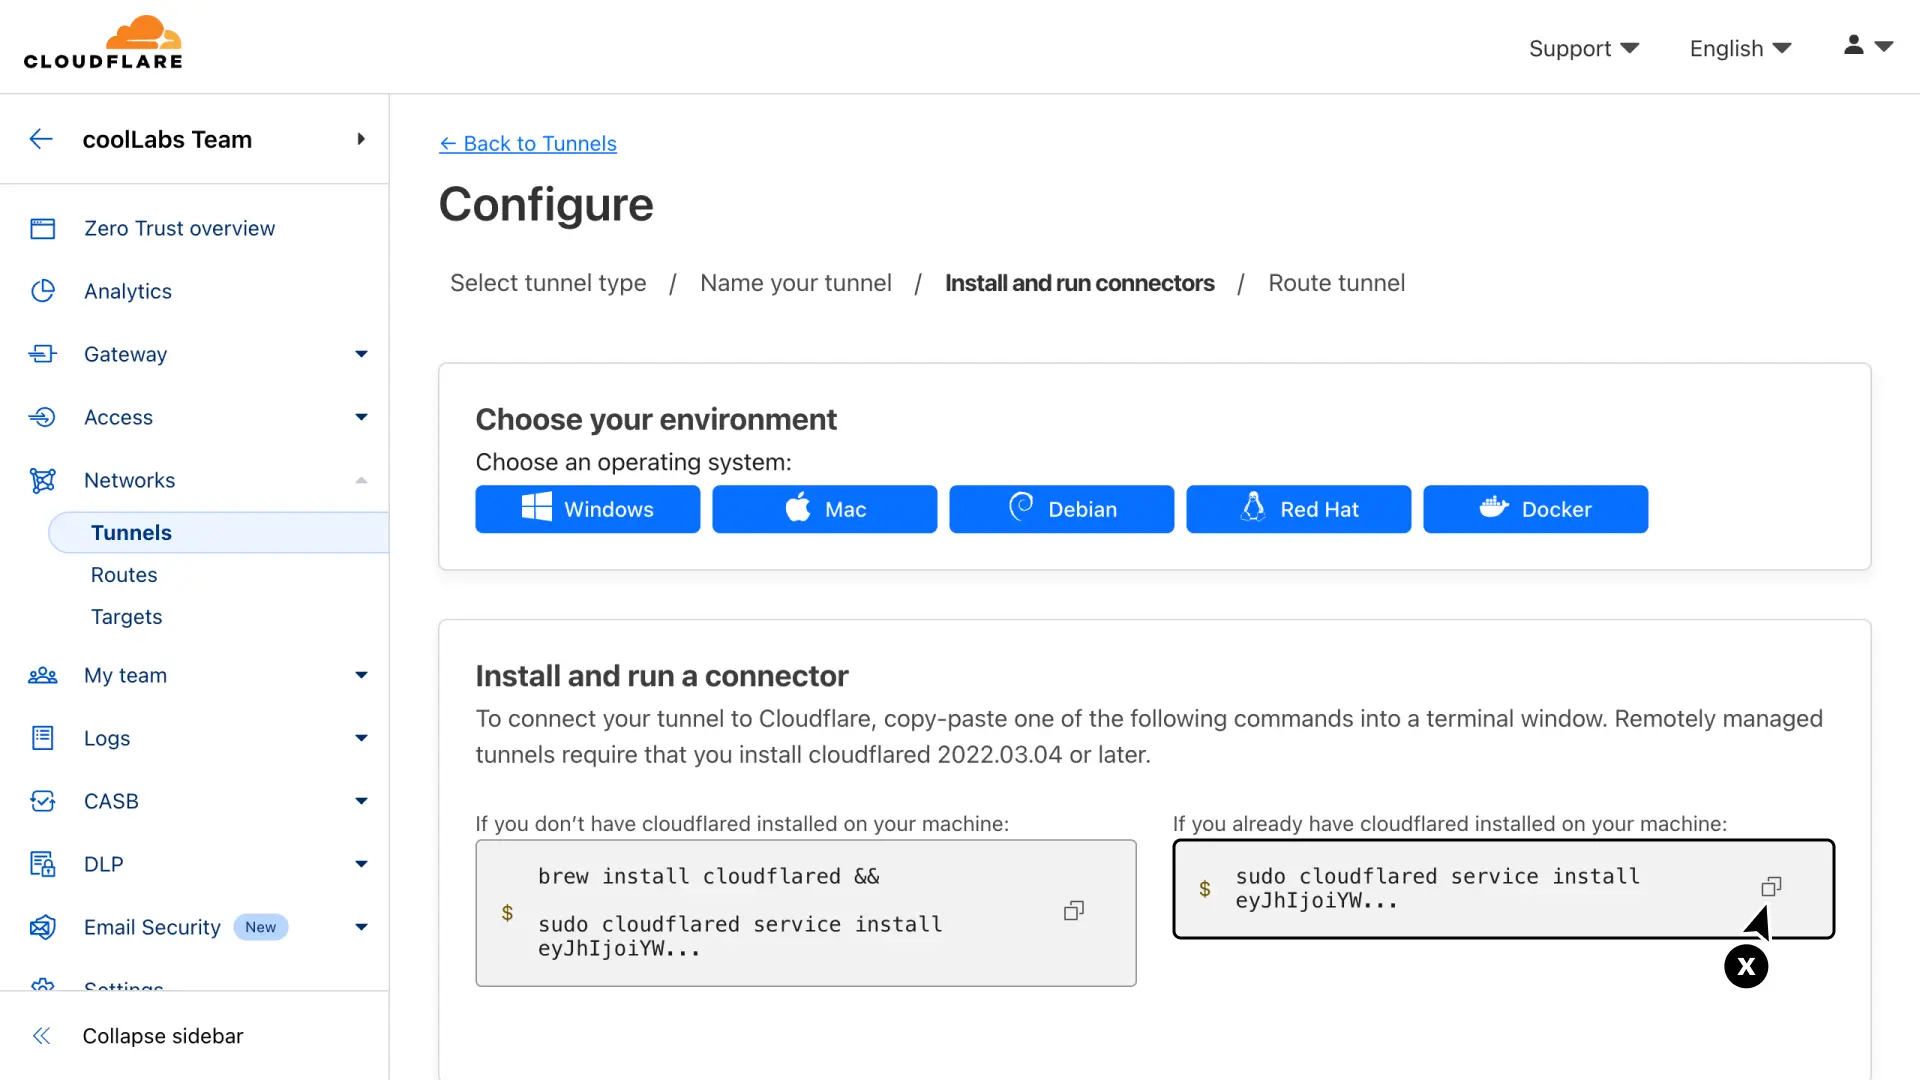
- Select the Docker option
- Copy the docker run command, which contains the token for your tunnel (token starts with "
eyJ"). Make sure to save only the token, removing the command part before it, and store it in a safe place, as we need it later.
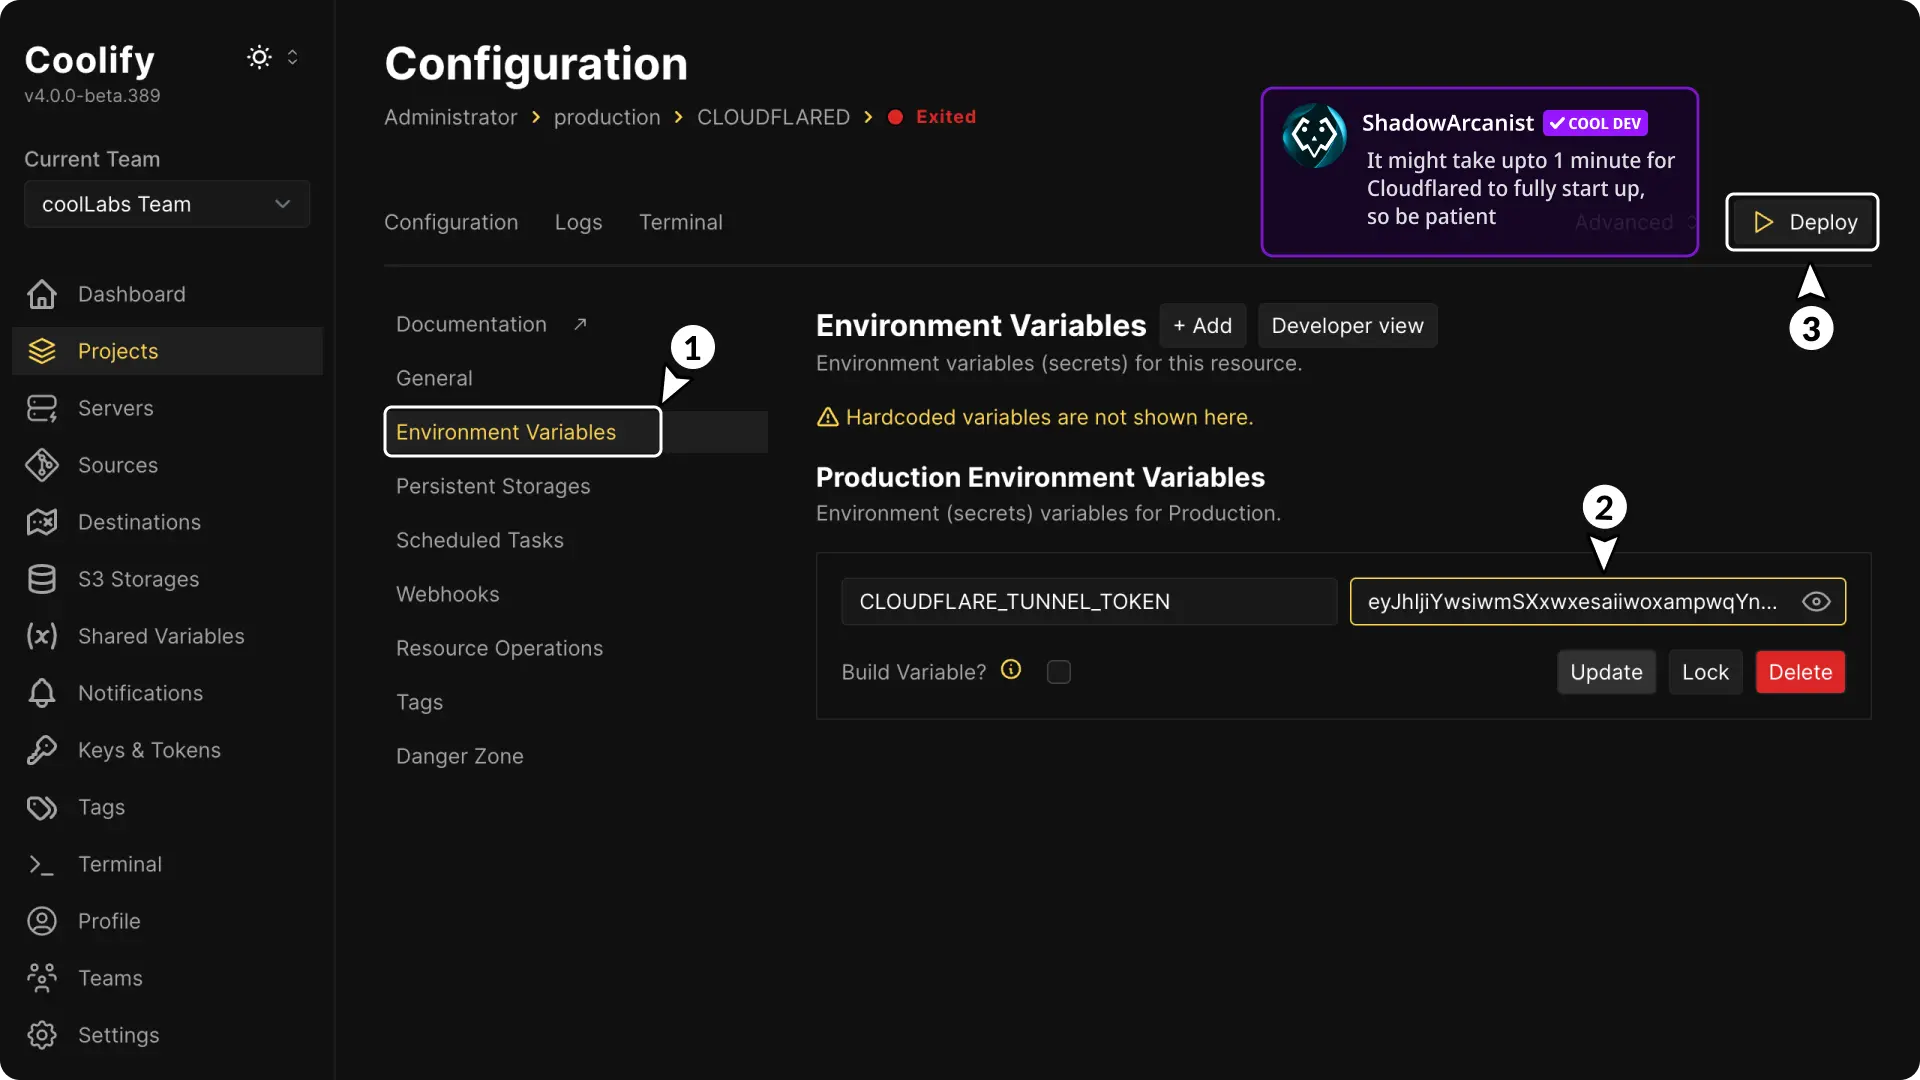
2. Deploy cloudflared on Coolify
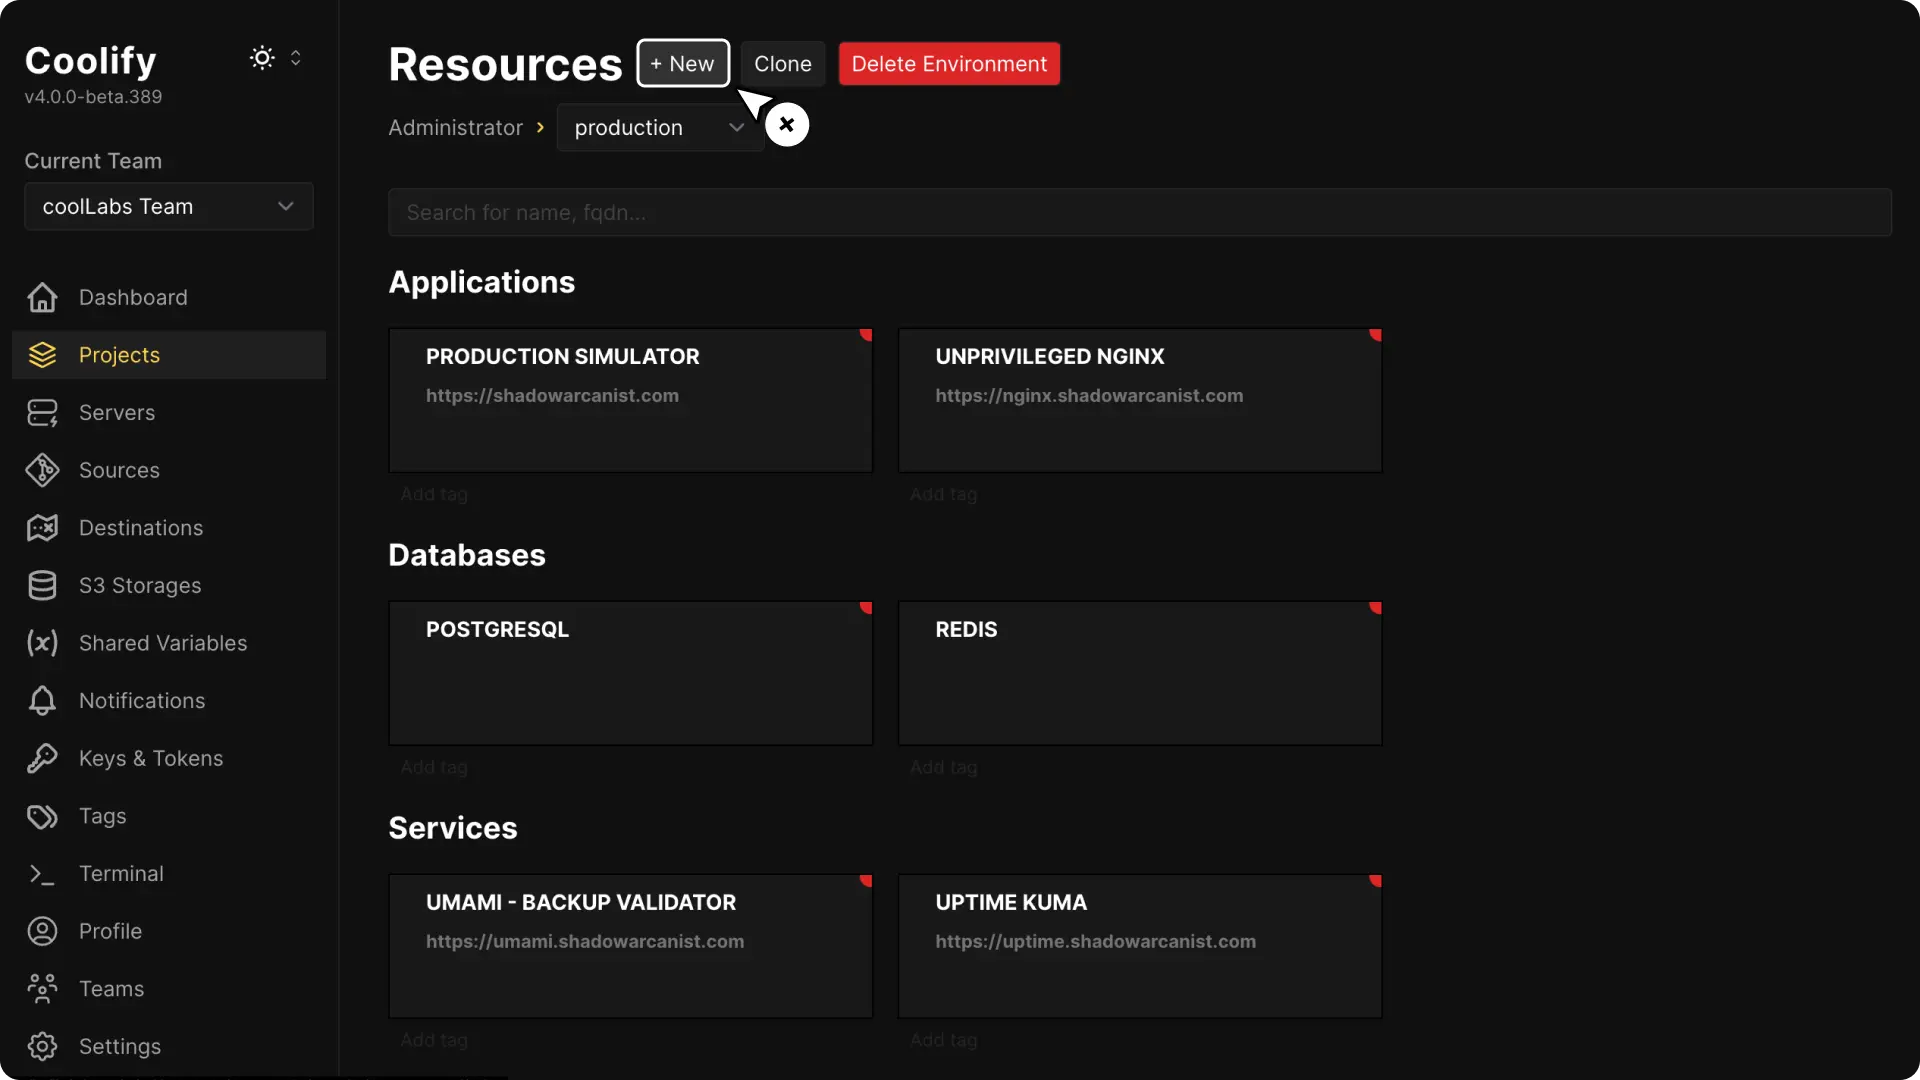
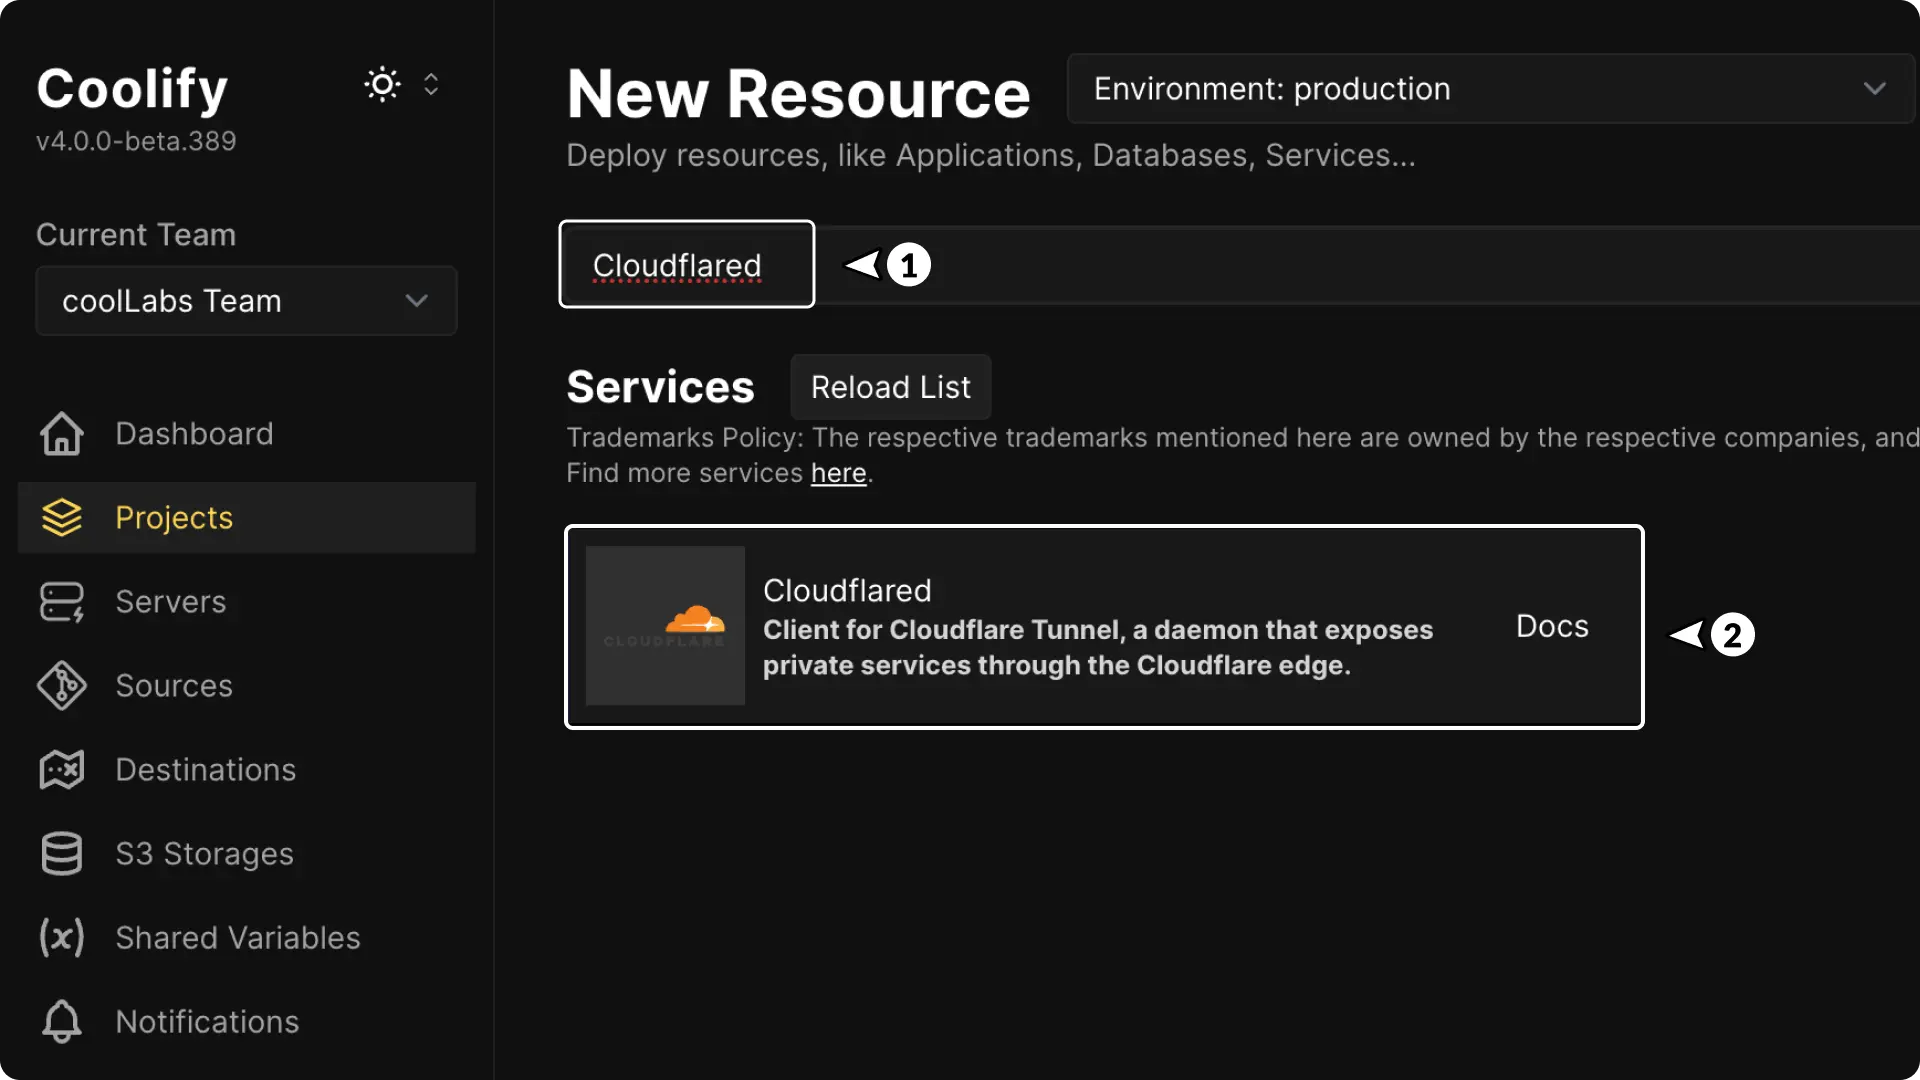
Go to your project on Coolify dashboard and click the + New button to create a new resource.
Search for Cloudflared and click on it.
Go to the Environment Variables page, enter your tunnel token, and deploy the Cloudflared app.
Once cloudflared starts running you will be able to see it's status on Cloudflare dashboard
Click on continue button to create the tunnel.
3. Start Coolify Proxy
- In the Coolify dashboard, go to the Servers page from the sidebar.
- Select the server where your application is running, and check if the proxy is showing as running.
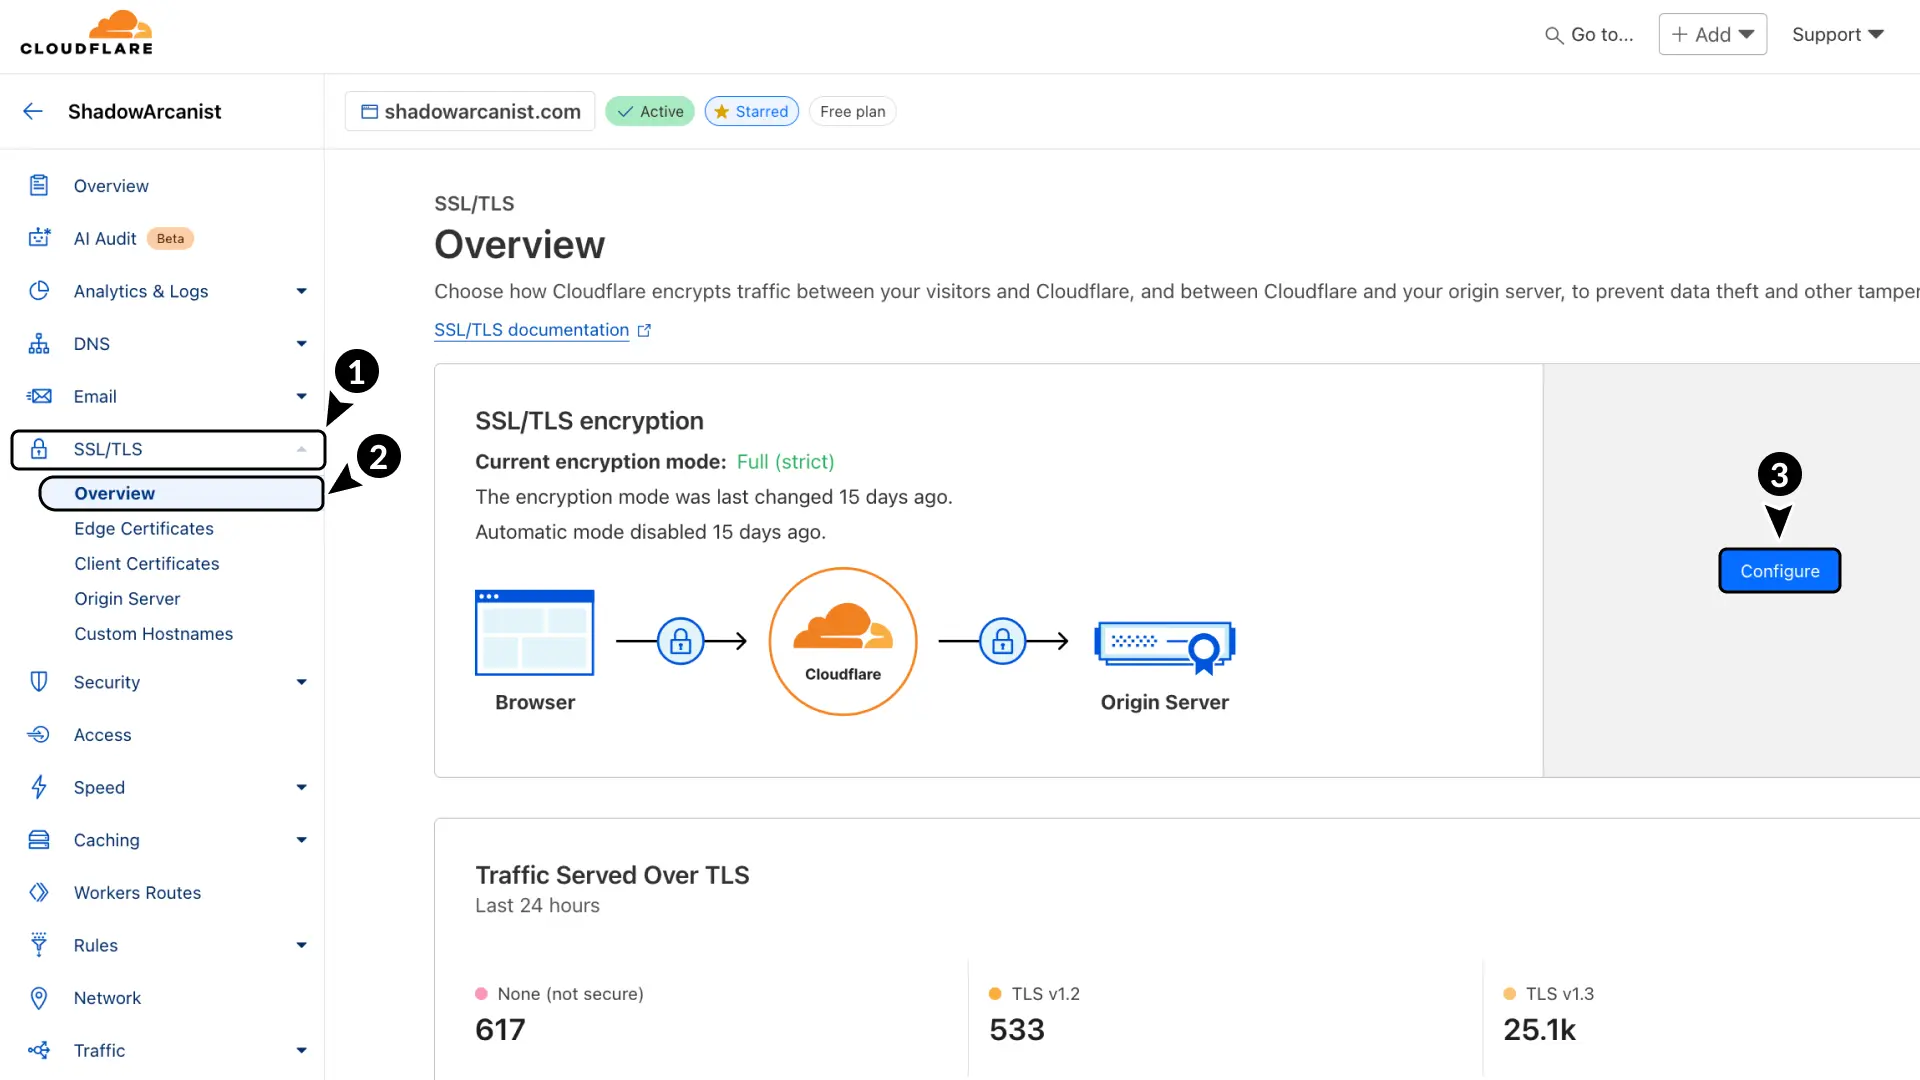
4. Set Up TLS Encryption
To make Cloudflare use stricter encryption when connecting to your server, configure your TLS encryption in Cloudflare:
- Go to SSL/TLS in Cloudflare.
- Select Overview.
- Click Configure button
- Choose Full (Strict) as the encryption mode.
- Click Save button
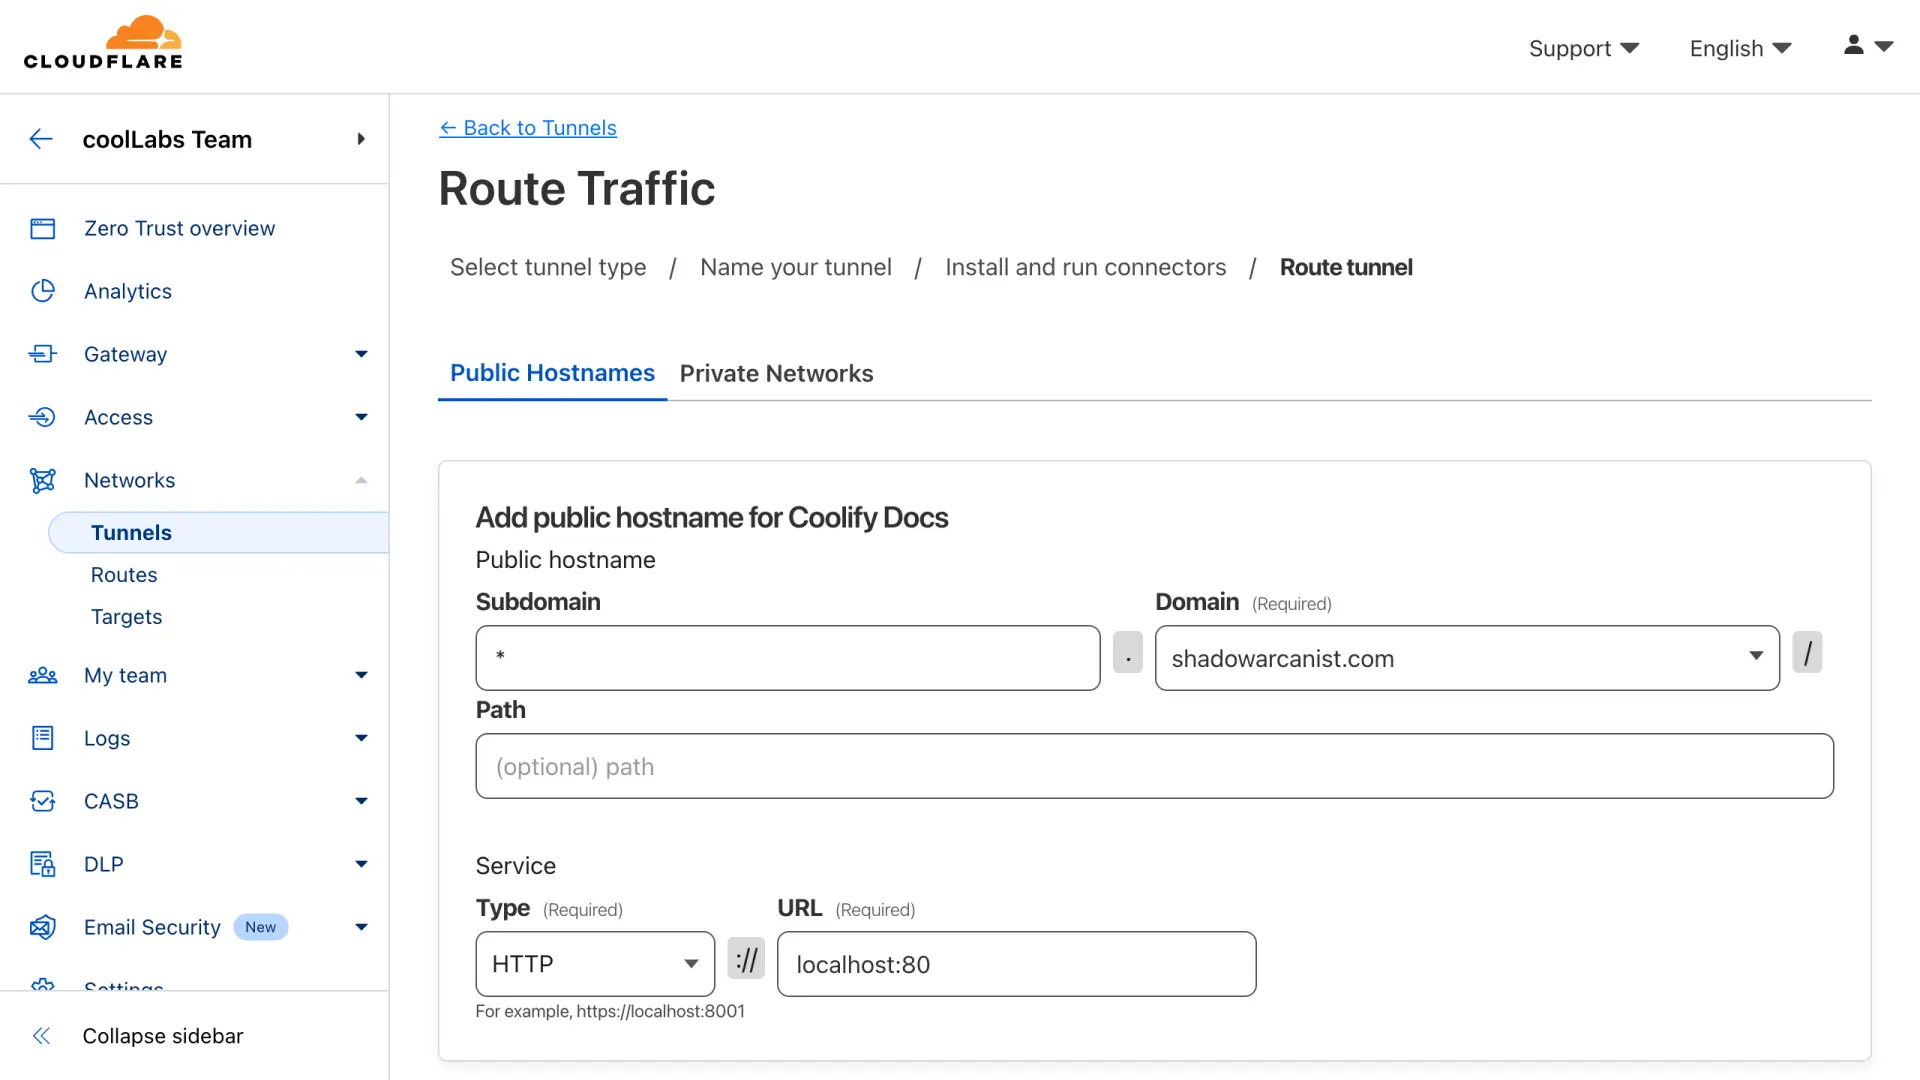
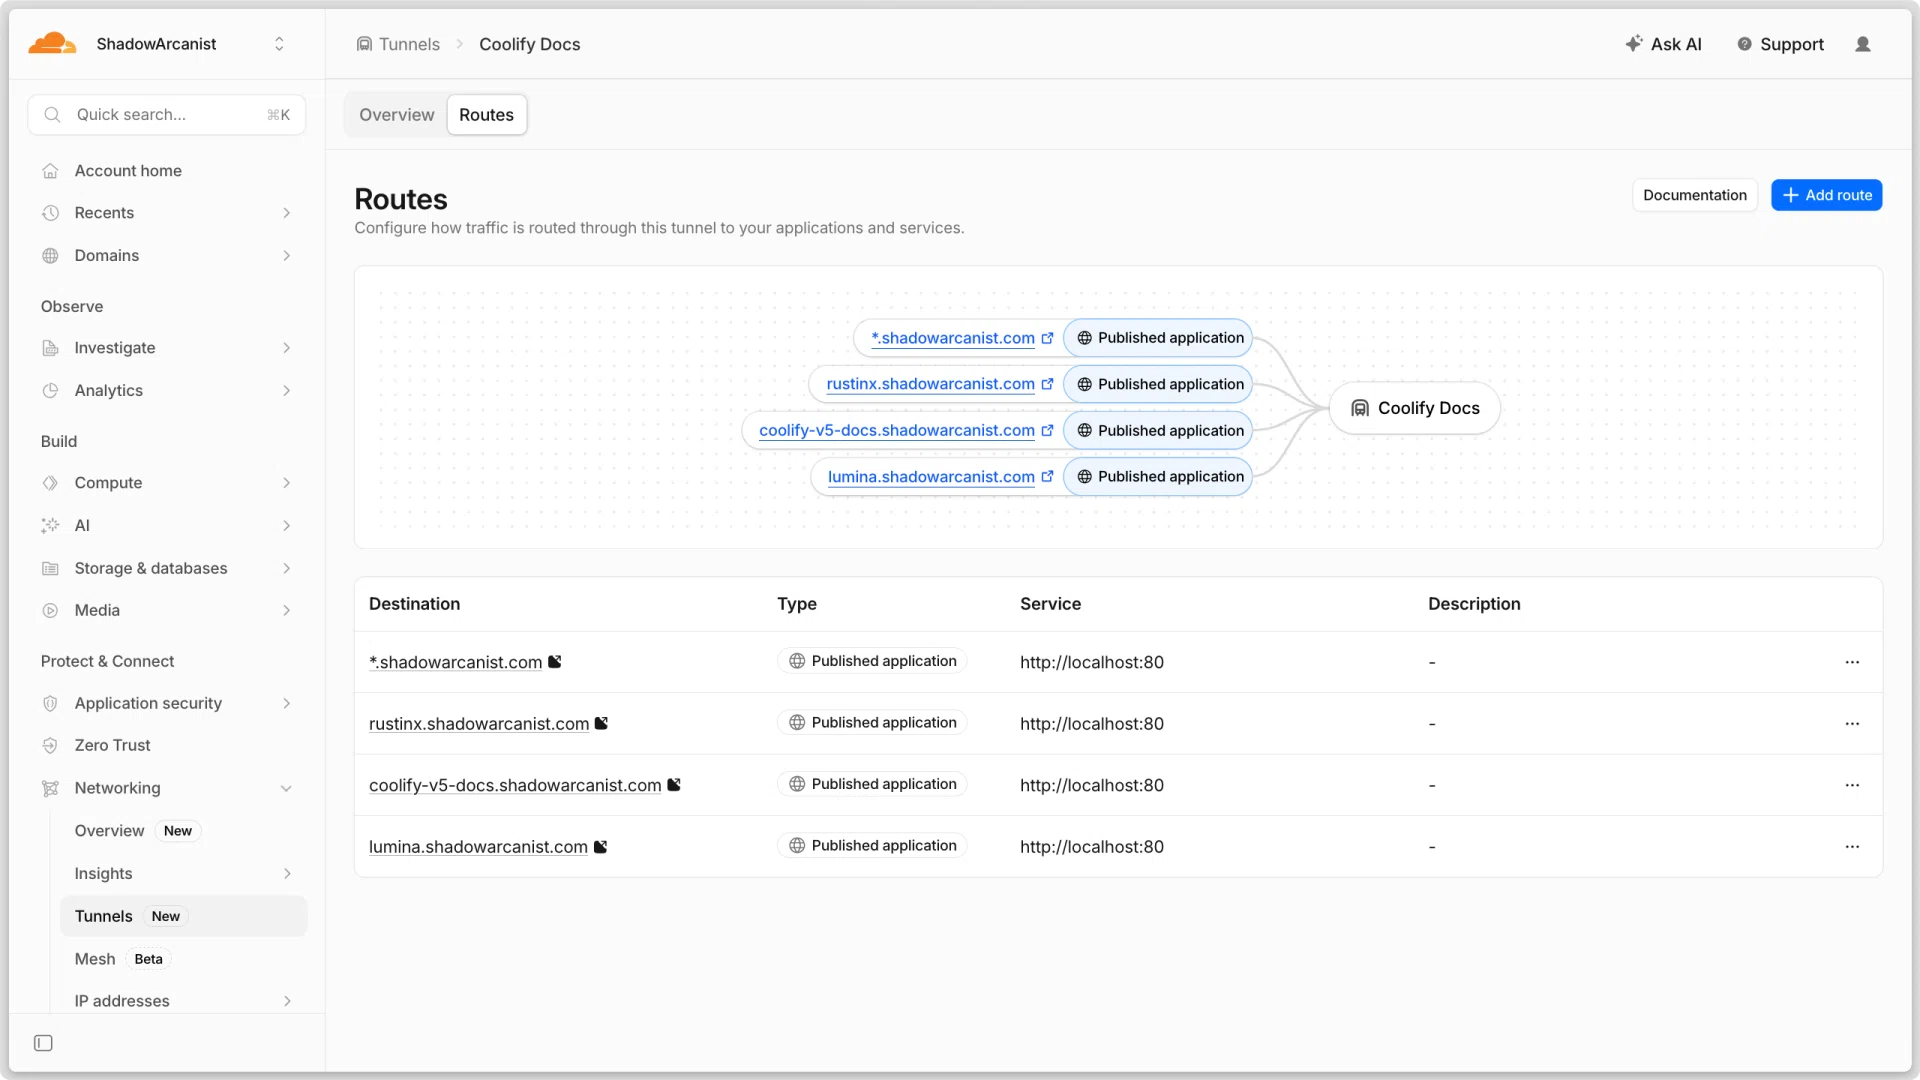
5. Configure tunnel routes
- Click on your tunnel
- Click on Configure option
- Select Routes.
- Click Add route button

- Select Published Application as the route type
- Subdomain - (Optional) You can make your all of your resource accessible on any subdomain/domain. For this guide, we are using a wildcard subdomain which is
* - Domain - Choose the domain you want to use for the tunnel.
- Path - Leave this field empty.
- Service URL - Enter http://localhost:80 (this is very important).
- After filling in the details, click the Add route button.
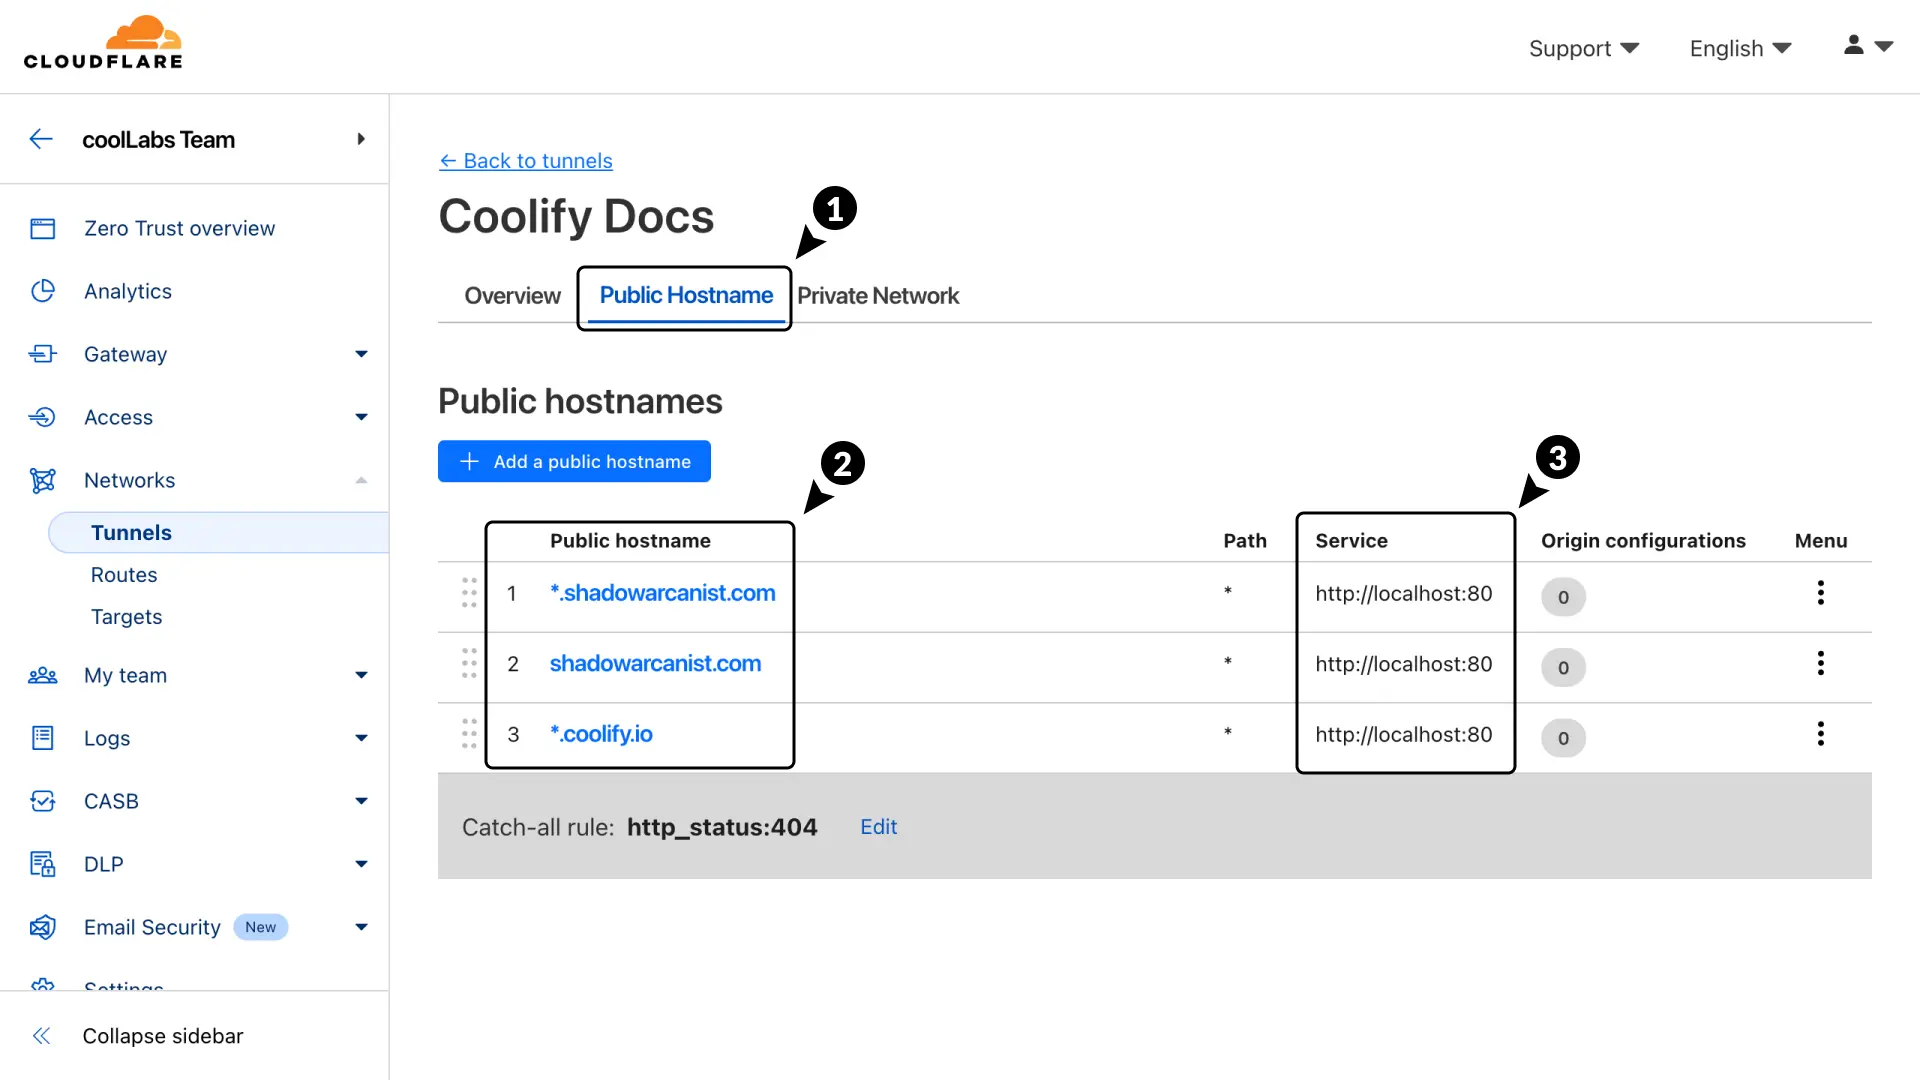
Tip
The Coolify proxy (runs on http://localhost:80) is used to route traffic to apps running on your server. This eliminates the need to create new routes on the Cloudflare tunnel every time you deploy a new app.
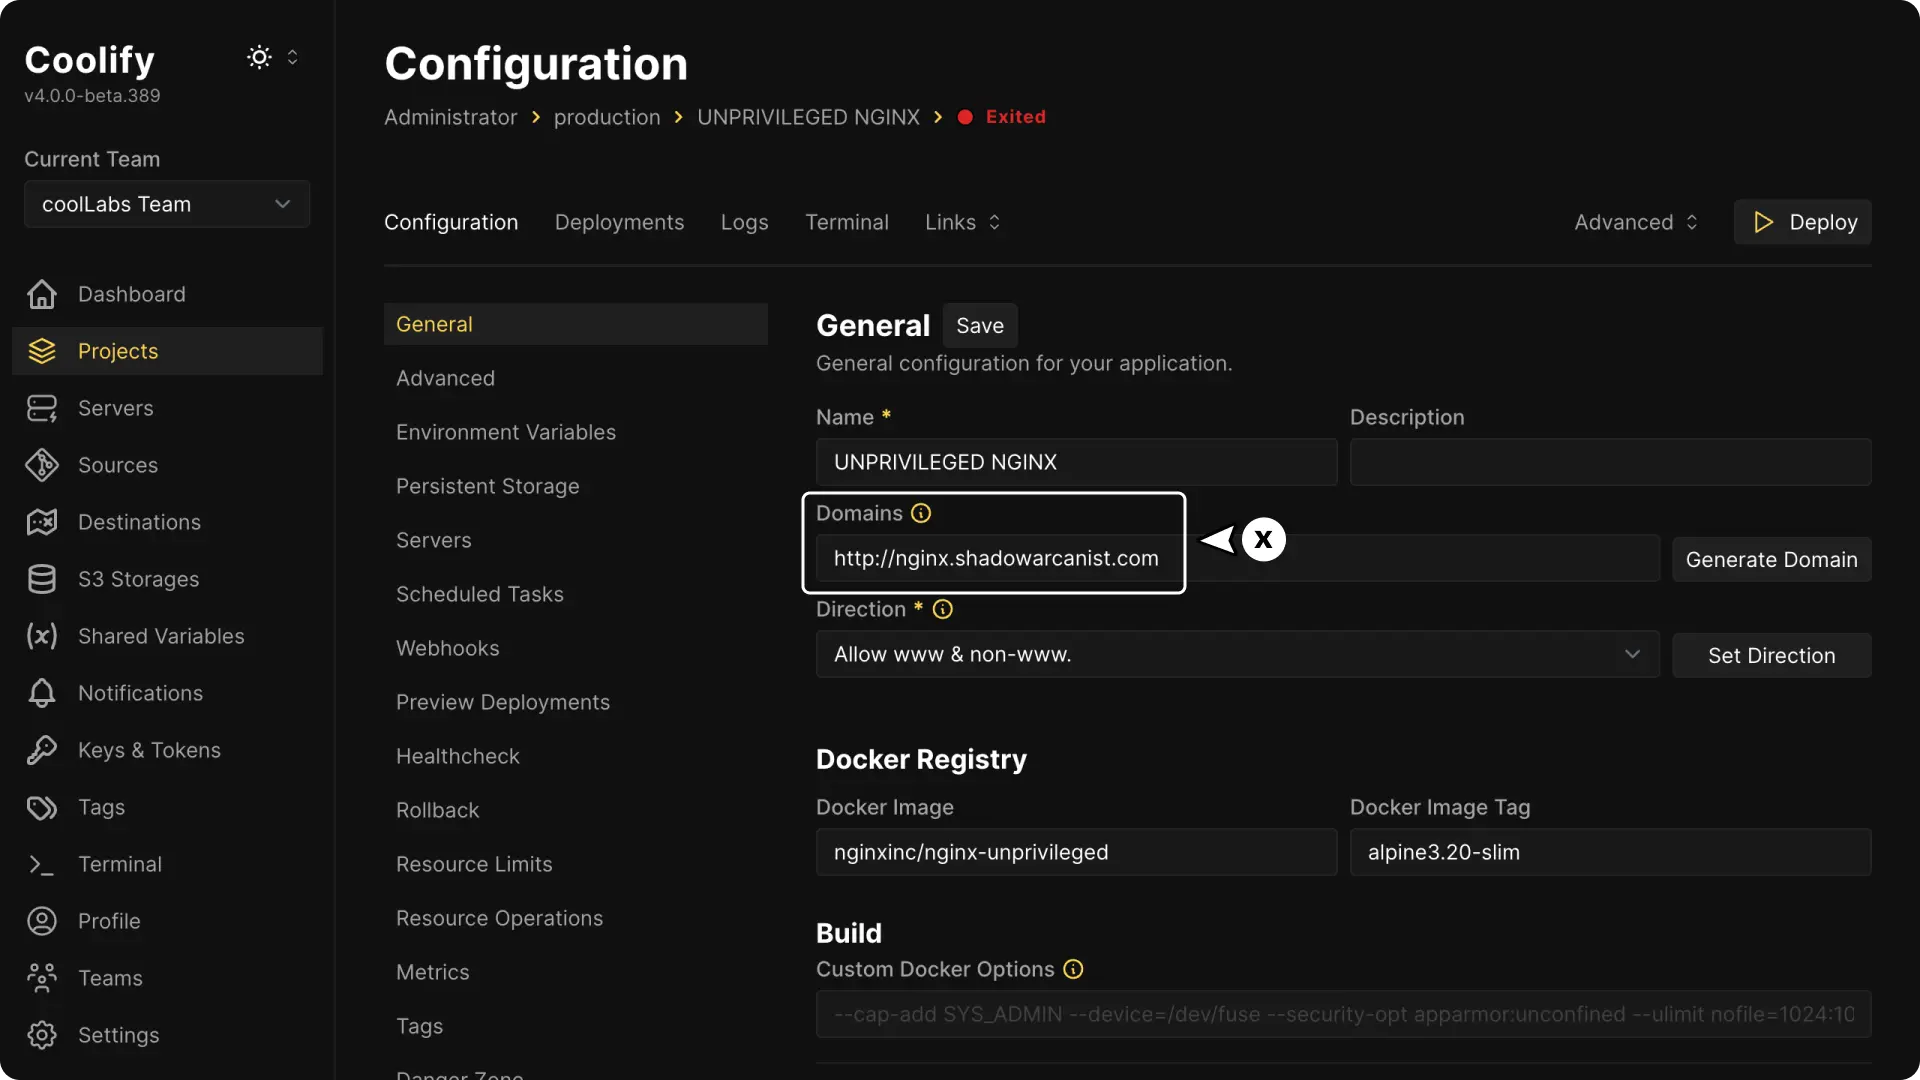
6. Configure your resource domain
Enter the domain you want to use for your resource on Coolify and deploy your resource.

HEADS UP!
You should enter the domain as HTTP because Cloudflare handles HTTPS and TLS terminations. If you use HTTPS for your resource, you may encounter a TOO_MANY_REDIRECTS error.
If your app requires HTTPS for features like cookies or login, follow the Full TLS HTTPS Guide after completing this guide.
Congratulations! You've successfully set up a resource that can be accessed by anyone on the internet your domain.
How to use multiple different domains?
You don't need to create new tunnels for each domain, just create a new routes with the new domain and point it to the http://localhost:80.
Known issues and Solutions
When you create a new routes in Step 5, Cloudflare will create a DNS record for the hostname.
However, if a DNS record for the hostname already exists, Cloudflare won’t update existing record.
In this case, your app won’t work. To fix this issue, follow the steps below:
- Click on your tunnel
- Click on Configure option
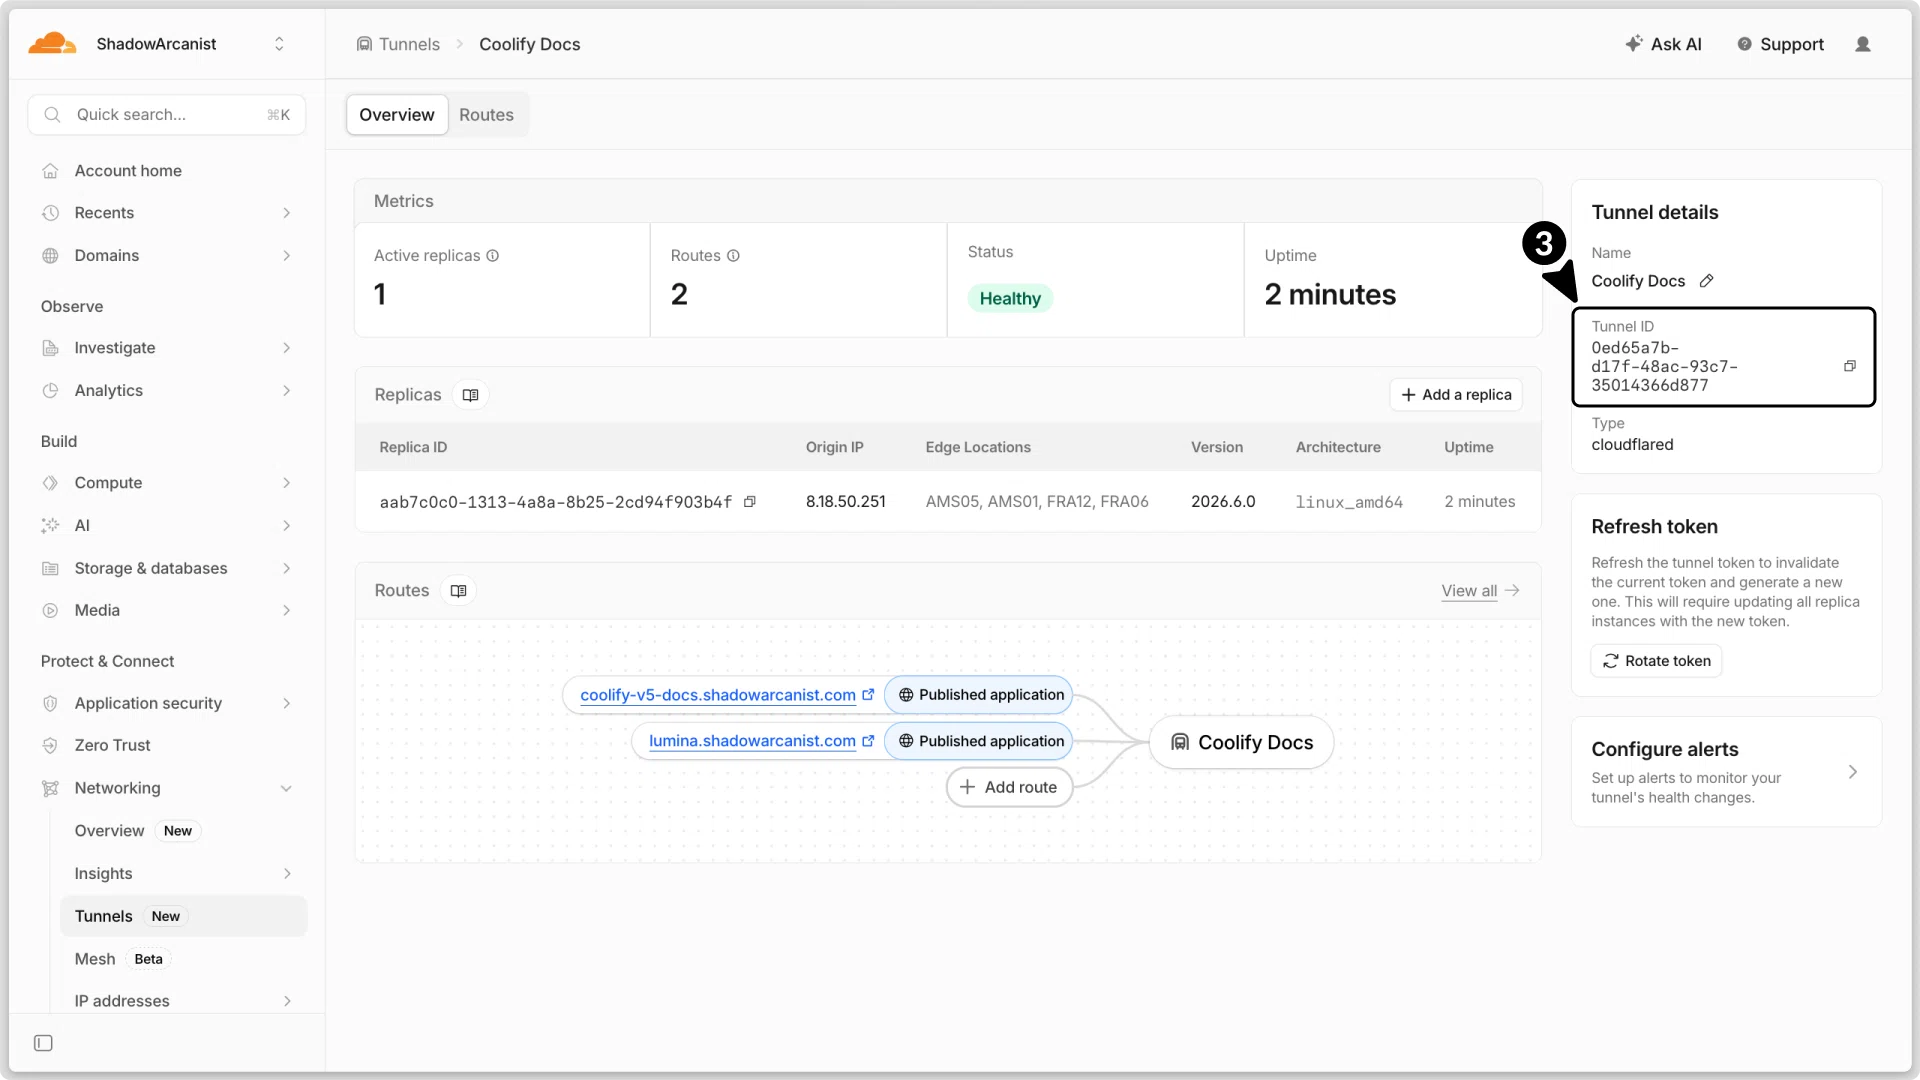
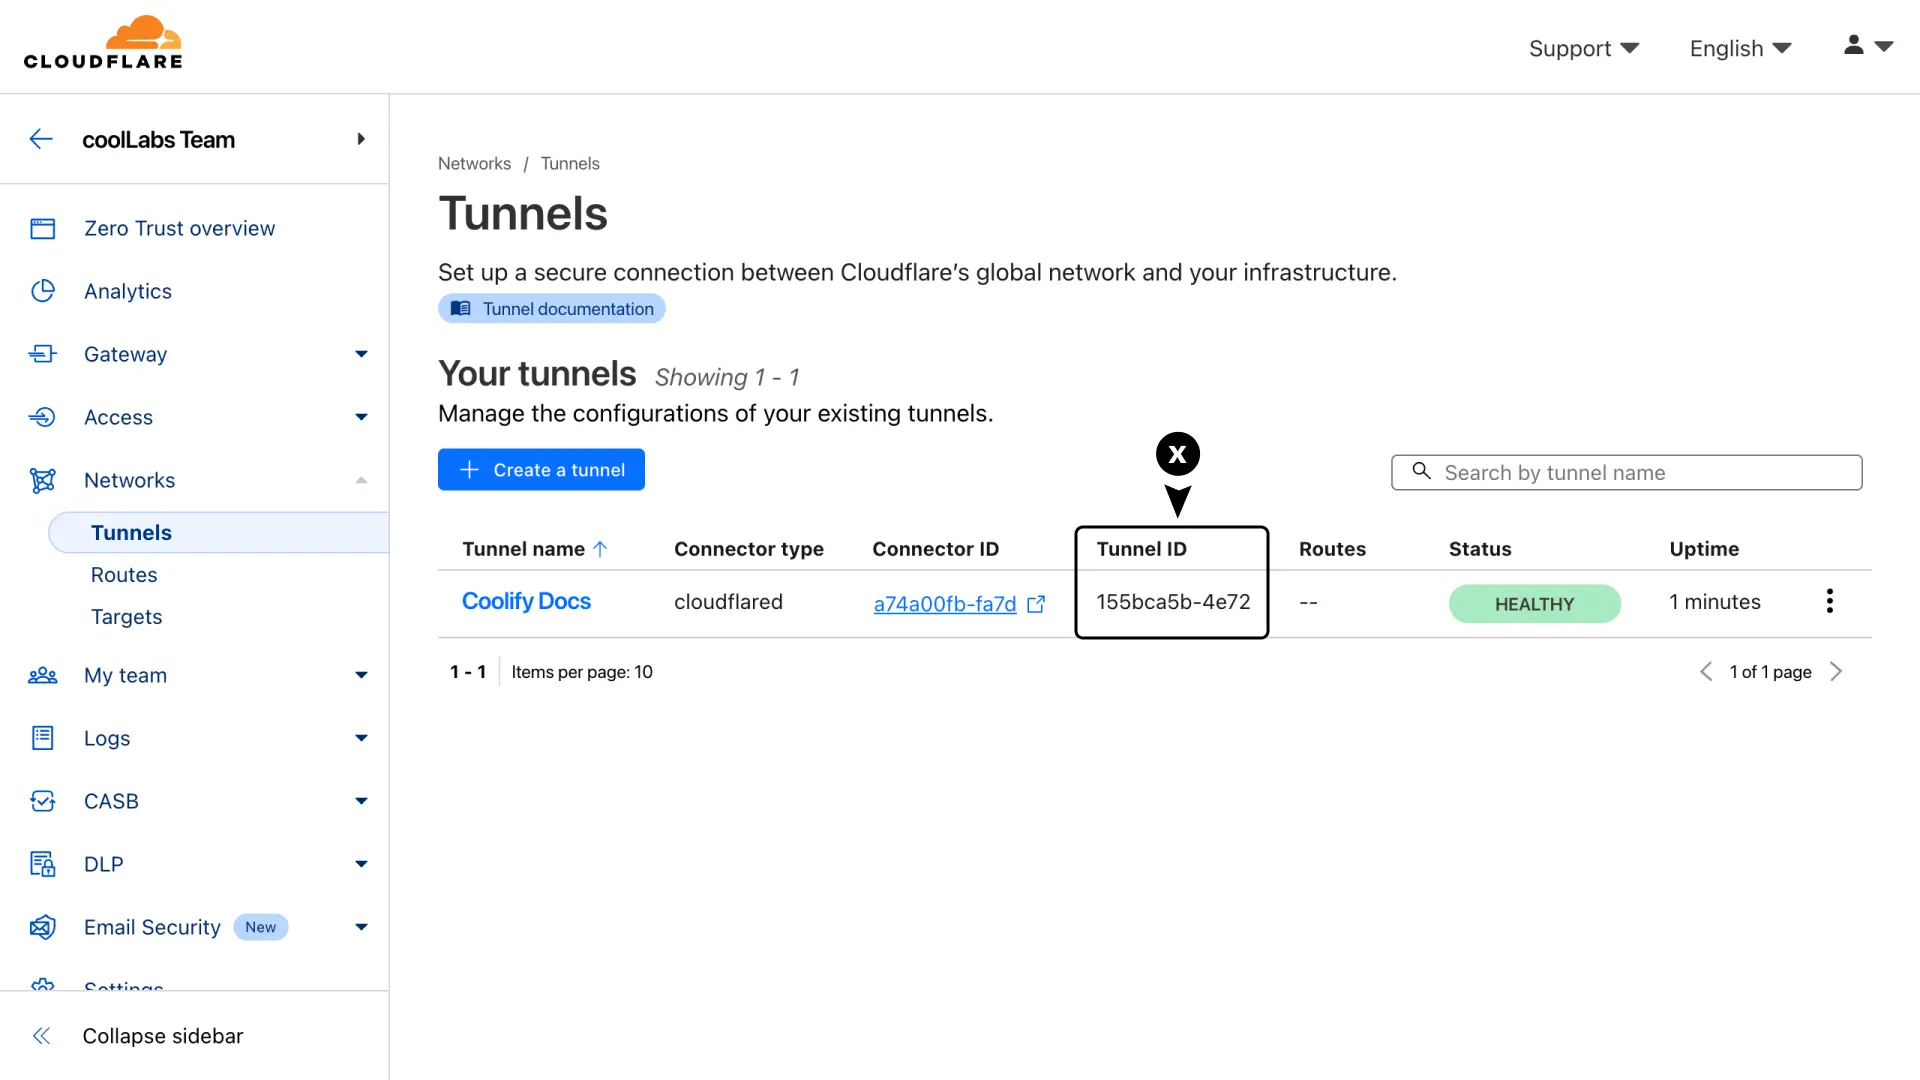
- Copy your tunnel ID from the Tunnels details section.
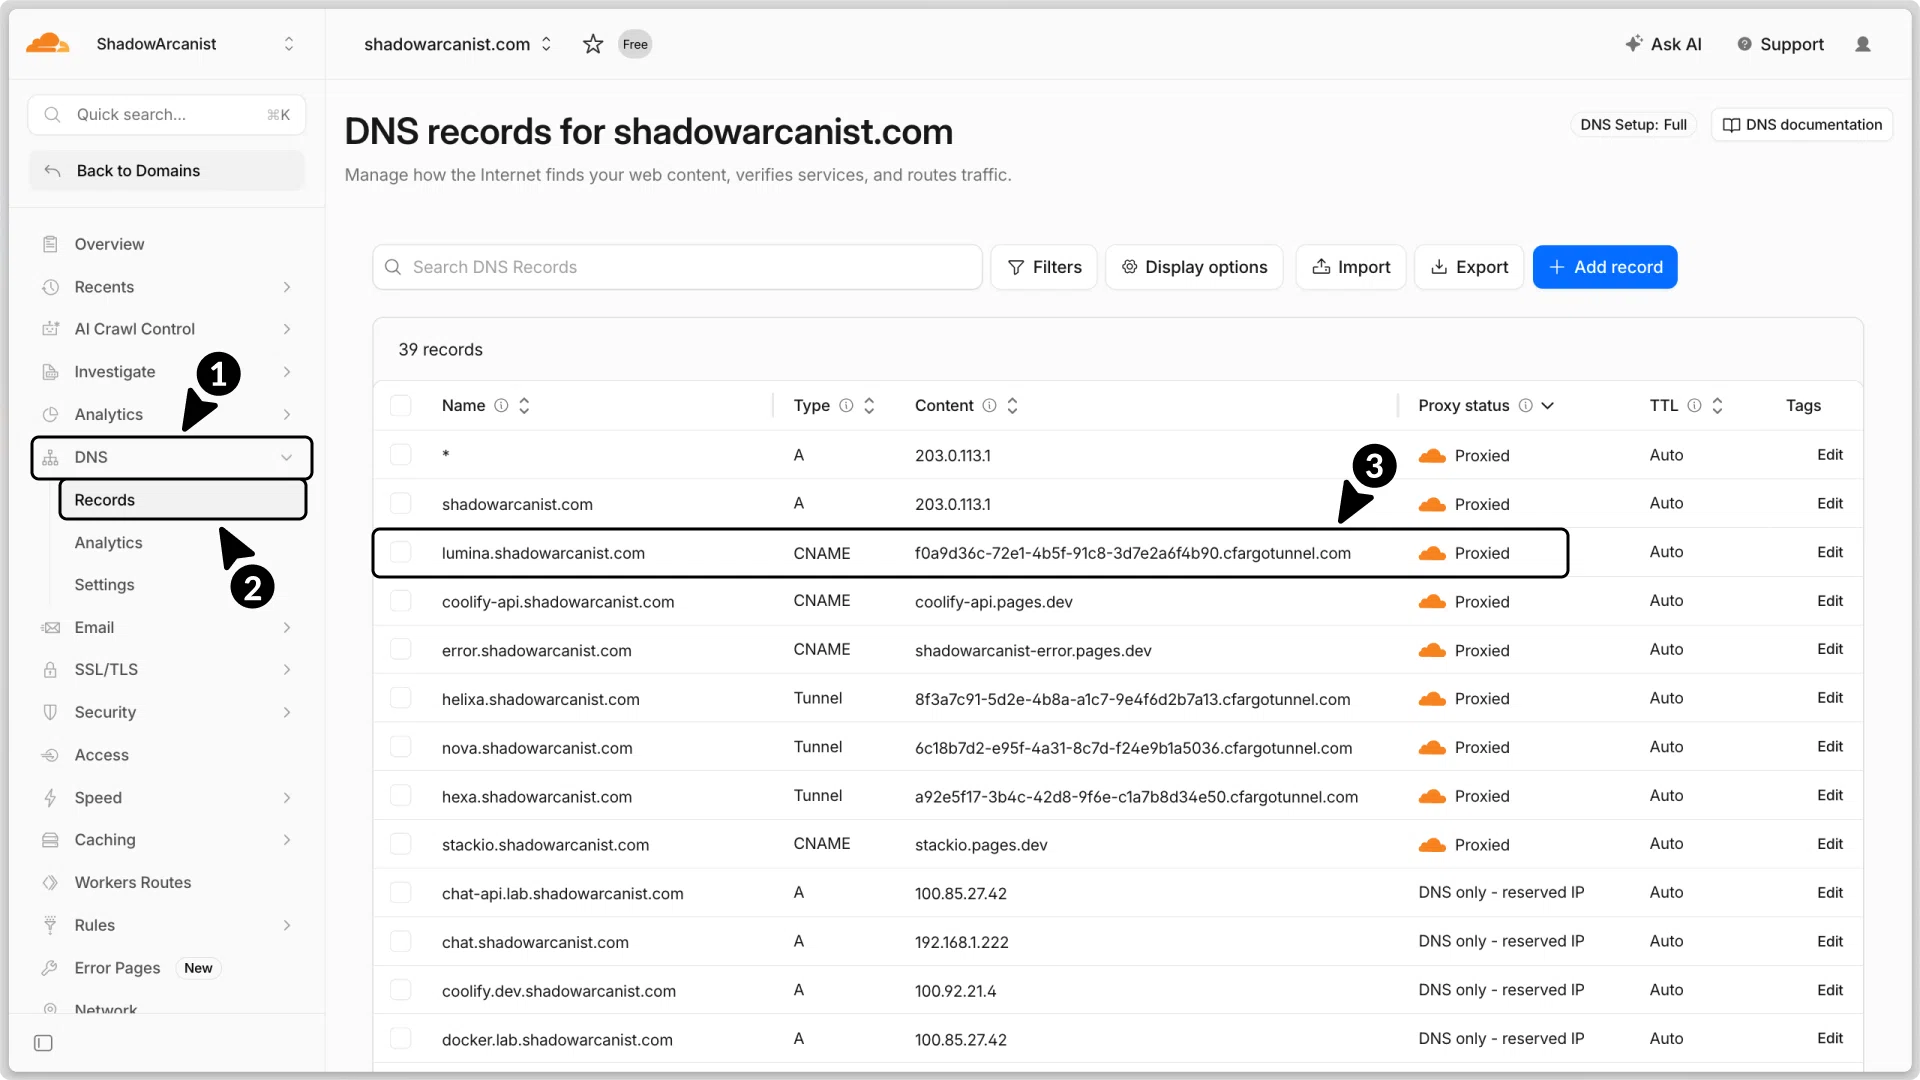
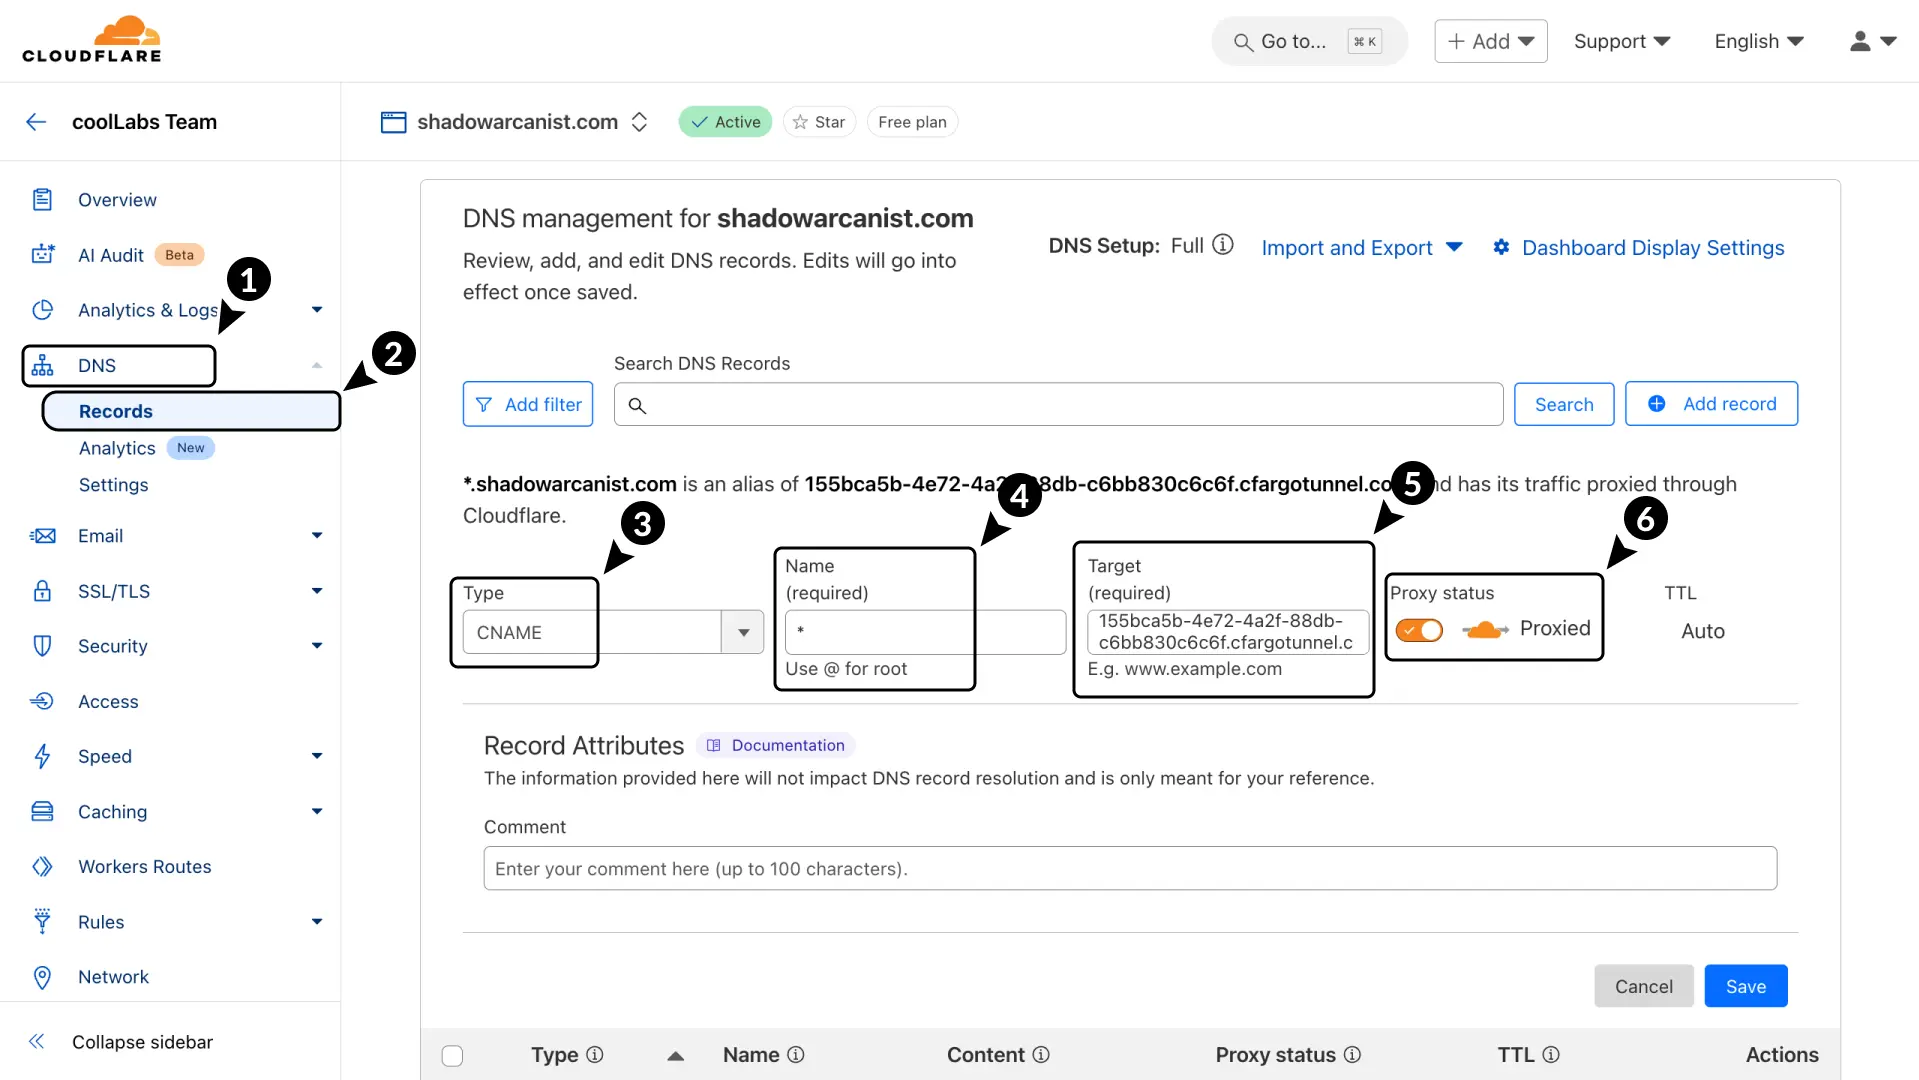
Create a new DNS record with the following details:
- In the Cloudflare dashboard, go to DNS.
- Select Records.
- Add a CNAME record.
- Enter the name as
*or the name of your subdomain (this should match the hostname you have for your app on the tunnel). - For the Target, enter the tunnel ID followed by
.cfargotunnel.com - Set the proxy status to Proxied.
Now, visit the domain of your application, and it should be accessible there.
Cloudflare Tunnels
Connect Coolify resources securely without port forwarding using Cloudflare Tunnels for all resources, single apps, SSH access, or full HTTPS setups.
Access Single Resource via Cloudflare Tunnels
Securely access individual Coolify applications through Cloudflare Tunnels with port mapping, domain configuration, and multi-resource tunneling support.