A build server allows you to compile your projects separately from the server that hosts your live application.
This helps to keep the load on your hosting server low and ensures that your application's performance remains unaffected by the build process.
Requirements
Before you set up a build server, make sure that:
- The final images are pushed to a container registry.
- The build server is authenticated with the container registry. See this guide for more details.
- The build server has access to your source code.
- Docker Engine is installed on the build server.
- The build server's architecture matches that of your deployment servers.
Tip:
If you have multiple build servers, Coolify will select one at random.
How to Use a Build Server
To start using a build server with Coolify, follow these steps:
-
Add a New Server to Coolify: In your Coolify dashboard, go to the servers page and click the + Add button.
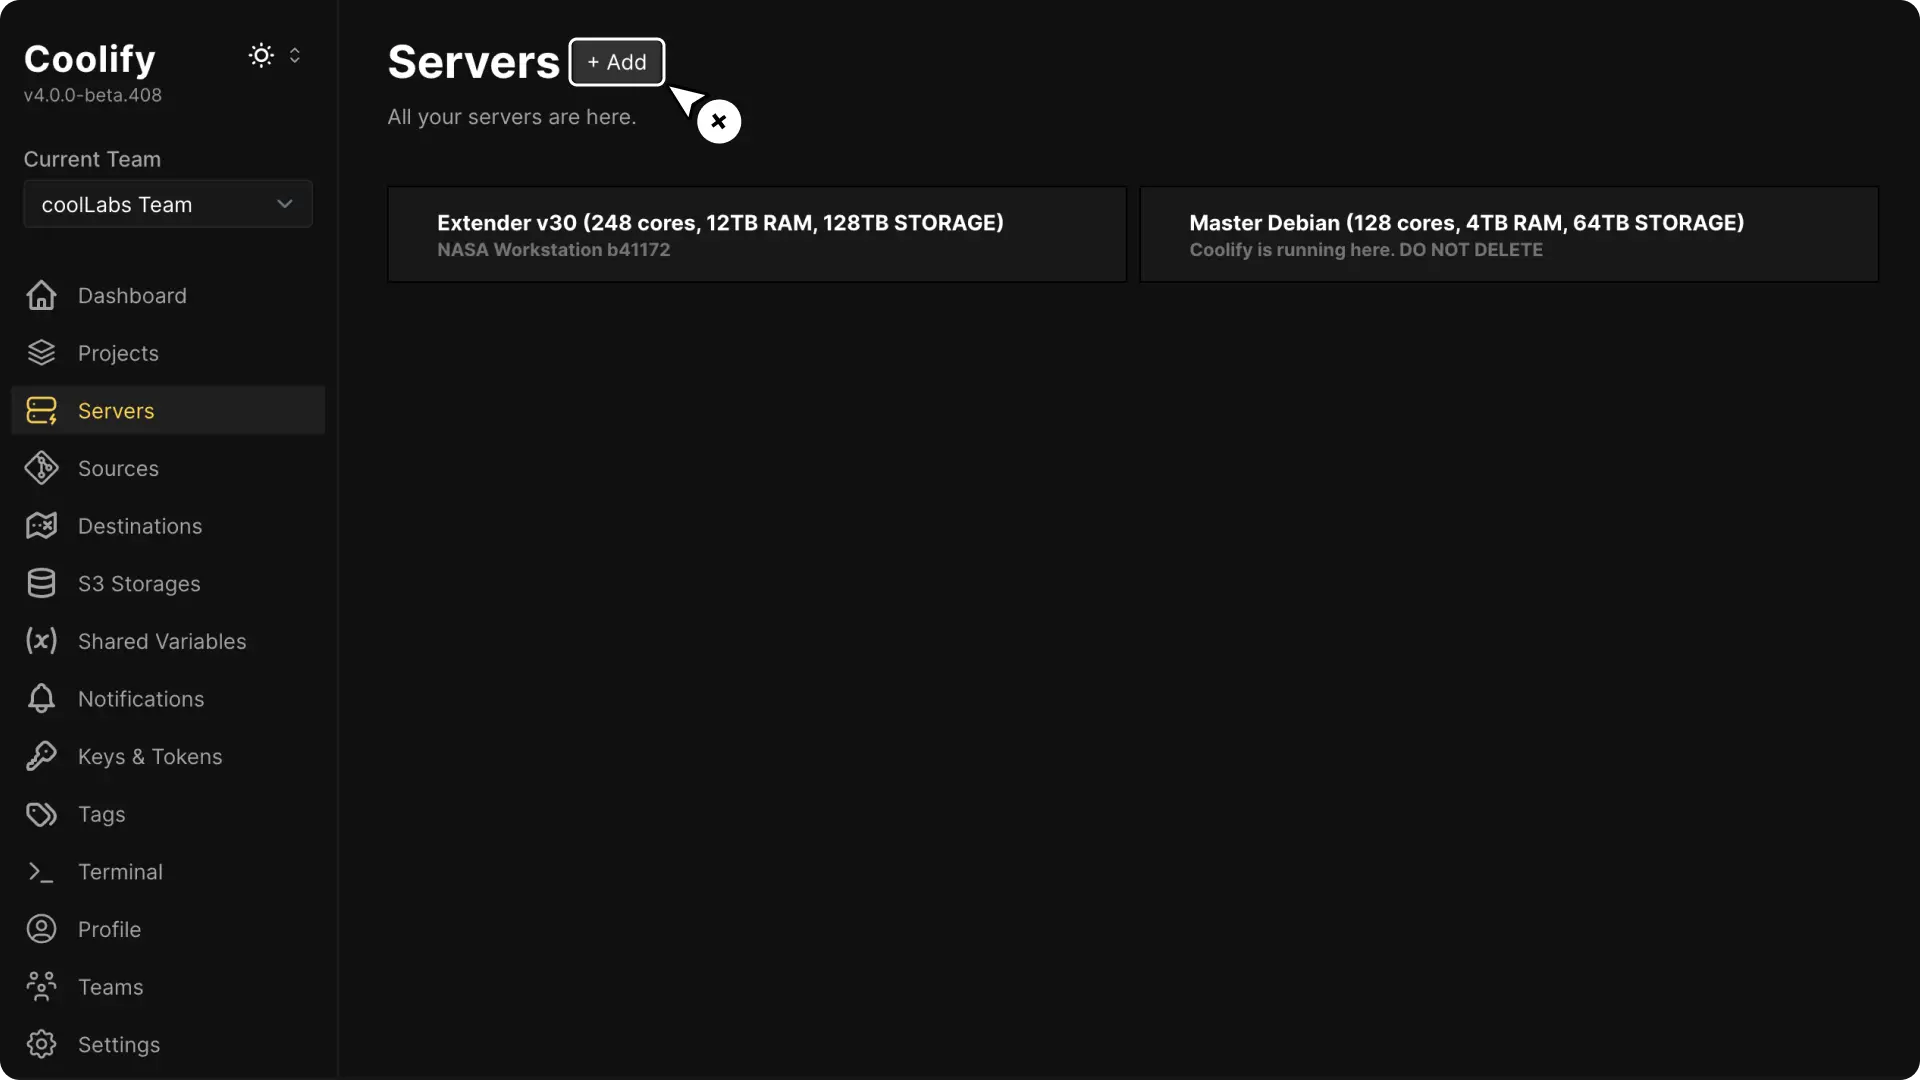
- If you have already connected a server to Coolify, you can skip this step and go to the next one.
-
Enable the Build Server Feature: In the popup modal, enable the Build Server feature.
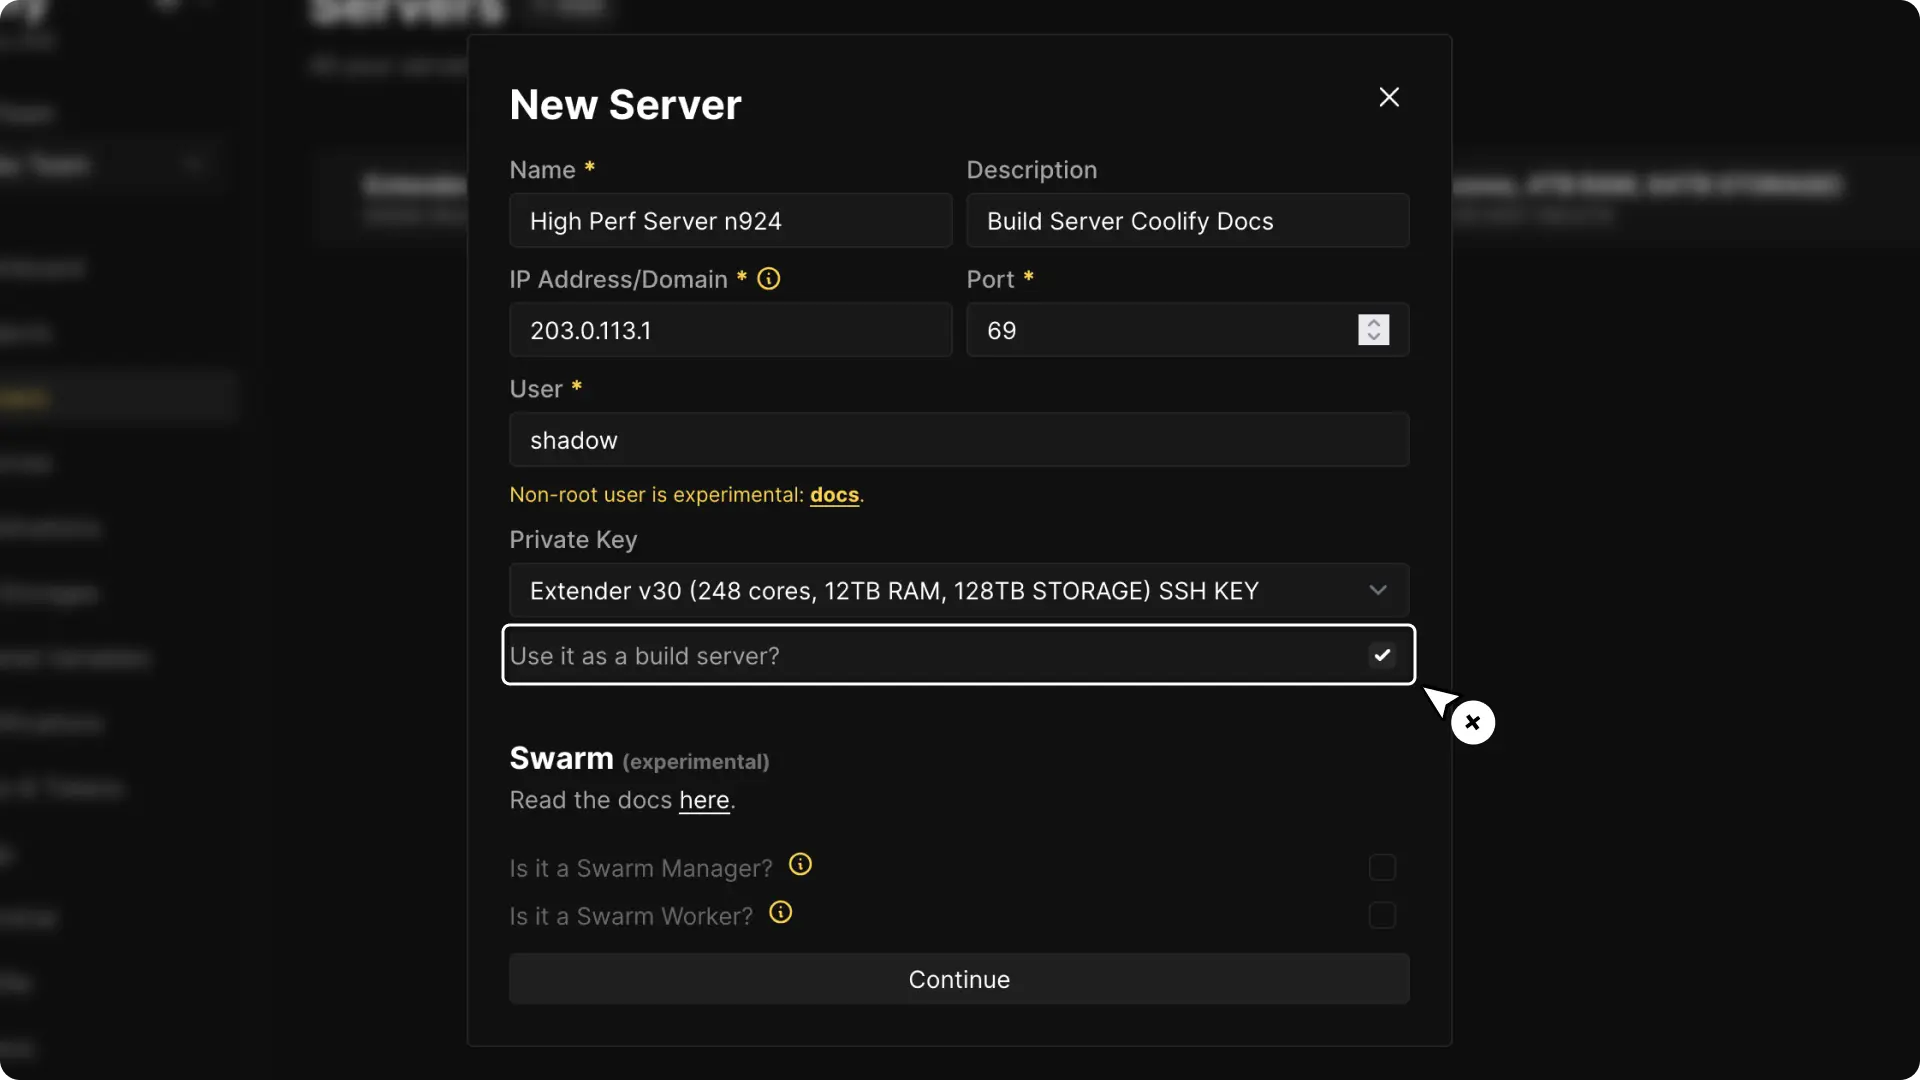
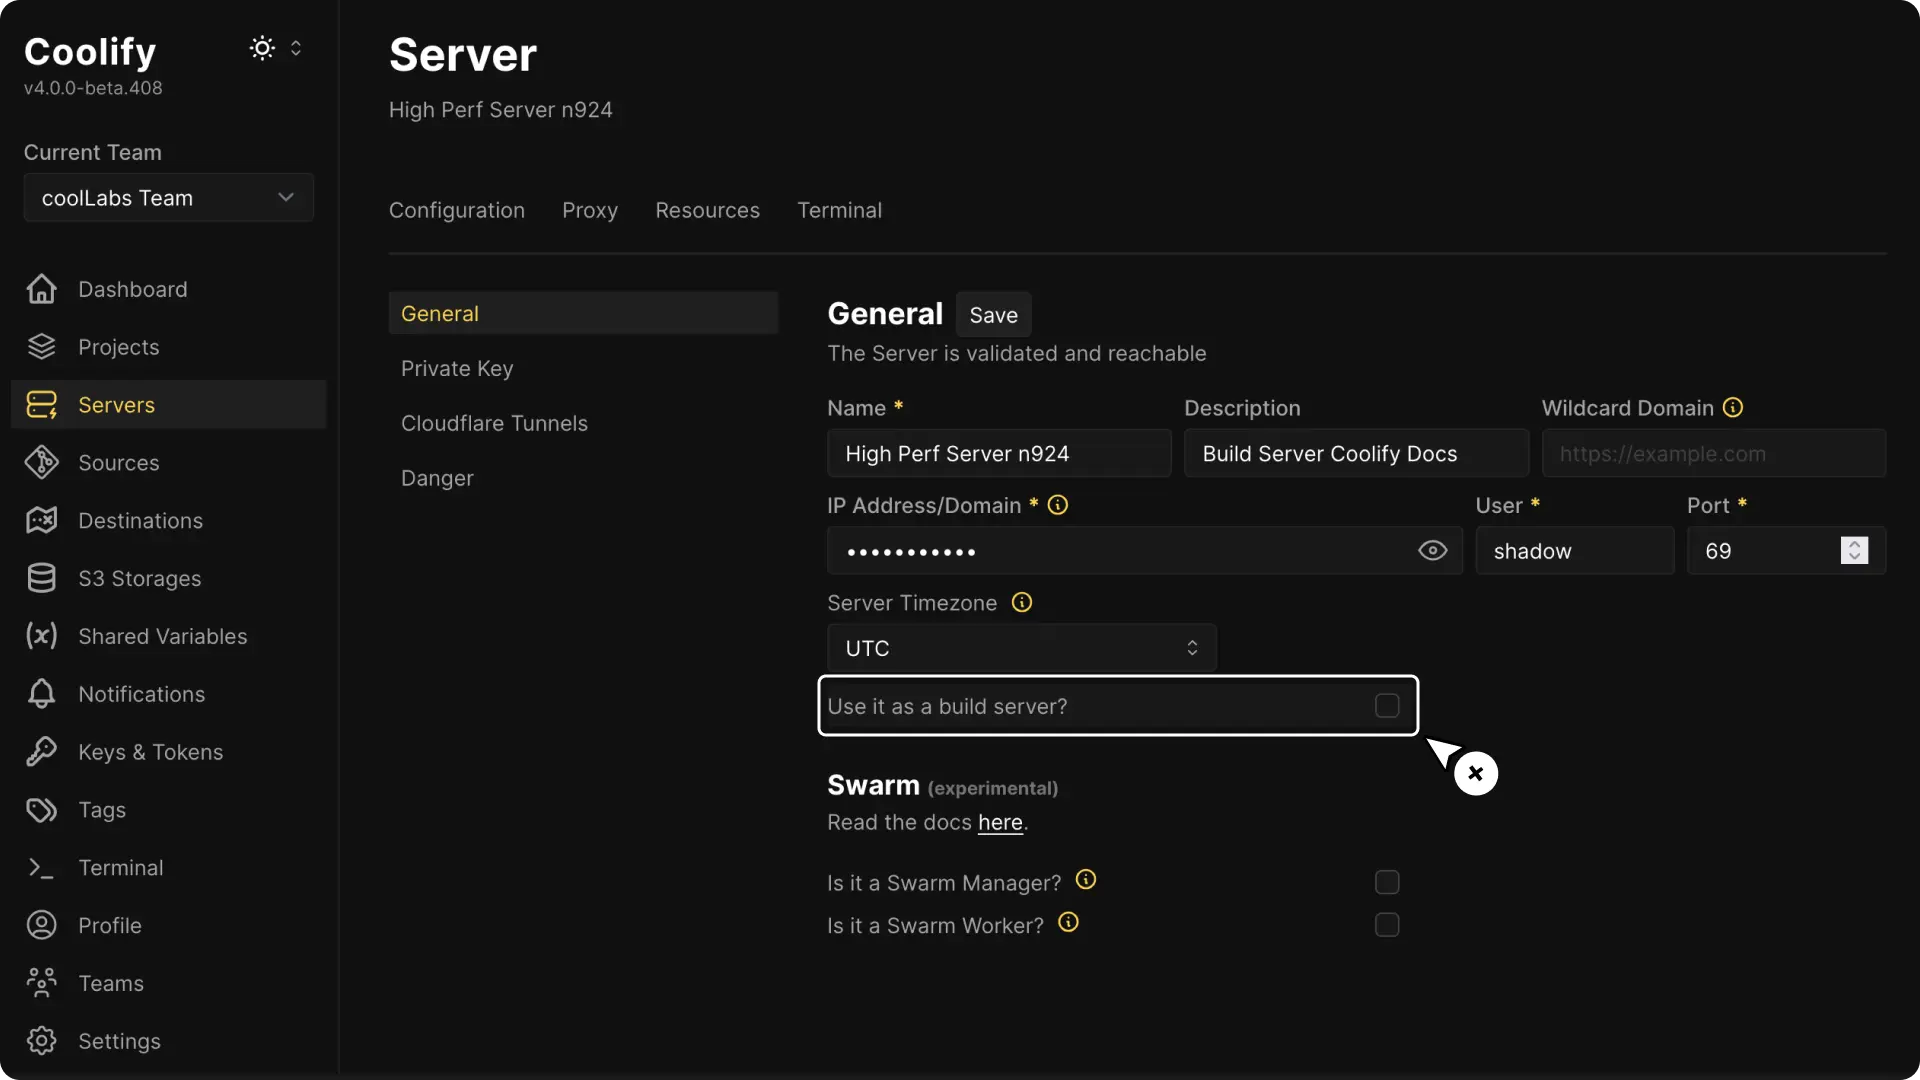
- If you have already connected your server, enable the Build Server feature as shown in the image below.
HEADS UP!
As of Coolify v4.0.0-beta.408 you cannot deploy any application to a server that is marked as a build server.
If you want to deploy apps, uncheck the build server option on your server from the servers page in the Coolify dashboard.
Configuring a Resource to Use a Build Server
To assign a build server to an existing resource, follow these steps:
-
Go to Your Resource: In your Coolify dashboard, navigate to the general settings of the application you want to use the build server for.
-
Activate the Build Server Option: Under the Build section, enable the
Use a Build Server ?option.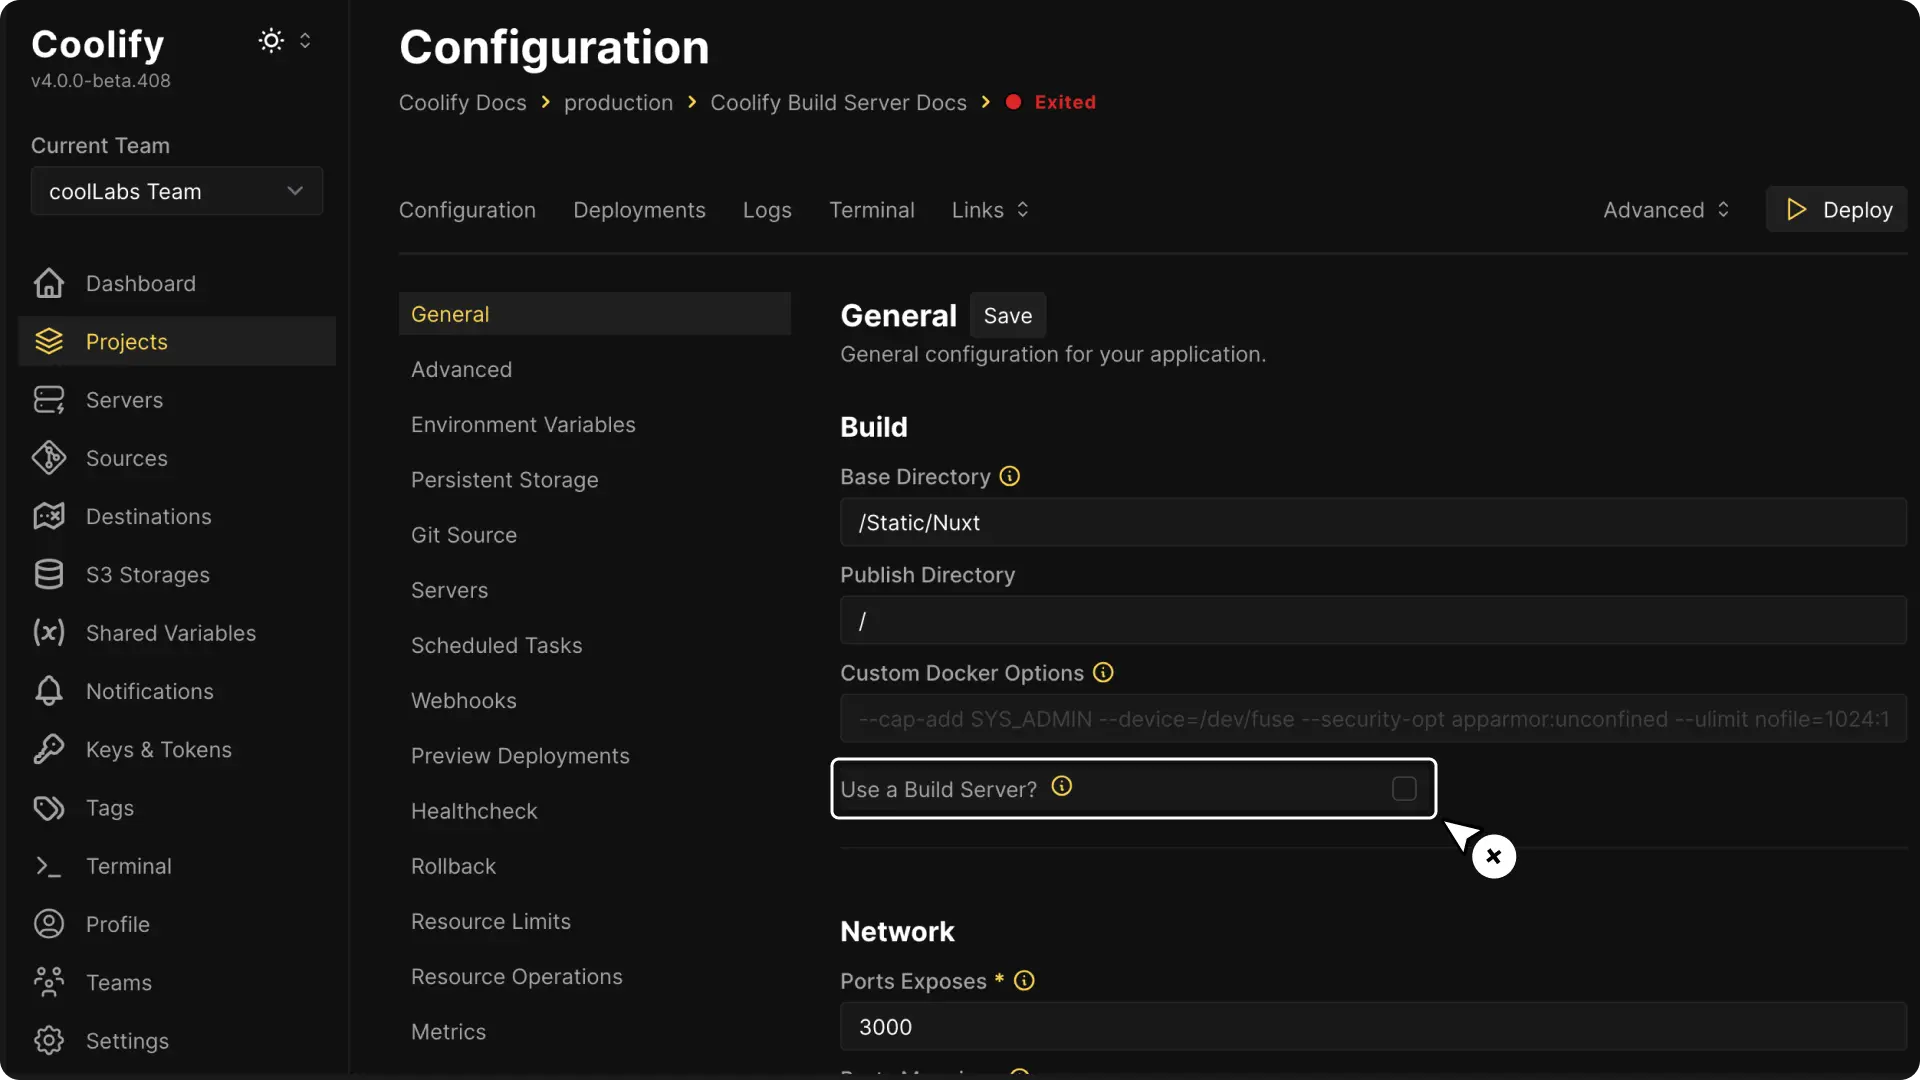
-
Set Up Your Container Registry: Make sure that your build server is authenticated with the container registry. See this guide for more details.
Automated Docker Cleanup
Prevent disk space issues with Coolify's automated Docker cleanup removing stopped containers, unused images, build cache, and volumes on schedule or threshold.
Firewall
Configure firewall ports for Coolify including SSH, HTTP/HTTPS, dashboard access, and terminal with ufw-docker setup for self-hosted and cloud instances.