Static Build Packs take the files from your project and create a Docker image with a web server to serve them. This means your final Docker image has a web server ready to display your HTML, CSS, and JavaScript files.
Static Build Packs only work if your project is already built (for example, with a static site generator like Astro or Webstudio). Once you have the built files, you can upload them to a Git repository and use Coolify to deploy your site.
How to Use Static Build Pack
1. Prepare Your Static Files
First, build your site with your favorite static site generator. This process creates a folder with all the files your site needs (HTML, CSS, JavaScript, etc.).
Next, upload these static files to a Git repository. You can use GitHub, GitLab, or any other Git service. For this guide, we will use GitHub as an example.
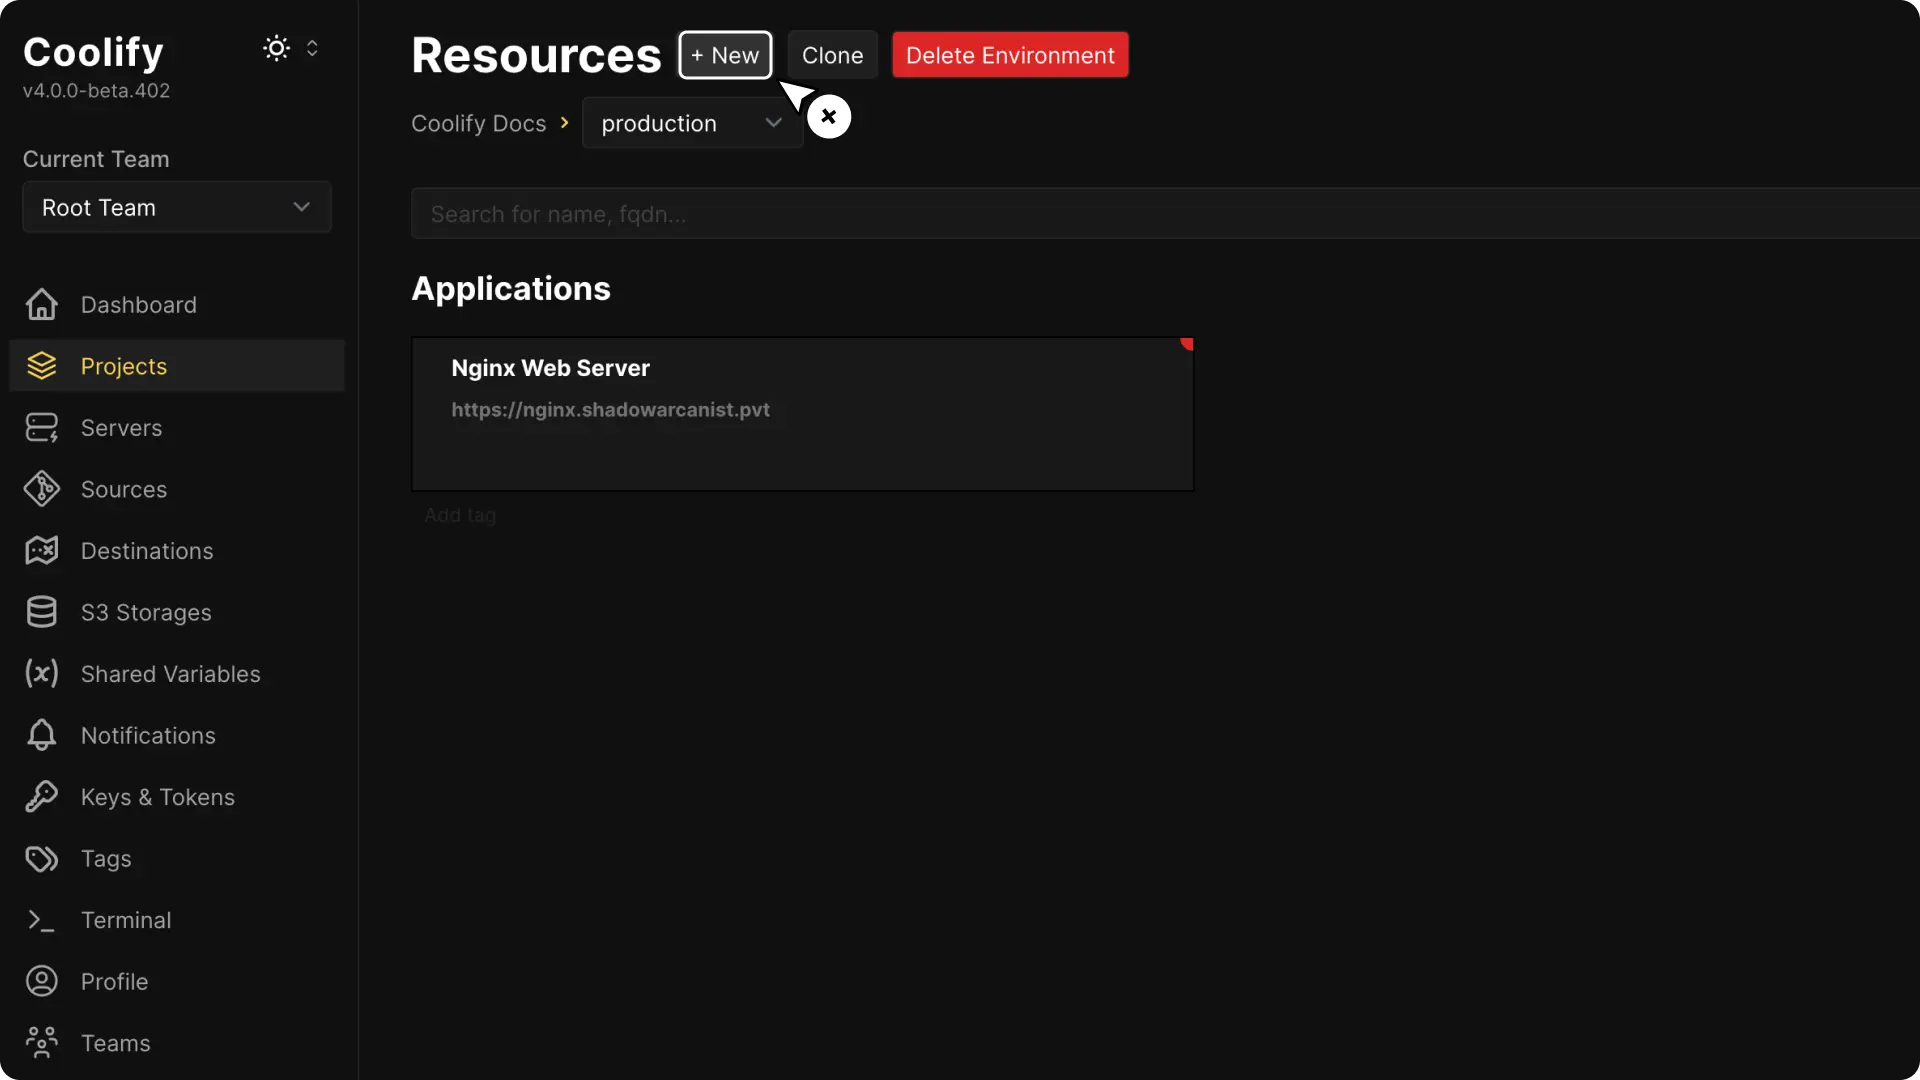
2. Create a New Resource in Coolify
On Coolify dashboard open your project and click the Create New Resource button.
3. Choose Your Deployment Option
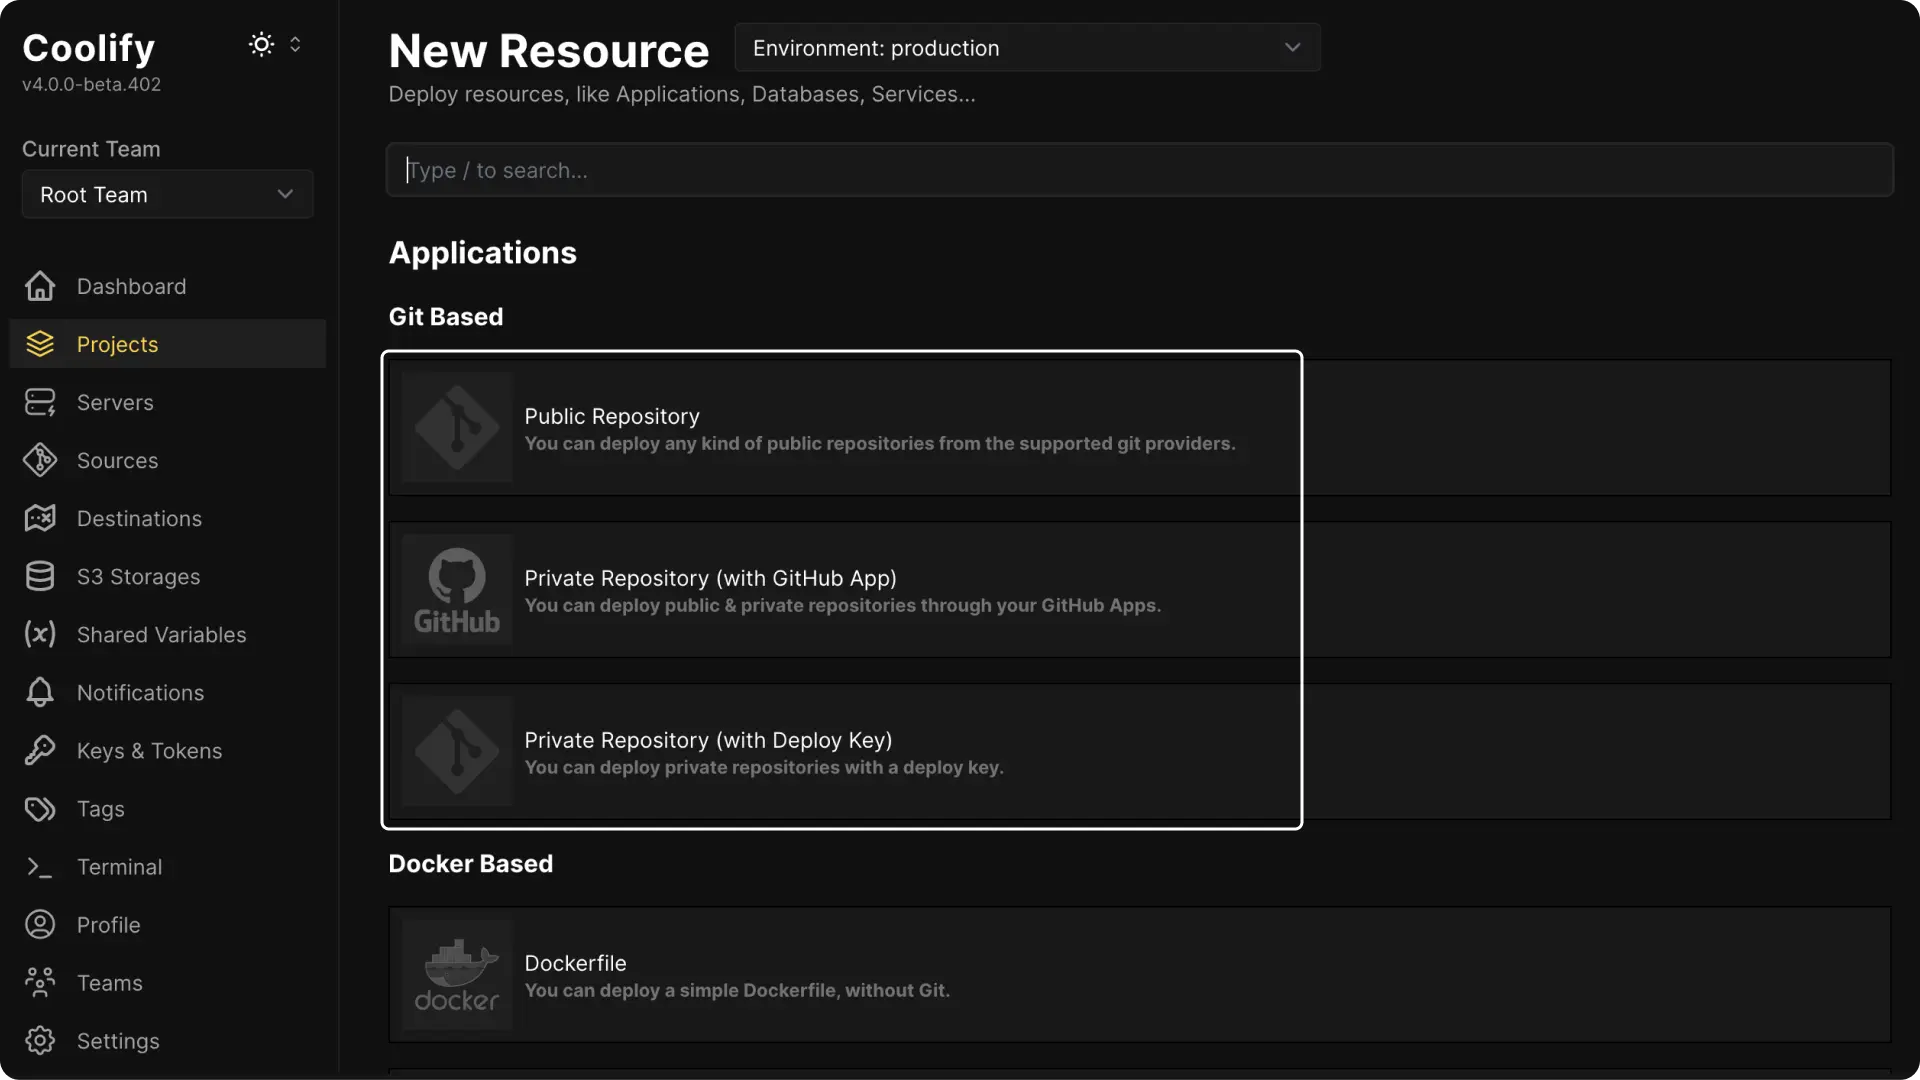
A. If your Git repository is public, choose the Public Repository option.
B. If your repository is private, you can select Github App or Deploy Key. (These methods require extra configuration. You can check the guides on setting up a Github App or Deploy Key if needed.)
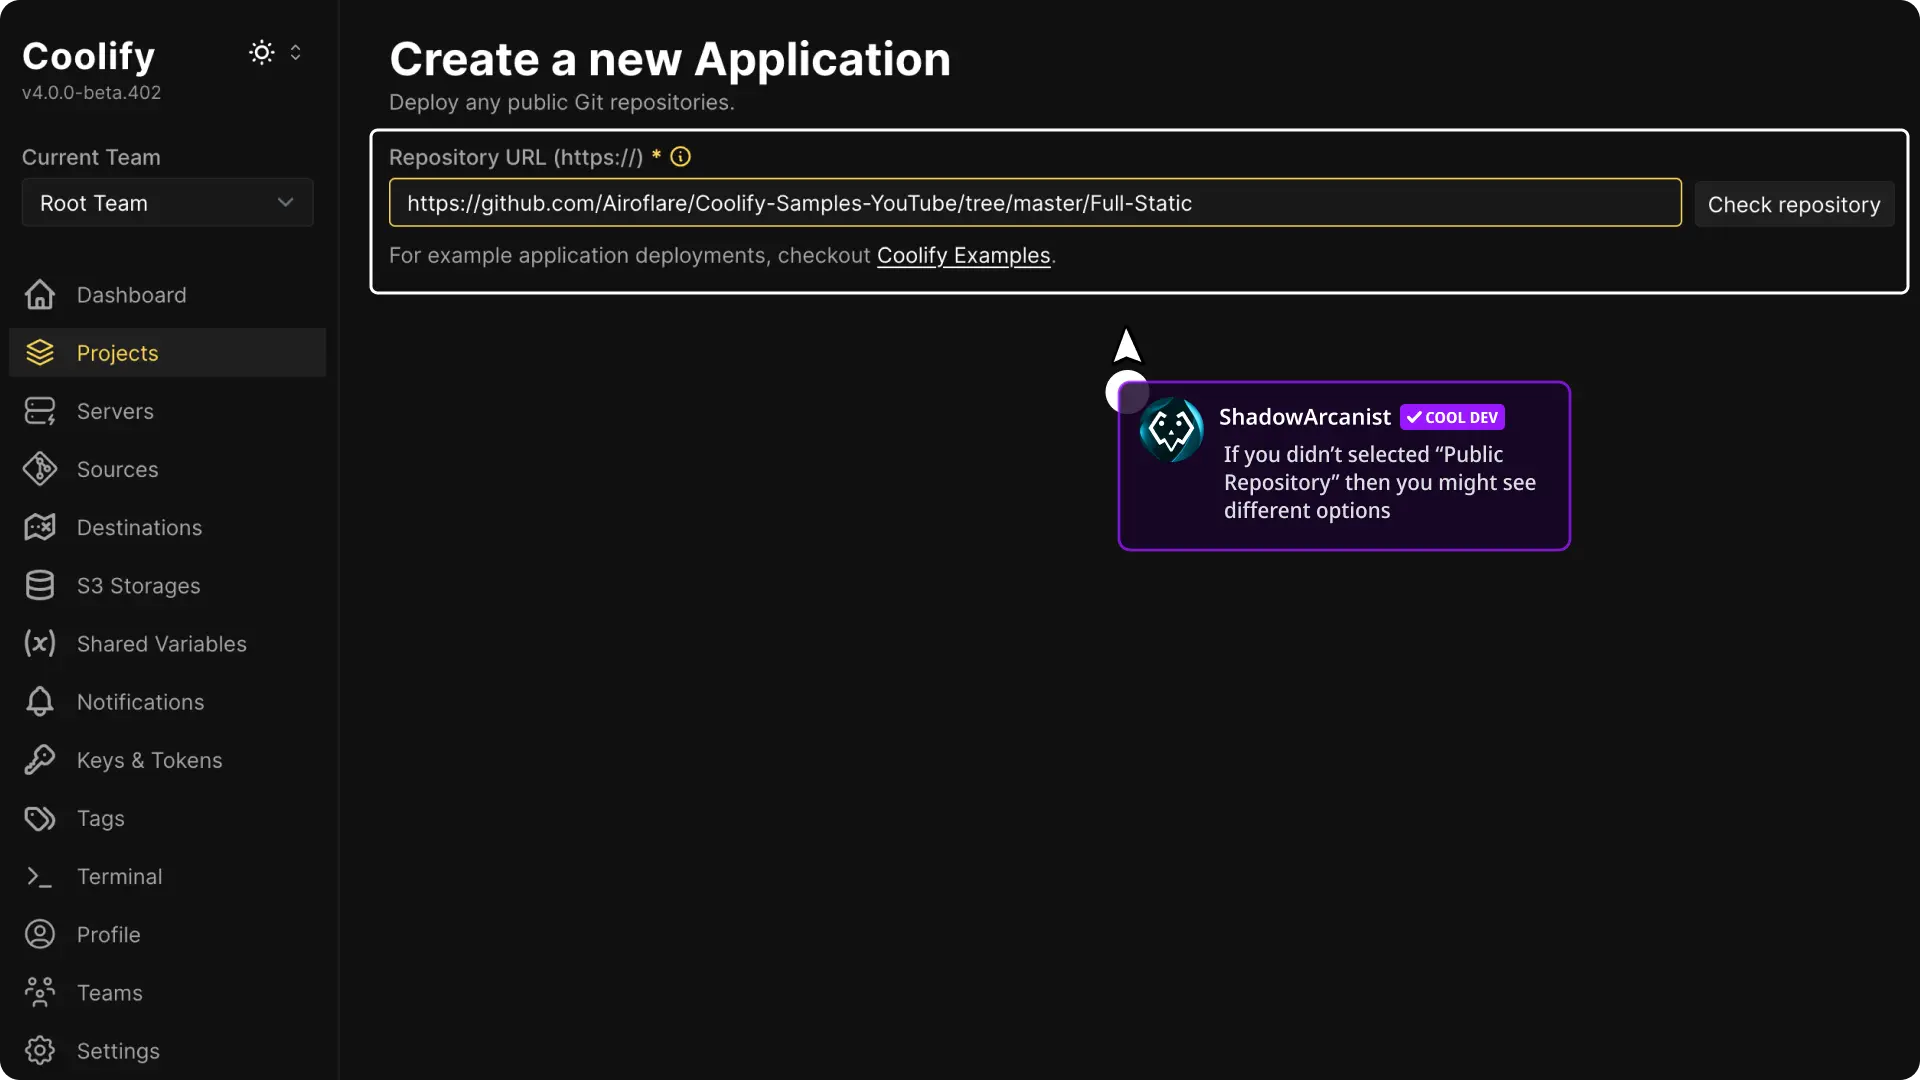
4. Select Your Git Repository
If you are using a public repository, paste the URL of your GitHub repository when prompted. The steps are very similar for all options.
5. Choose the Build Pack
Coolify will default to using Nixpacks. Click on the Nixpack option, and then select Static from the dropdown menu.
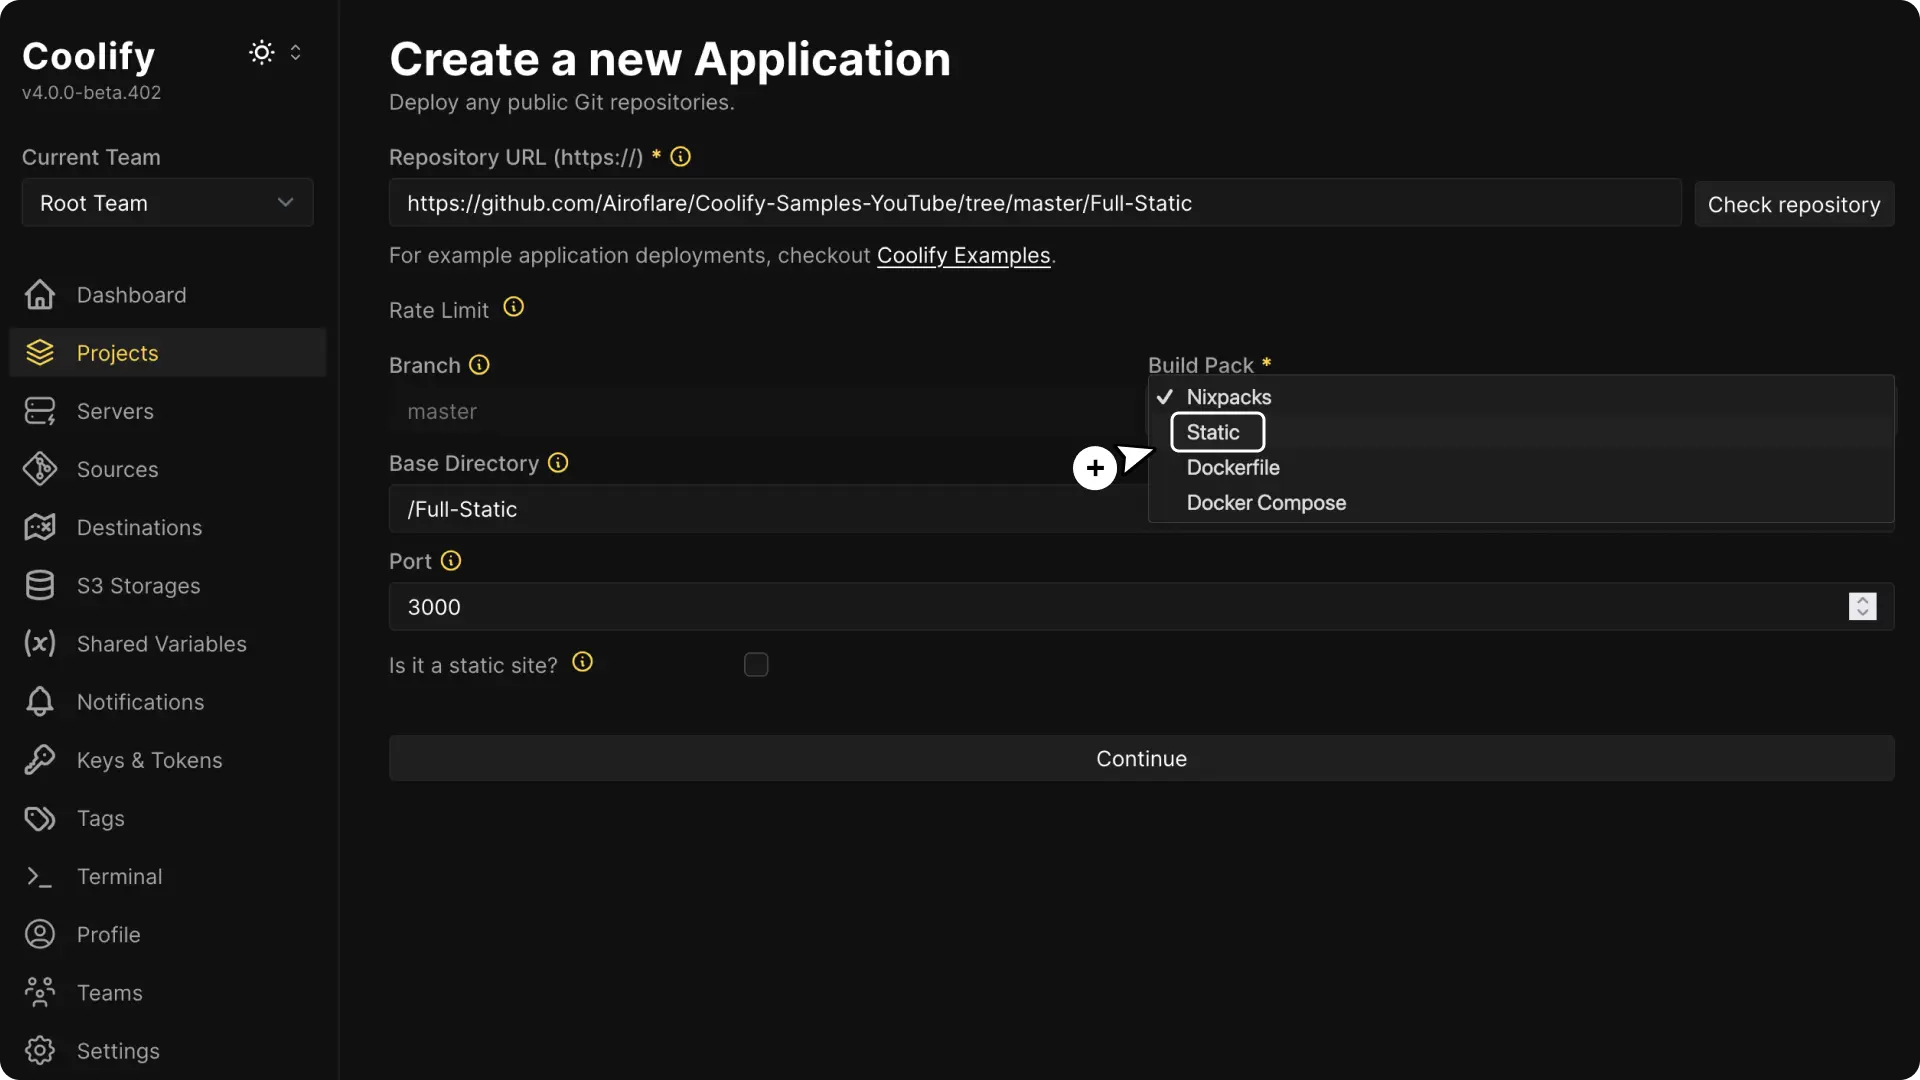
This tells Coolify to build your image with a static web server.
6. Set the Base Directory
Enter the path where your static files are located:
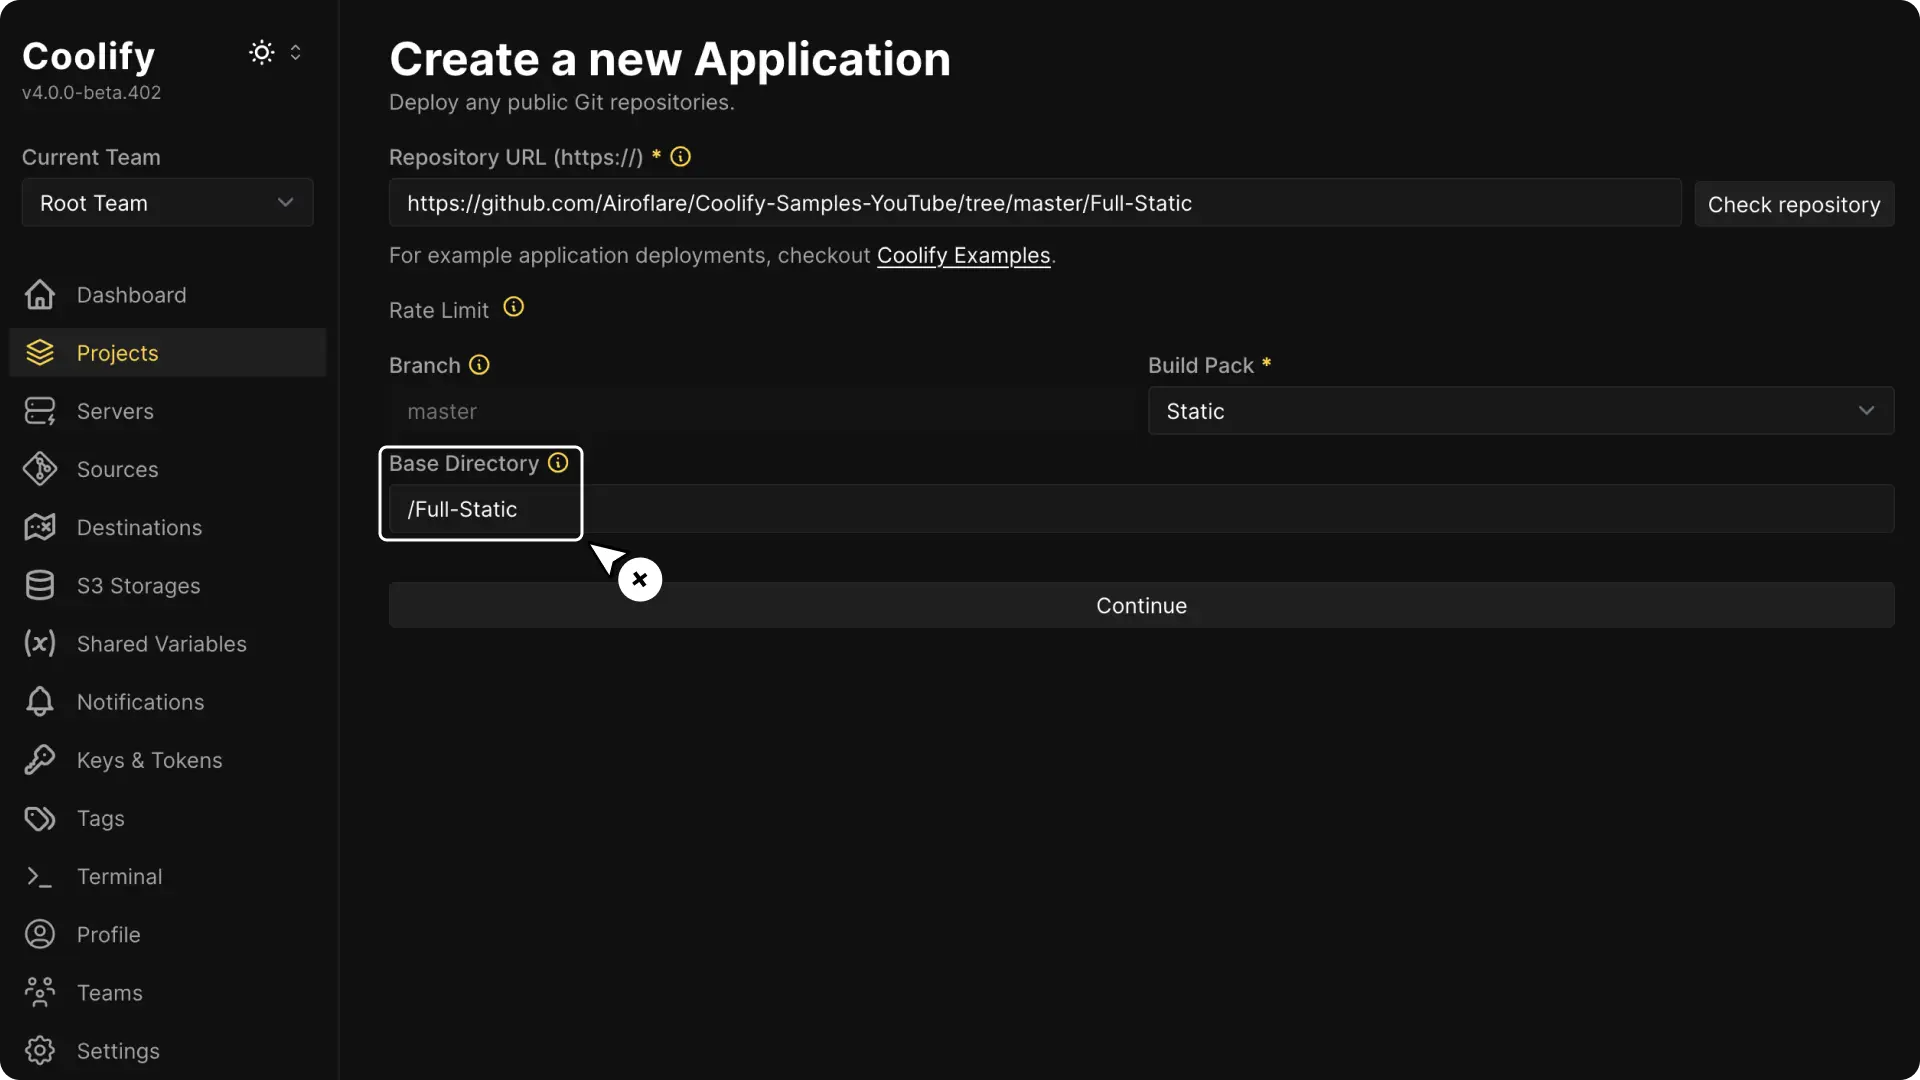
- If your files are in the root of your repository, just type
/. - If they are in a subfolder, type the path to that folder (for example,
/out).
After setting the base directory, click the Continue button.
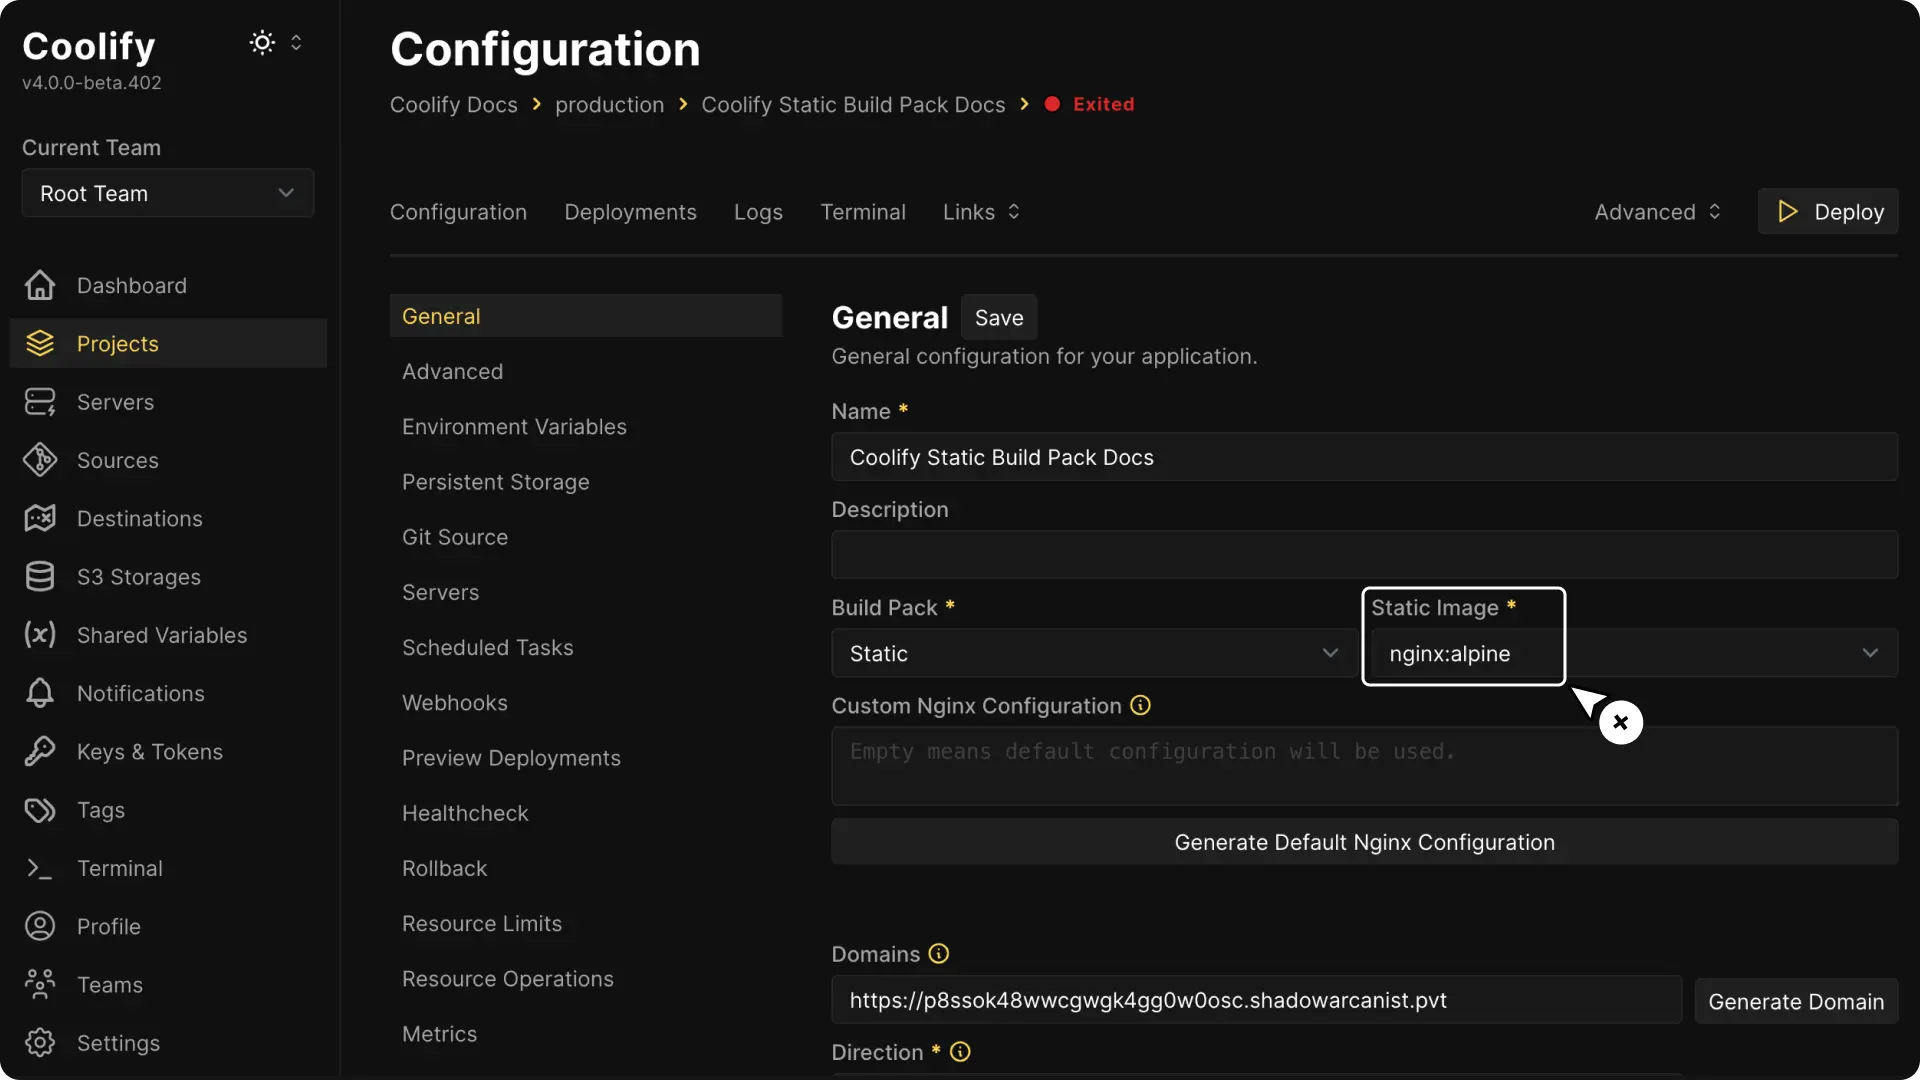
7. Choose a Web Server
As of Coolify v4.0.0-beta.402, the only web server option available is Nginx. So Nginx will be selected by default.
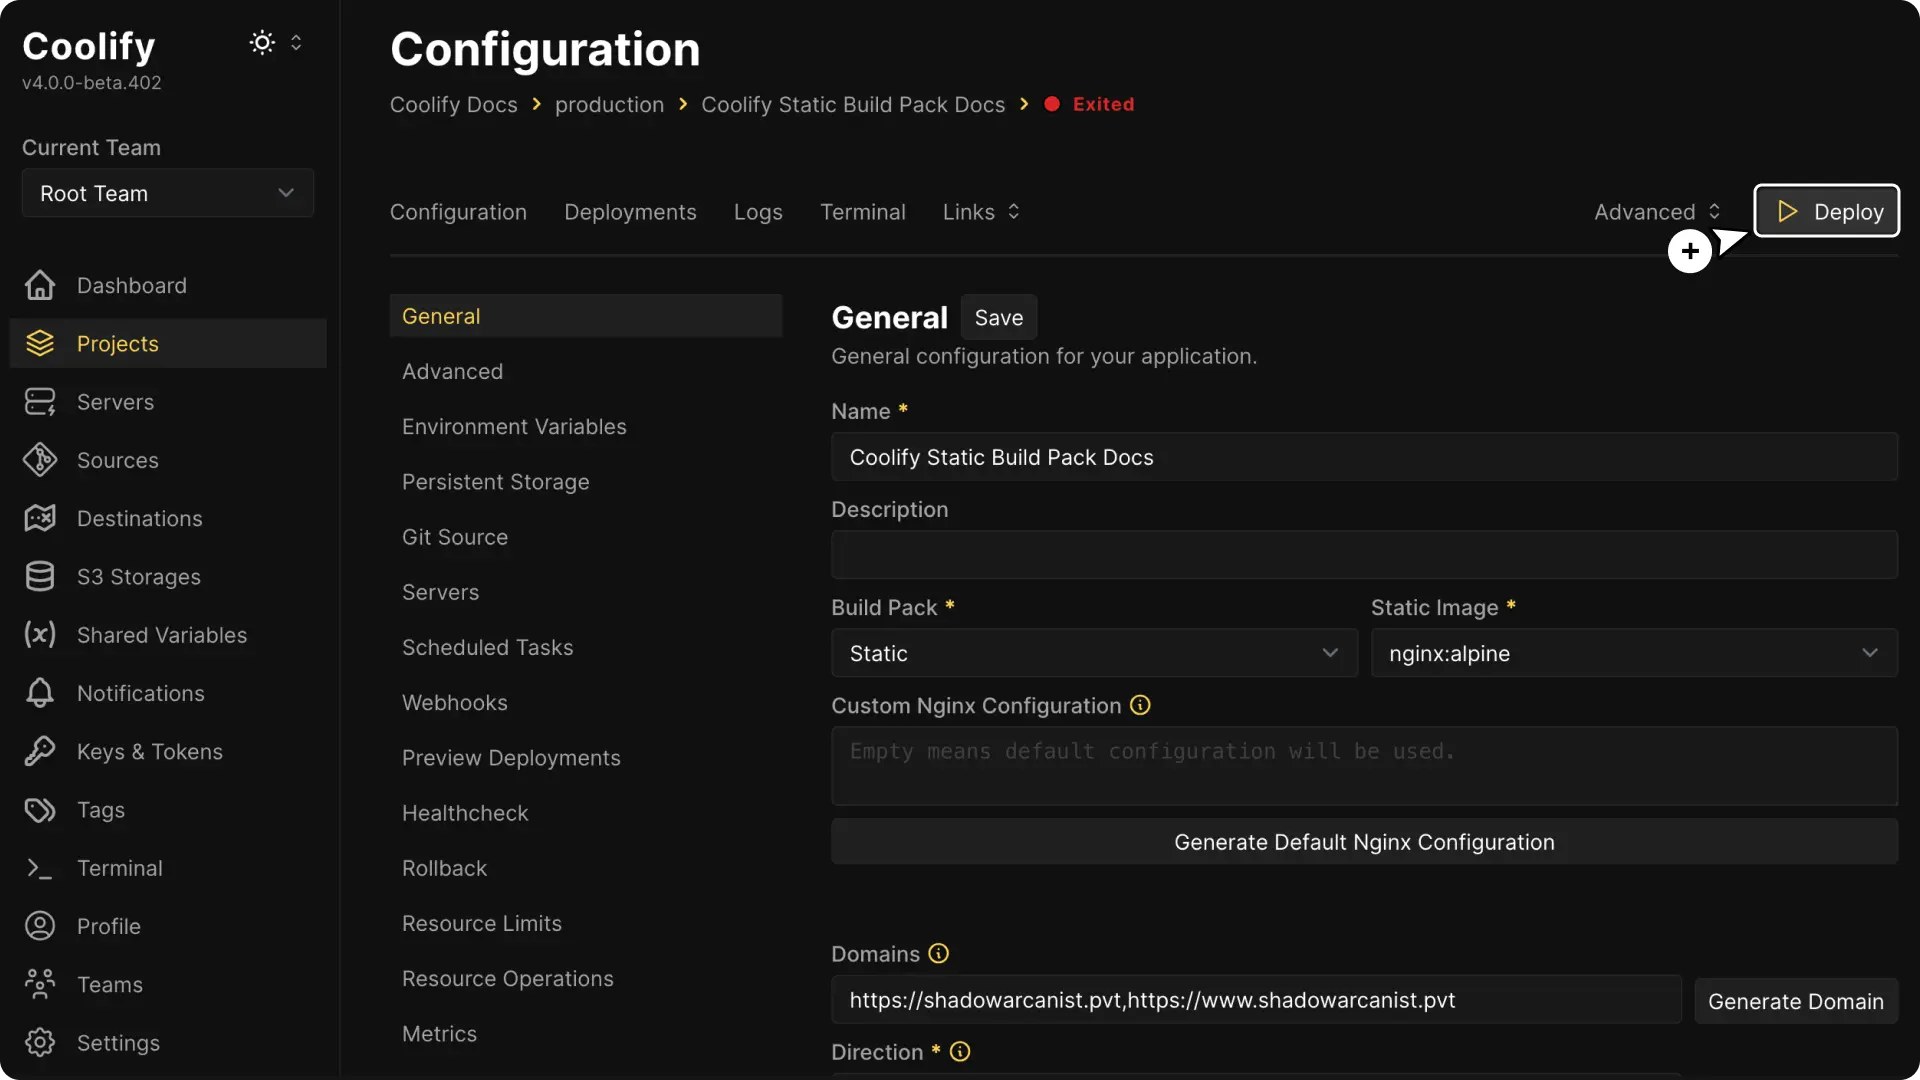
8. Enter Your Domain
Type the domain name where you want your site to be available.

If you have multiple domains, separate them with commas.
9. Deploy Your Site
Click the Deploy button. The deployment process is usually quick (often less than a minute, depending on your server).
Once the deployment is finished, visit your domain in a browser to see your live site.
10. Customize Your Web Server Configuration Optional
Coolify provides a default web server configuration that works for most cases.
If you want to change it then click the Generate button to load the default settings and make any changes you need.

You have to click on the Restart button for the new configuration to take effect.