
If you're using Coolify Cloud, the Coolify team handles all updates so you don’t need to worry about them.
For those who self-host Coolify, there are three ways to upgrade your instance:
- Automatic Upgrade: For users who want easy, hands-off updates.
- Semi-Automatic Upgrade: For users who want control over when to apply updates.
- Manual Upgrade: For advanced users who prefer to manage the upgrade process themselves.
Backup First!
- Always back up your Coolify data before starting an upgrade.
1. Automatic Upgrade
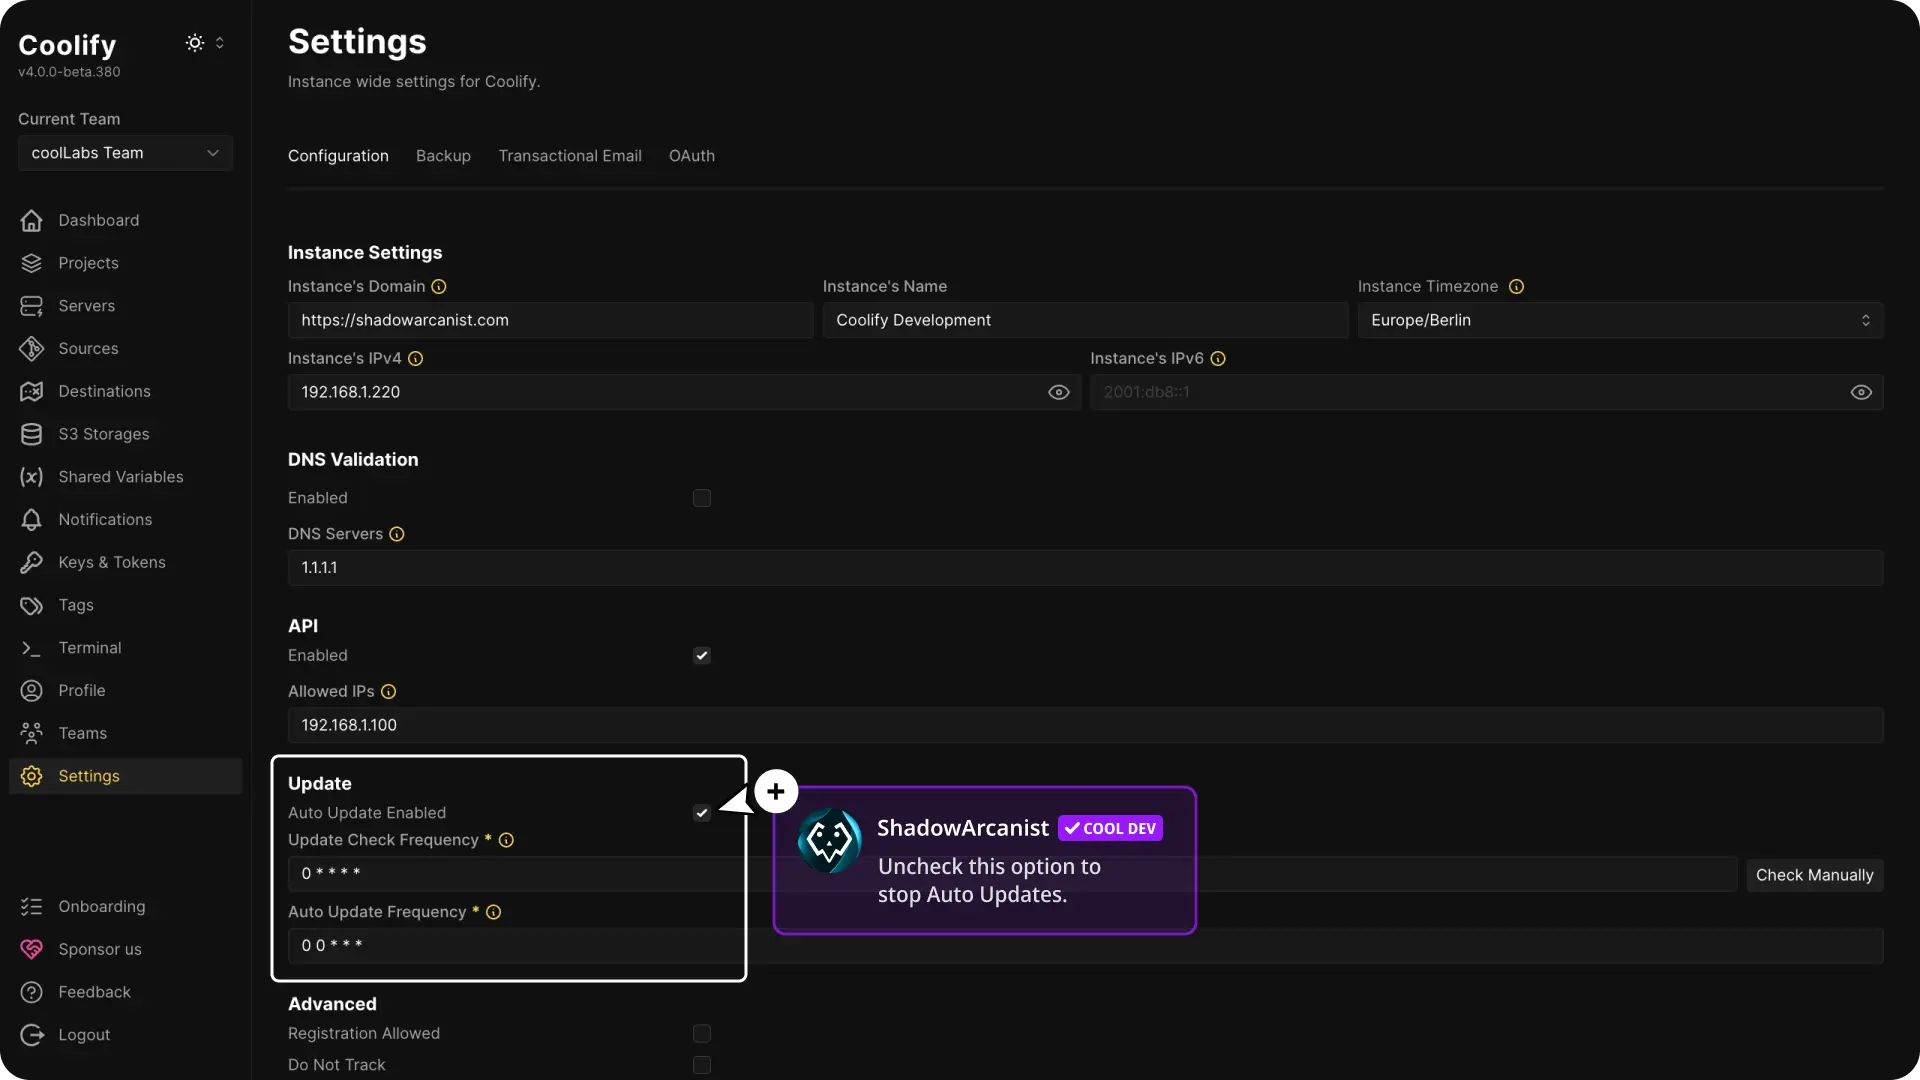
Coolify can update itself automatically. This option keeps your instance always up-to-date without any extra effort.
How it works?
Coolify periodically checks the CDN for updates. When a new version is available, it automatically fetches the latest release from the official repository and starts the upgrade process on its own.
Customize Automatic Updates
If you’d rather manage updates yourself, you can disable auto-updates in your Coolify dashboard’s Settings.
Tip
Turning off automatic updates lets you test a new version on a staging setup before updating your live environment.
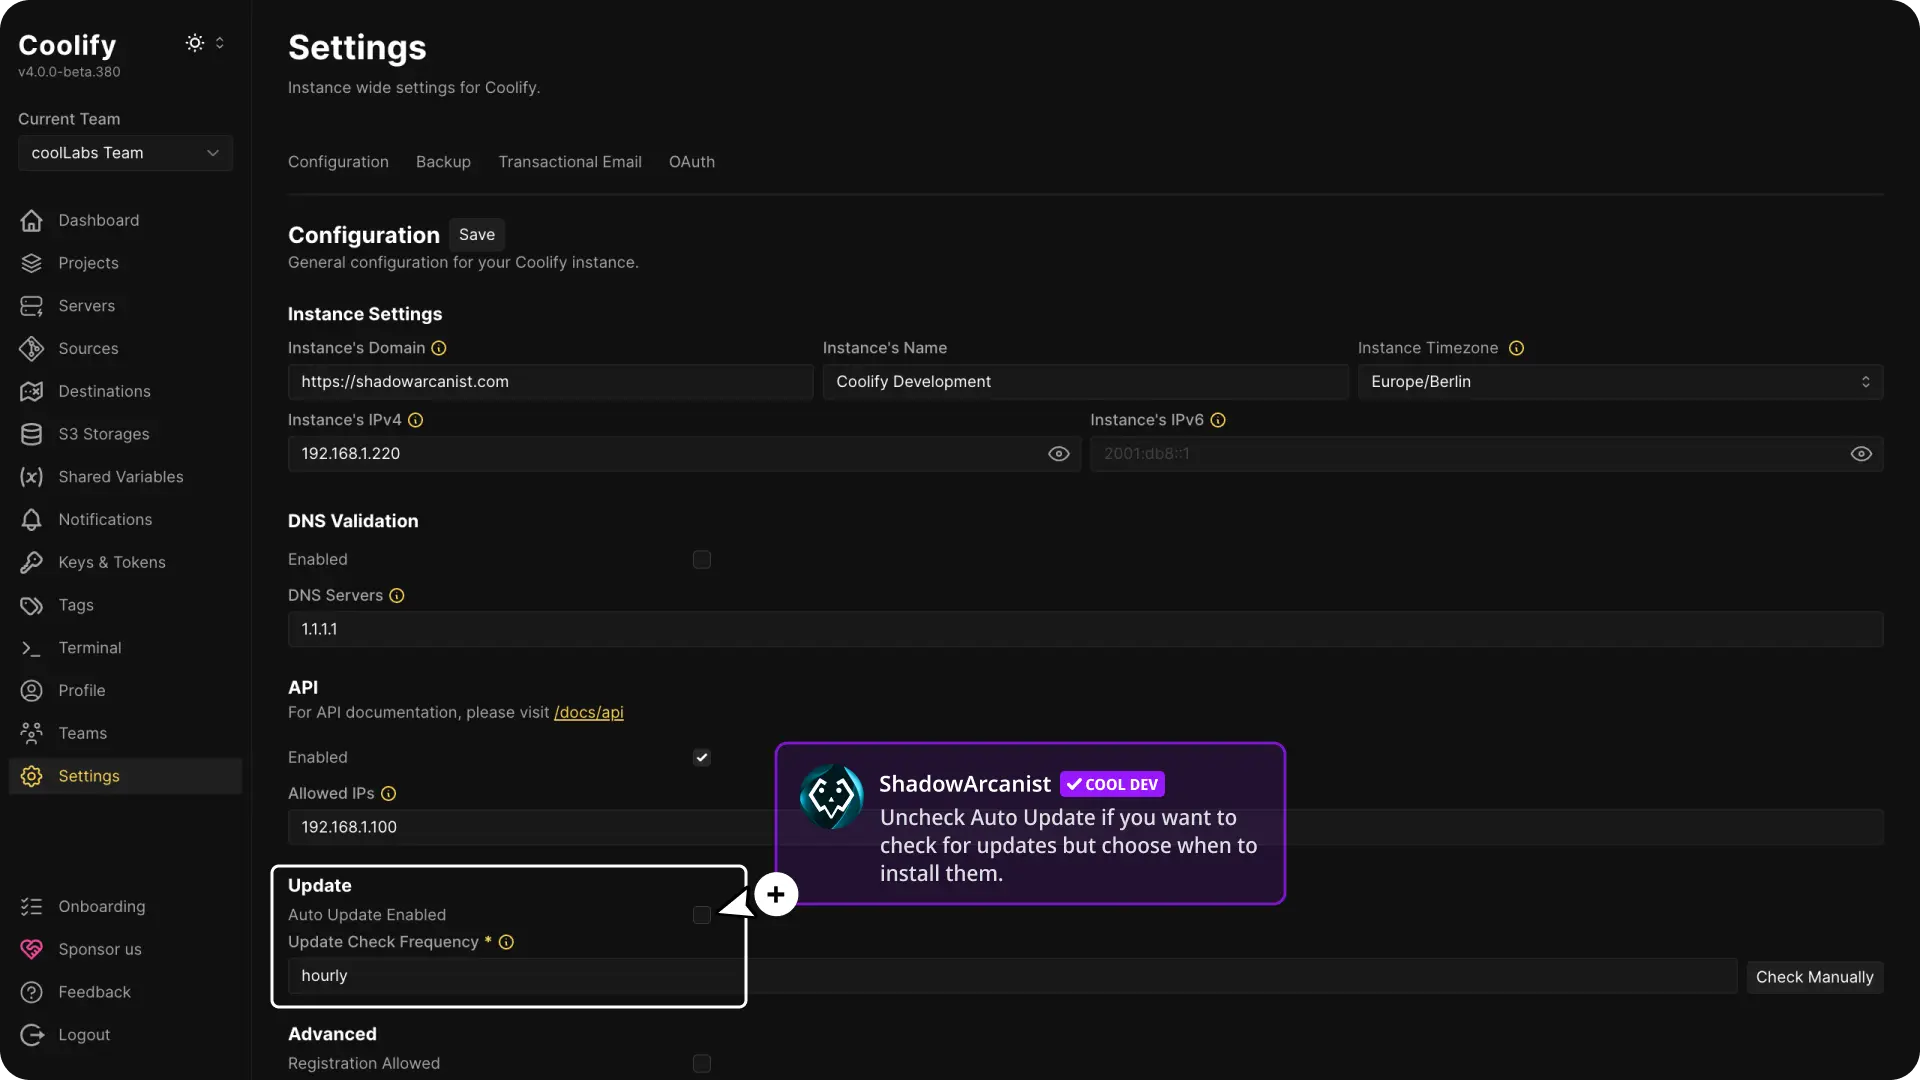
2. Semi-Automatic Upgrade
This option gives you a bit more control. Coolify notifies you when an update is available, and you decide when to apply it.
How it works?
Coolify periodically checks the CDN for updates. When a new version is available, you will see an "Upgrade" button in the sidebar of your Coolify dashboard.
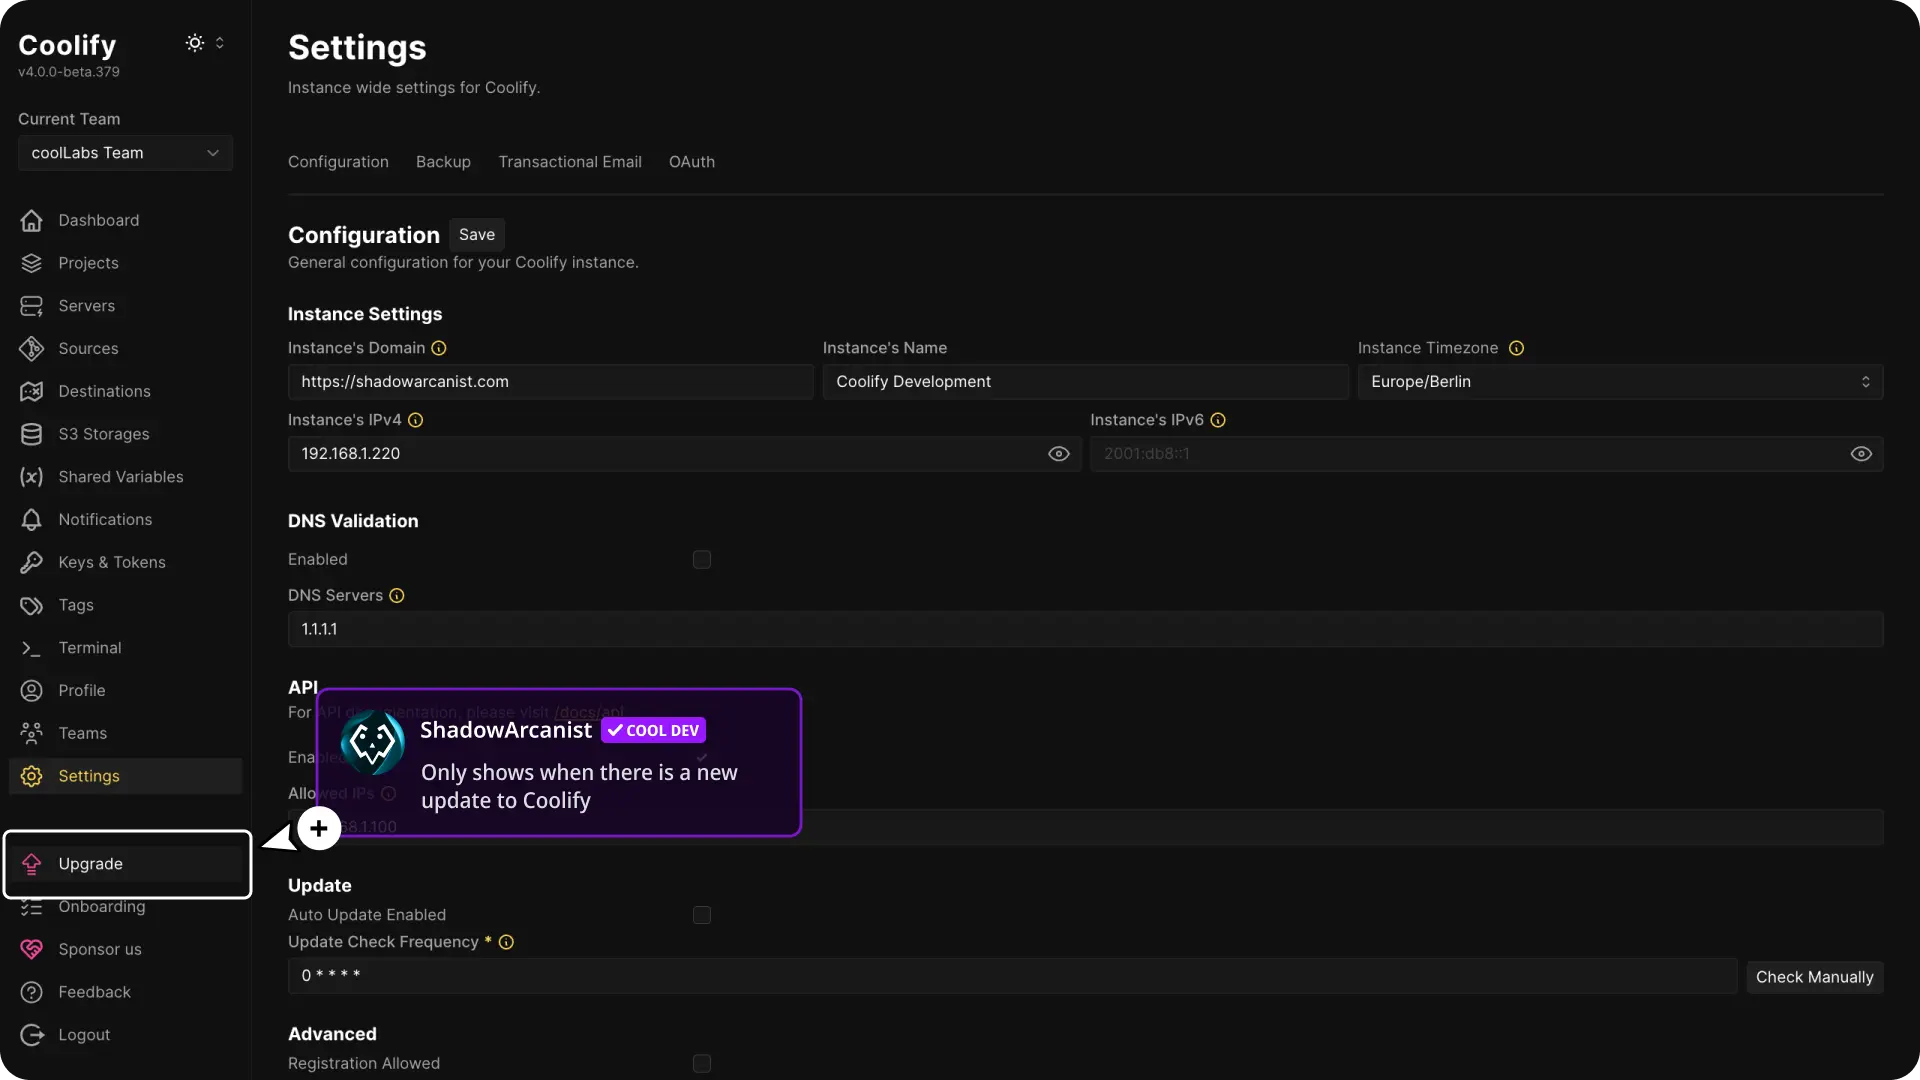
Click the upgrade button to start the update process.
Set Update Frequency
You can also choose how often Coolify checks for updates by adjusting the settings (daily, weekly, etc.).
Tip:
This method is perfect if you want to review update details or test the upgrade before applying it.
3. Manual Upgrade
For those who prefer full control, you can upgrade Coolify manually.
How to do this?
Open your server's terminal and run the command below:
curl -fsSL https://cdn.coollabs.io/coolify/install.sh | bashTo upgrade to a specific version, run the following command in your terminal:
curl -fsSL https://cdn.coollabs.io/coolify/install.sh | bash -s 4.0.0-beta.400Replace 4.0.0-beta.400 with the version number you want to upgrade to.
How it works?
This command runs the official Coolify installation script. The script checks the CDN for the latest version and updates your Coolify Instance.
Tip
In the Automatic and Semi-Automatic methods, Coolify runs the installation script automatically in the background.
In the Manual upgrade method, you run the script yourself.